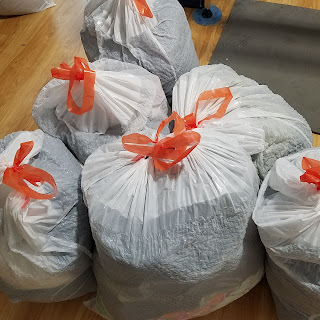
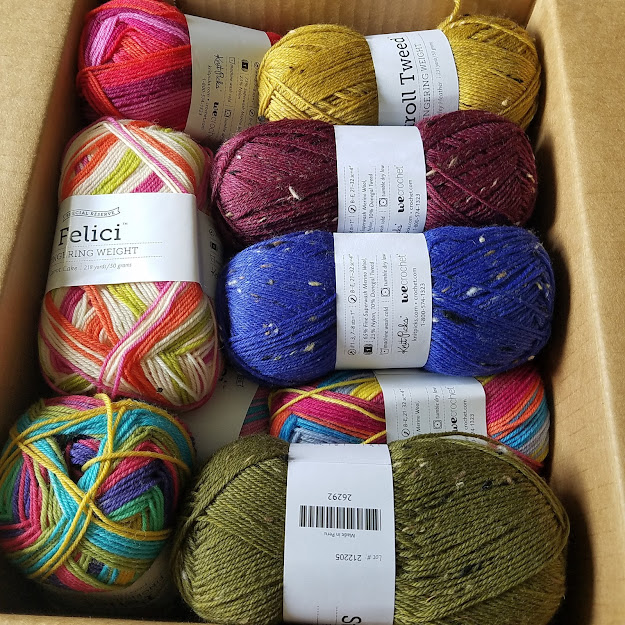
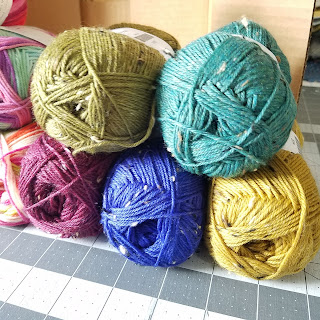
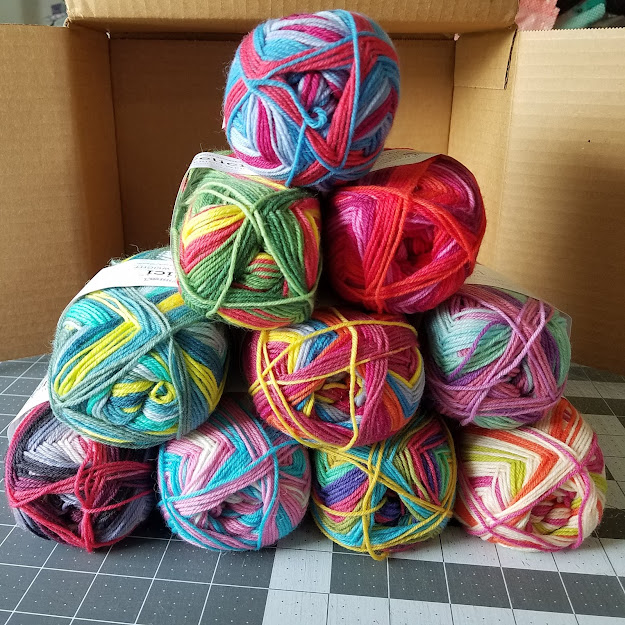
Then, each fabric (not in the same order, surely) but folded and stacked neatly. There are some wovens in there, some fleece, some denim. A generally fun mix of fabrics. I see so much sewing ahead of me. I may have to reinstitute Wardrobe Wednesdays while I work through some of this fabric. Remember, if you sew your own clothes you get to add pockets to everything.
Wednesday, September 30, 2020
Aunt Betty Strikes Again
Then, each fabric (not in the same order, surely) but folded and stacked neatly. There are some wovens in there, some fleece, some denim. A generally fun mix of fabrics. I see so much sewing ahead of me. I may have to reinstitute Wardrobe Wednesdays while I work through some of this fabric. Remember, if you sew your own clothes you get to add pockets to everything.
Monday, September 28, 2020
New iPad and Procreate
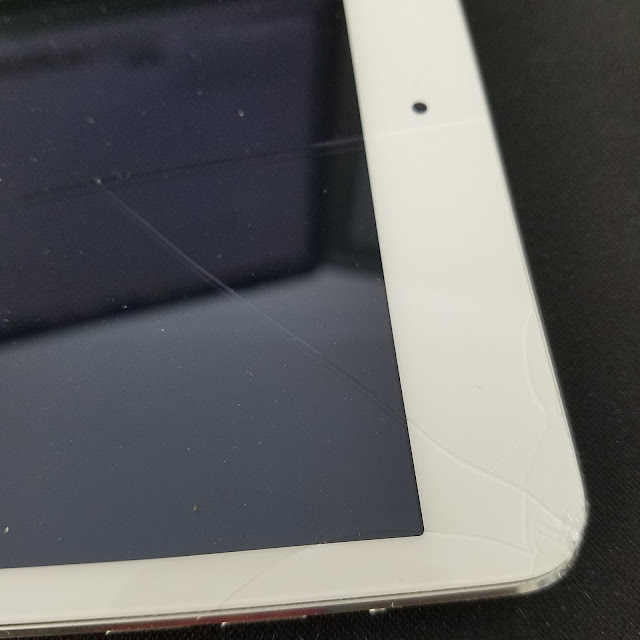
If you already have an iPad setting up your new one is a snap. It is as simple as turning them both on and following the on-screen prompts. I was up and running in about 10 minutes. All my apps and files were copied over so the transition was painless.
I picked up a case that I liked. These come in many different styles but this one was my favorite.
I really splurged and also bought the Apple Pencil. I'd seen them and really wanted to give it a try. I also downloaded the art program Procreate because I have seen so many artists use it. I've been doing tutorials to learn the tools. Procreate is very powerful and you can get amazing results.
Here is the second drawing I completed using a tutorial by Art with Flo. Flo makes learning the tool fun and you get to complete something without feeling like you're just learning the ins and outs of Procreate. I've done several of her tutorials and I've learned something new each time. The finished drawings show up in my Instagram feed as I finish them if you want to see more.Buy your own (affiliate links):
Apple iPad Mini (Wi-Fi, 64GB) - Space Gray
Apple Pencil
Fintie Case with Pencil Holder for iPad Mini 5
Friday, September 25, 2020
Cranky Socks
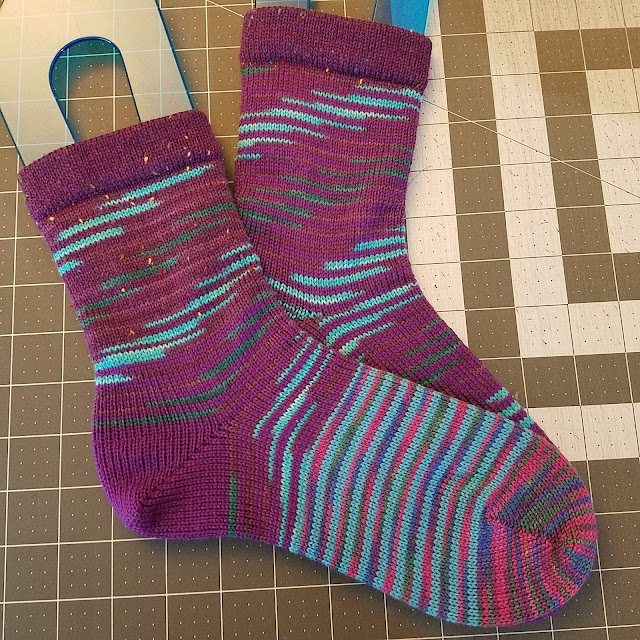
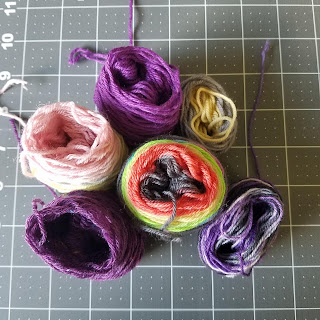
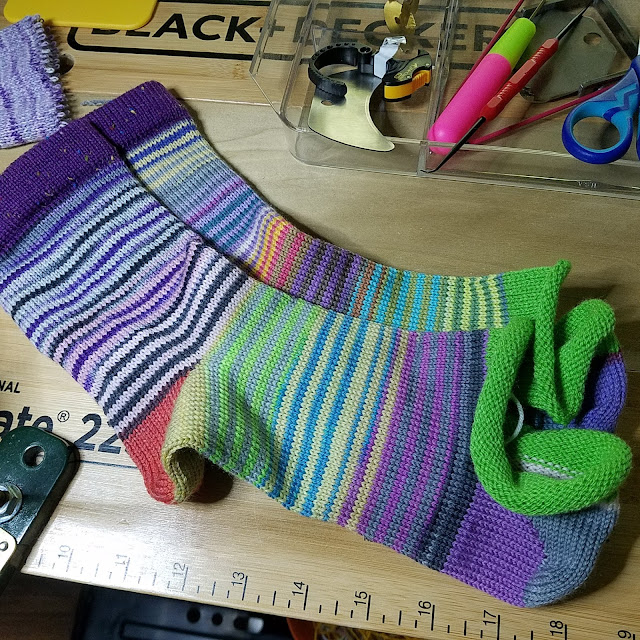
This pair used some different purple yarns from Knit Picks. I really like how these came out.
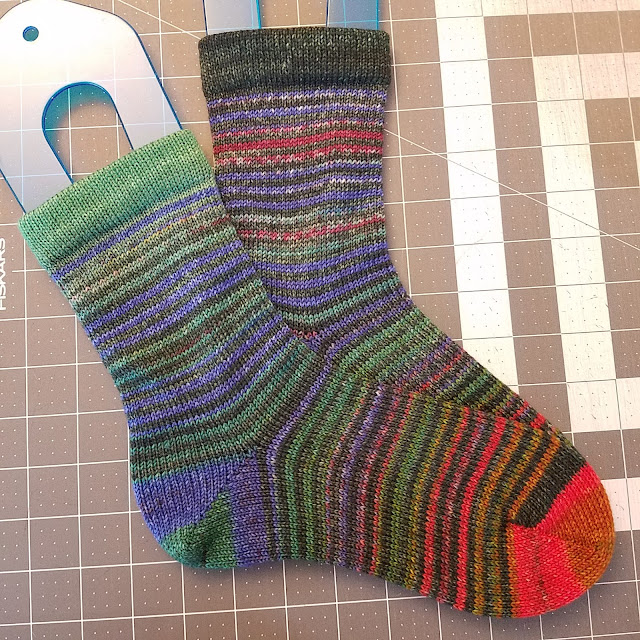
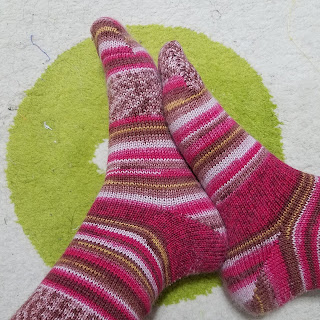
So no one thinks I save all the matching socks for myself, here is a pair I knit last week using Knit Picks Static (the same fingering base as Stroll). These were a fun surprise and I'm glad I gave the yarn a try. I have a few grams of this left over that will find its way into another pair of monster socks.
I'm planning my next Etsy shop update for Friday, October 2nd. I will add several more pairs of monster socks to the shop. Don't forget to follow me on Instagram (@beccascrazyprojects) and my Etsy shop Becca's Crazy Projects to get updates on what I'm doing and when the listings go live.
Want more information about circular sock knitting machines, tools, and attachments? I recommend you head over to CSM Love. They have collected so many resources in one easy-to-use site. I used the site to find the Split Yarn Carrier by Chambord CSM.
Hybrid Mount Mini Mast for Erlbacher Gearhart Circular Sock Machine
Tools and supplies (affiliate links):
5 Pieces 5 Different Size Bent Latch Hook Crochet Needle Hook (picking up dropped stitches)
Cable Clamp PRO Cable Management 4 Pack (used in place of weight buckle)
Brightech Lightview Pro Flex - Hands Free, Magnifying Glass Desk Lamp for Close Work (lens removed)
Zibra PB100LZR Grip-n-Glide 1-Inch Round Trim Paint Brush (to clean lint/dust from machine)
24 Pack Metal Rectangular Empty Hinged Tins (hold extra machine needles)
addi Express Hook (picking up dropped stitches, hanging setup bonnet, finishing missed stitches)
Do4U Drinking Home Office Table Desk Side Huge Clip (I use it to hold the ball/cake of yarn while I crank but it could hold your drink, too)
BLACK+DECKER WM225-A Portable Project Center and Vise (this is my machine stand, slightly modified for a larger work surface)
RuMe Bags Baggie All (Aspen) (to hold my hand-finishing supplies: yarn needle, needle threader, scissors, Kitchener directions, stitch markers, etc)
Wednesday, September 23, 2020
Mosaic Crochet
The fabric is very nice and has a nice weight to it. This is Knit Picks Wool of the Andes. I'm just changing colors a I come to the end of a ball of yarn. It's so nice to not have to think about it too much.
If you want to check out mosaic crochet I recommend watching some of Tinna's videos on YouTube. She is very patient and has so much to share. She also has patterns on Ravelry.
Tools and supplies (affiliate links):
Crochet hooks: Clover Crochet Hook Set (10 hooks)
Monday, September 21, 2020
Postage Stamp Swap
When I heard Mary (@mary_thecuriousquilter) was hosting a charm square swap I jumped in with both feet and my considerable collection of 2.5" squares of fabric. I've had some really good luck and some really bad luck with swaps in the past. I went into this one with high hopes and I was not disappointed.
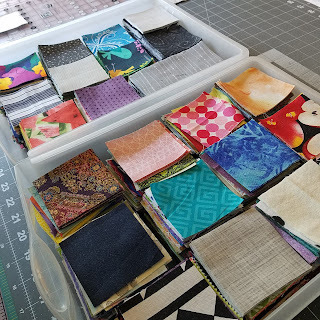
The first step, for me, was sorting through my collection of 2.5" squares. I have been cutting these little pieces of fun for quite a while now. This is what the collection looked like before I started sorting.
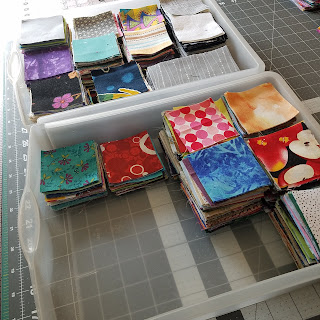
This is what it looked like after I had pulled 600 charms out for swap partners. Look at all that room for new fabrics!I sorted them into two newbie packs (50 charms each) and five swap partner packs (100 charms each) and waited for the call to sign up. I was ready when the partner email went out. How does one package those charms? Well, this is what I went with. I'd read that many quilt bee block swaps use Glad Press-n Seal to wrap the blocks so they fit into a letter-size envelope.
Fold it all up and those charms are less likely to shift about during shipping.
Slip into a note, seal and mail. Then, wait for what seems forever for the charms from your partners to find their way to you. It felt like forever. Here are the 500 new charm squares I received in the swap. So many fun, new prints! I need to start working on a postage stamp quilt since I'm fairly certain I have enough to make a rather large quilt.
Creative Grids 6.5" x 24.5" Rectangle
Creative Grids 6.5" Square Ruler
Creative Grids 4.5" x 12.5" Rectangle Quilting Ruler
Fiskars Rotary Cutter
Fiskars Rotary Cutter replacement blades
Fiskars Self Healing Rotary Cutting Mat
BLACK+DECKER Classic Steam Iron
Fiskars 8-inch scissors
Friday, September 18, 2020
Cranky Socks
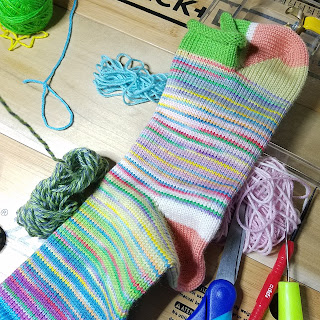
The heels and toes are knit with only the main yarn. This is to ensure I can keep good tension while knitting the short rows for the heel and toe.
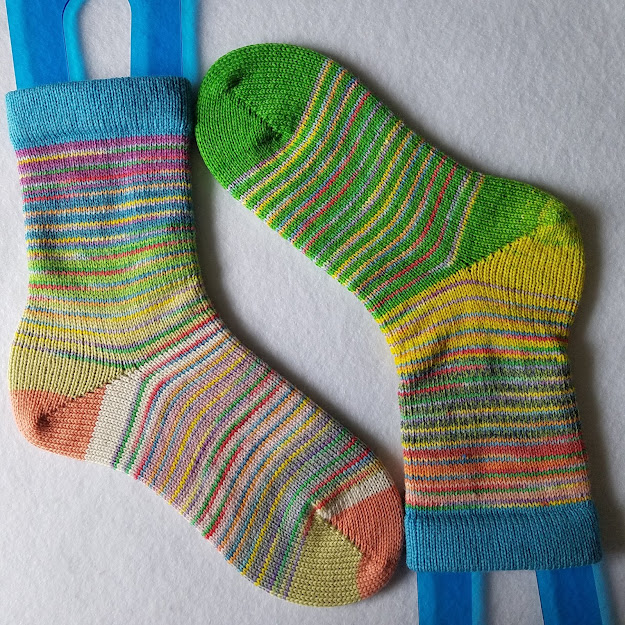
No two are the same! I love these more than I should admit. Want to check out the socks I have for sale in my Etsy shop? Check out BeccasCrazyProjects on Etsy.
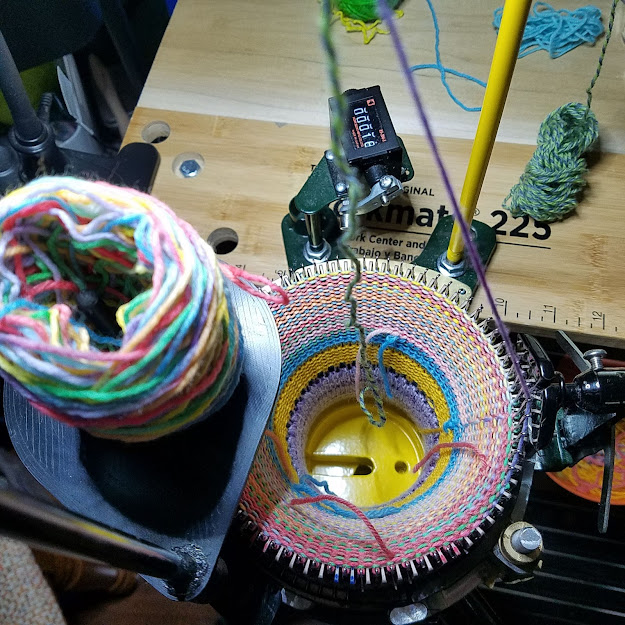
Making monster socks on the circular sock machine is possible because I have these two optional attachments for my machine. I'm never going back to the stock yarn carrier. Split is the way to go.
Tools and supplies (affiliate links):
Fiskars 7 Inch Softgrip Student Scissors (snipping yarn)
5 Pieces 5 Different Size Bent Latch Hook Crochet Needle Hook (picking up dropped stitches)
Cable Clamp PRO Cable Management 4 Pack (used in place of weight buckle)
Brightech Lightview Pro Flex - Hands Free, Magnifying Glass Desk Lamp for Close Work (lens removed)
Zibra PB100LZR Grip-n-Glide 1-Inch Round Trim Paint Brush (to clean lint/dust from machine)
24 Pack Metal Rectangular Empty Hinged Tins (hold extra machine needles)
addi Express Hook (picking up dropped stitches, hanging setup bonnet, finishing missed stitches)
Do4U Drinking Home Office Table Desk Side Huge Clip (I use it to hold the ball/cake of yarn while I crank but it could hold your drink, too)
BLACK+DECKER WM225-A Portable Project Center and Vise (this is my machine stand, slightly modified for a larger work surface)
RuMe Bags Baggie All (Aspen) (to hold my hand-finishing supplies: yarn needle, needle threader, scissors, Kitchener directions, stitch markers, etc)
Wednesday, September 16, 2020
Knit Picks
I swear the people that wrote the new Blogger drafting tool had no idea how the old one really worked. So many features I relied on are now gone. Thanks for the "upgrade".
5 Pieces 5 Different Size Bent Latch Hook Crochet Needle Hook (picking up dropped stitches)
Cable Clamp PRO Cable Management 4 Pack (used in place of weight buckle)
Brightech Lightview Pro Flex - Hands Free, Magnifying Glass Desk Lamp for Close Work (lens removed)
Zibra PB100LZR Grip-n-Glide 1-Inch Round Trim Paint Brush (to clean lint/dust from machine)
24 Pack Metal Rectangular Empty Hinged Tins (hold extra machine needles)
addi Express Hook (picking up dropped stitches, hanging setup bonnet, finishing missed stitches)
Do4U Drinking Home Office Table Desk Side Huge Clip (I use it to hold the ball/cake of yarn while I crank but it could hold your drink, too)
BLACK+DECKER WM225-A Portable Project Center and Vise (this is my machine stand, slightly modified for a larger work surface)
RuMe Bags Baggie All (Aspen) (to hold my hand-finishing supplies: yarn needle, needle threader, scissors, Kitchener directions, stitch markers, etc)
Monday, September 14, 2020
Florid Bloom
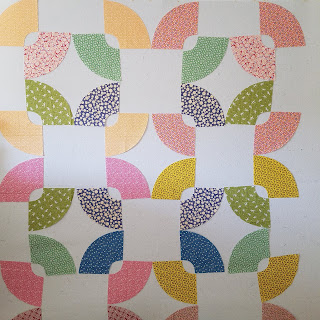
This is one of the finished blocks for this quilt. The big pieces make the curved piecing simple enough to get a good result. There are few questionable seams in there but most of them are spot-on.
I worked through these units over a couple weeks. The next part was joining them together into a top. This took careful marking and many pins.
I'm not sure I have an appropriate backing for this one. I'll have to look in my collection.
I seriously see a scrappier version of this quilt in my future. I have an idea on how to incorporate some grandmother's fans into the quilt. You'll have to check back to see how that turns out.
Check out Part 1 of my Florid Bloom quilt. There you will find links to the book and templates I used to create this quilt.
Tools and supplies (affiliate links):
Creative Grids 6.5" x 24.5" Rectangle
Creative Grids 6.5" Square Ruler
Creative Grids 4.5" x 12.5" Rectangle Quilting Ruler
Fiskars Rotary Cutter
Fiskars Rotary Cutter replacement blades
Fiskars Self Healing Rotary Cutting Mat
BLACK+DECKER Classic Steam Iron
Grabbit Magnetic Pin Cushion
Fiskars 8-inch scissors
Juki TL-2010Q
Fiskars 14x14 Inch Self Healing Rotating Cutting Mat
Friday, September 11, 2020
Cranky Socks
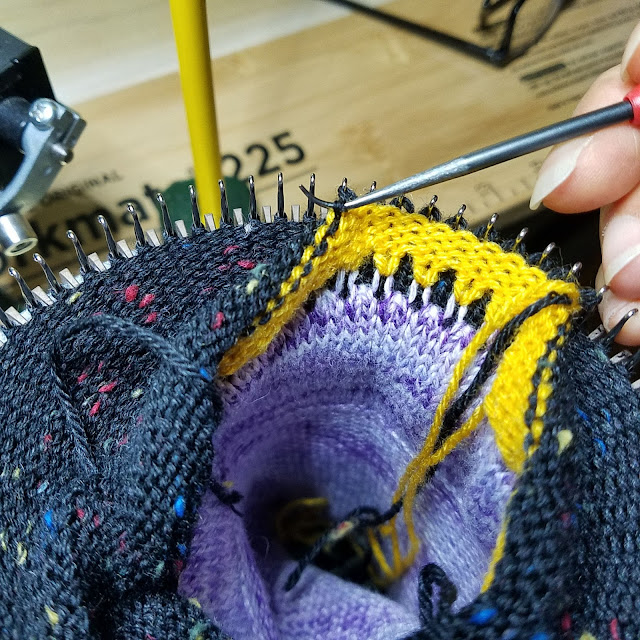
Those tails will be trimmed when I finish the sock. Each end is woven in 10-12 stitches or so. A short tail (about 1/2 inch) is left so it won't come undone.
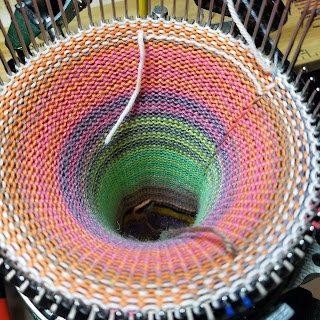
I love it when pink, orange, and gray come together in stripy goodness. The green and yellow isn't bad, either.
Ready for finishing up those toes.
Last week this collection of cranky socks was posted in my Etsy shop. I don't know how often I will do shop updates but it you want to know when they happen you should either favorite BeccasCrazyProjects on Etsy so you will get notifications, or follow me on Instagram @beccascrazyprojects. I will post at least two photos leading up to the day of the update (most likely Friday or Saturday) so you can see what is coming.
Making monster socks on the circular sock machine is possible because I have these two optional attachments for my machine. I'm never going back to the stock yarn carrier. Split is the way to go.
5 Pieces 5 Different Size Bent Latch Hook Crochet Needle Hook (picking up dropped stitches)
Cable Clamp PRO Cable Management 4 Pack (used in place of weight buckle)
Brightech Lightview Pro Flex - Hands Free, Magnifying Glass Desk Lamp for Close Work (lens removed)
Zibra PB100LZR Grip-n-Glide 1-Inch Round Trim Paint Brush (to clean lint/dust from machine)
24 Pack Metal Rectangular Empty Hinged Tins (hold extra machine needles)
addi Express Hook (picking up dropped stitches, hanging setup bonnet, finishing missed stitches)
Do4U Drinking Home Office Table Desk Side Huge Clip (I use it to hold the ball/cake of yarn while I crank but it could hold your drink, too)
BLACK+DECKER WM225-A Portable Project Center and Vise (this is my machine stand, slightly modified for a larger work surface)
RuMe Bags Baggie All (Aspen) (to hold my hand-finishing supplies: yarn needle, needle threader, scissors, Kitchener directions, stitch markers, etc)
Wednesday, September 9, 2020
Quilting in Black and White
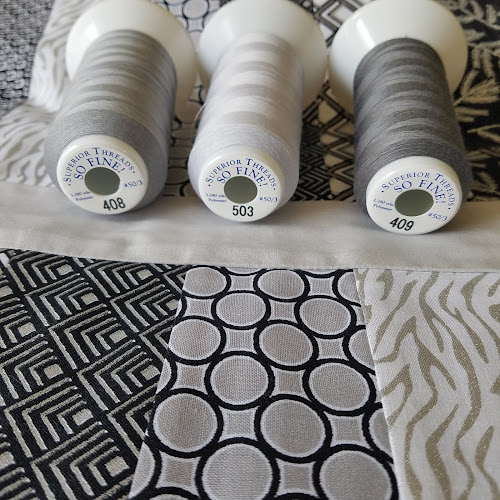
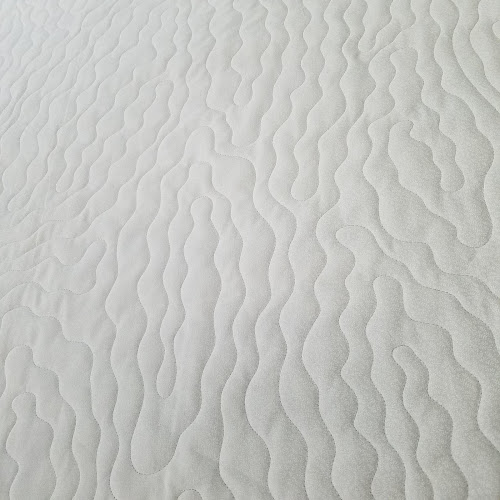
The quilting I planned and the quilting I got didn't match but I really like the result.
Here is a view of the back of the quilt so you can see the texture. The wood grain ended up a little more organic than I planned but I really like the texture.
Ready to box up and send by to the top maker for her to finish.
Monday, September 7, 2020
The Bird Dress
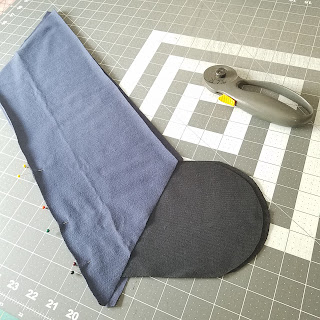
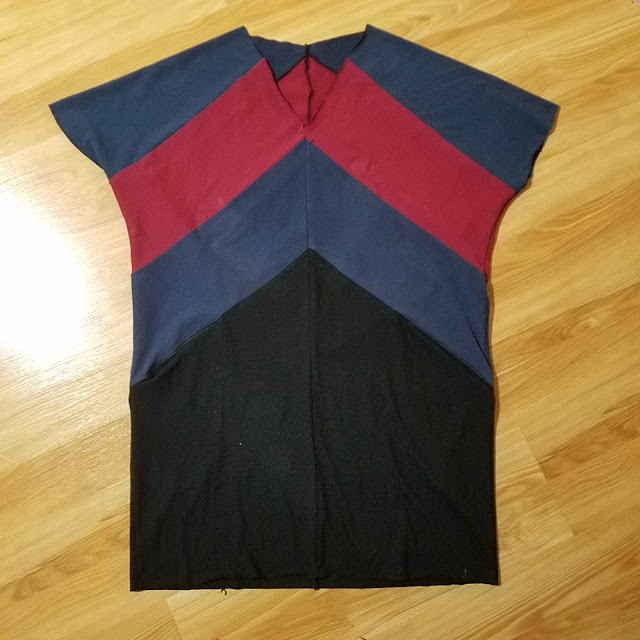
I've been collecting worn t-shirts for a while so this was the perfect project because it is designed to use those tees to make a color-blocked garment. Sadly, I took only one progress shot, this one before I attached the pockets to the front.
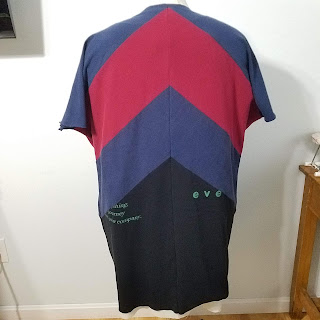
I made this using two black, two blue, and one maroon tee.
One of those had some words on the front that are now on the back of this piece.
The pockets are really the star of this garment. This worked up in an afternoon.
Tools and Supplies (affiliate links):
Fiskars Self Healing Rotary Cutting Mat
Fiskars Rotary Cutter
Fiskars Rotary Cutter replacement blades
Creative Grids 4.5" x 12.5" Rectangle Quilting Ruler
Grabbit Magnetic Pin Cushion
Fiskars 8-inch scissors
BLACK+DECKER Classic Steam Iron
Friday, September 4, 2020
Cranky Socks
On my next attempt I managed to finish that second sock. I love these scrappy monster socks.
If you would like a pair of socks machine knit just for you, stop by my Etsy shop and send me a note. I'm sure we could work together to create your new favorite pair of socks. If you have some socks yarn and you don't have the time to knit it up, maybe a sock tube is something you would like to try. Send me a message through Etsy for that.
Making these on the circular sock machine is possible because I have these two optional attachments for my machine. I'm never going back to the stock yarn carrier. Split is the way to go.
5 Pieces 5 Different Size Bent Latch Hook Crochet Needle Hook (picking up dropped stitches)
Cable Clamp PRO Cable Management 4 Pack (used in place of weight buckle)
Brightech Lightview Pro Flex - Hands Free, Magnifying Glass Desk Lamp for Close Work (lens removed)
Zibra PB100LZR Grip-n-Glide 1-Inch Round Trim Paint Brush (to clean lint/dust from machine)
24 Pack Metal Rectangular Empty Hinged Tins (hold extra machine needles)
addi Express Hook (picking up dropped stitches, hanging setup bonnet, finishing missed stitches)
Do4U Drinking Home Office Table Desk Side Huge Clip (I use it to hold the ball/cake of yarn while I crank but it could hold your drink, too)
BLACK+DECKER WM225-A Portable Project Center and Vise (this is my machine stand, slightly modified for a larger work surface)
RuMe Bags Baggie All (Aspen) (to hold my hand-finishing supplies: yarn needle, needle threader, scissors, Kitchener directions, stitch markers, etc)
Wednesday, September 2, 2020
Florid Bloom
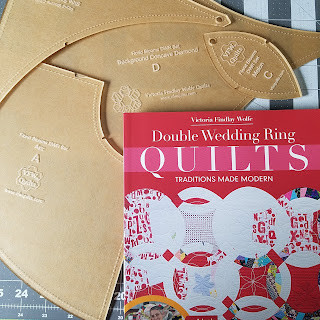
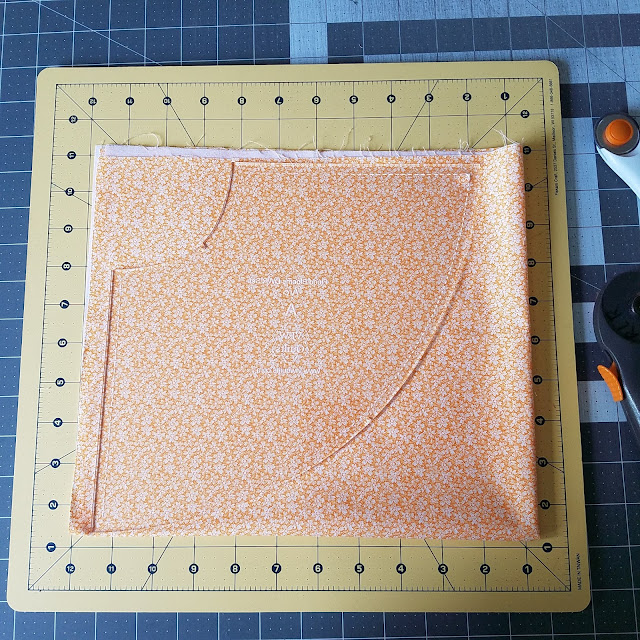
I wanted to try out the Florid Bloom template set and Double Wedding Ring Quilts book from Victoria Findlay Wolfe. I pulled out my stack of 1930s reproduction prints and cut out some pieces.
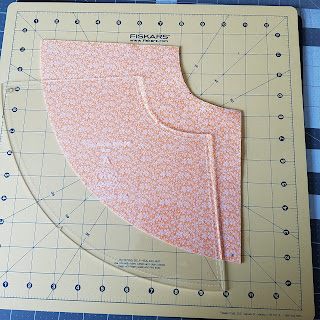
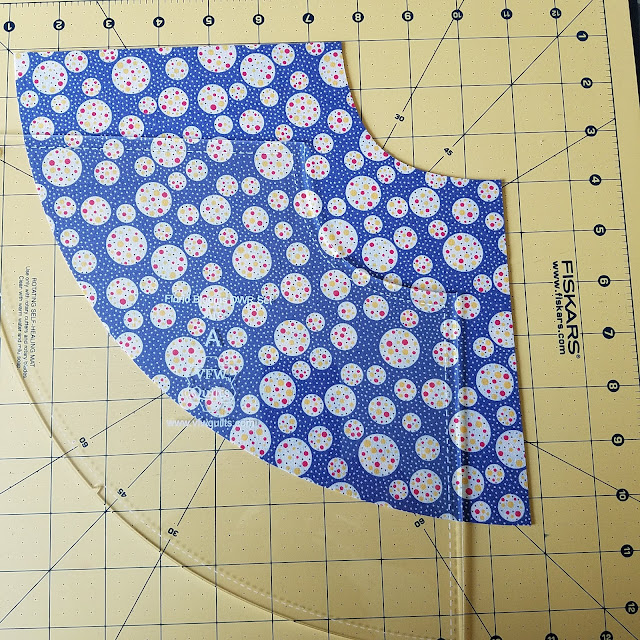
This is where the Fiskars Rotating Cutting Mat came in handy. I don't use it often but sometimes I find the project that really needs a rotating cutting mat.
See how nice and neat!
I had a pretty good collection of prints but this project will likely get me to end of the 1930s prints.
Here is the first layout I did once I had cut all the arcs.
It sat like that for about a week before I cut the yellow for the little center slices.
I had just enough of this green to cut the interior pieces.
It wasn't easy finding coordinating prints from my collection of fabric. I'm trying to work exclusively from my fabrics and not buy any more. I have so much! After I took this photo I realized I hadn't cut the corner pieces. I'm trying to decide if I want to attempt bias binding and leave those rounded corners. I've got time to decide. I definitely see a super scrappy version of this quilt in my future.
Tools and supplies (affiliate links):
Creative Grids 6.5" x 24.5" Rectangle
Creative Grids 6.5" Square Ruler
Creative Grids 4.5" x 12.5" Rectangle Quilting Ruler
Fiskars Rotary Cutter
Fiskars Rotary Cutter replacement blades
Fiskars Self Healing Rotary Cutting Mat
BLACK+DECKER Classic Steam Iron
Grabbit Magnetic Pin Cushion
Fiskars 8-inch scissors
Juki TL-2010Q
Fiskars 14x14 Inch Self Healing Rotating Cutting Mat

