Showing posts with label HST. Show all posts

Monday, May 22, 2023

Frolic Mystery Quilt Finish!

It's been more than year since I quilted my version of Bonnie Hunter's Mystery Quilt Frolic. I decided it was time to get it bound.
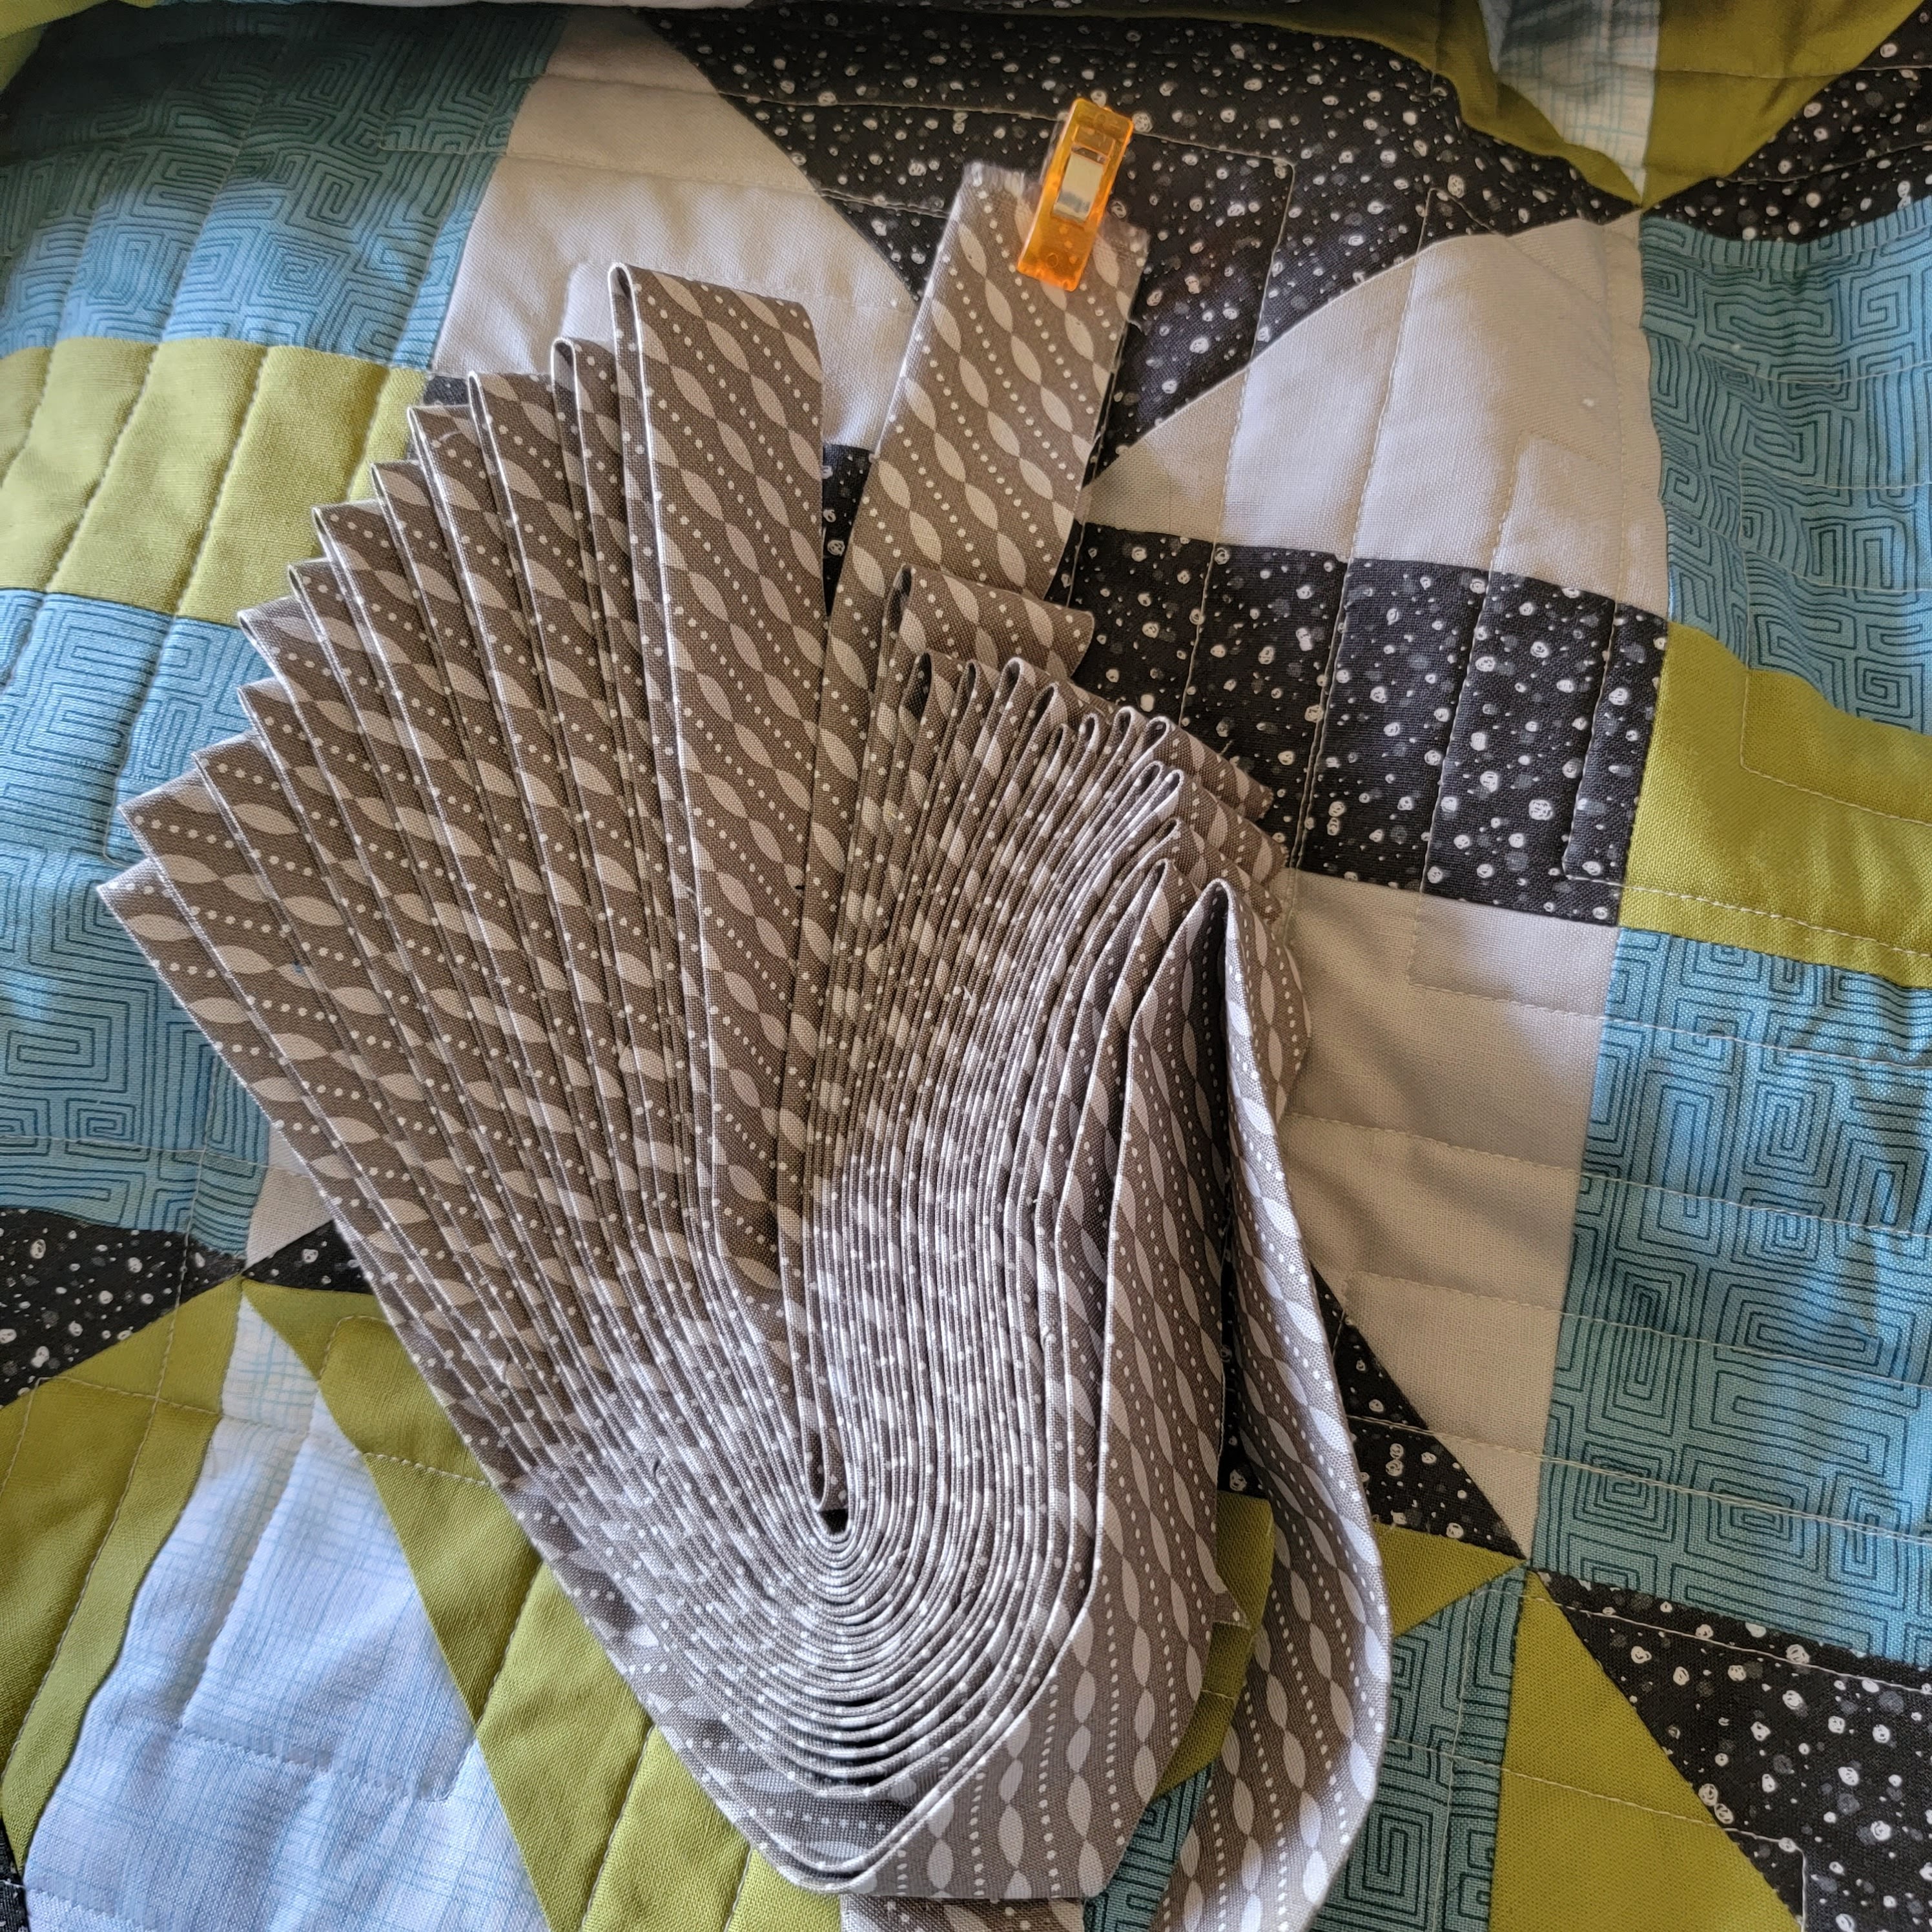
Applying binding to large quilts is a wrestling match. I attach the binding to the back of the quilt so I can machine finish it from the top. 
If you want to learn more about how I mark my binding for joining the ends, or other quilt binding tips, I have a page (linked on the sidebar) where you can find my machine finished binding tips
My way is not the only way, and it necessarily the best way. It is just the way I get consistent results. If you're on the fence about using FriXion pens in your crafting, don't worry, I only mark on the back of the fabric, or where the binding will be hidden once finished. 
Then, once I press the binding away from the quilt, I roll it to the front and finish it by machine. It makes for a sturdy binding. 
Now it is ready for its first wash. 
My version was made using larger pieces than the pattern called for and a completely different color palette from the mystery. I think it came out great! Do you like to change up the colors when making mystery quilts? 

Monday, July 18, 2022

Christmas Quilt

A friend asked me to quilt up this fun little half-square triangle quilt. 
The quilt is just a few inches wider than a piece of quilting cotton so we pieced the backing with a coordinating green. I used a edge-to-edge quilting design with swirls, bells, and holly leaves. I like how it works with the background white fabric. Quilted with white So Fine and Omni threads from Superior Threads. 
Trimmed and ready for binding. Half-square-triangle blocks are a snap if you have cutting tools that work for you. My favorite are the Easy Angle Rulers (links below). 

Friday, March 18, 2022

Frolic Mystery Quilt

Part 4: Quilting

It has been ages since I finished my version of Bonnie Hunter's mystery quilt Frolic. This was the Quiltville Winter Mystery for the 2019/2020 season. I played with colors so I could use some fabrics I had on hand. I went with constant fabrics throughout and most of them read as solids. There are solids, but not as many as it seems upon first glance. 
I added my embroidered label directly onto the backing fabric prior to quilting. I really like this as it makes sure that label stays with the quilt.  
I chose the quilting design Quagmire from Urban Elementz to keep with the on-point design. 
I quilted it rather large (approximately 1" between lines of stitching) and I love the finish. I wonder if I cut binding for this one when I finished the top. Now it's trimmed and ready for that binding. 

You can buy a copy of the digital pattern for Frolic directly from Quiltville

Monday, December 28, 2020

Sunshine Quilting

 
Remember this little quilt top
I loaded it up and got quilting. 
As a cuddle quilt I didn't want to do any fancy quilting. I used a small meander that should make this little quilt super cuddly after washing.
Machine-finished binding for a quick finish! Don't forget the label.  

Monday, December 14, 2020

Sunshine Half-Square Triangles

I've had this fabric sitting around for ages. I made a quilt for a workmate several years ago when he and his wife had their little girl. That little girl is now at least eight years old. Time flies. 
I decided to make a bunch of half-square triangle blocks using the 5" charms. This idea came from a talk by Blair Stocker of Wise Craft Handmade during the Baltimore Modern Quilt Guild virtual meeting in November. 
I worked on the units during my last quilt as a leader & ender. The units then spent a bunch of time on the design wall until Sunday when I sewed them into rows and columns.
Then I added a border to square it up and give those edges some stability. The finished size will be 40" by 40", a perfect size for a little tummy-time. I think it turned out quite well.  

Monday, November 30, 2020

Quilt Kit Sewing

Part 3

Each block got set on point. These blocks measure 17.5" by 17.5". 
Then the block sashing. 
Then this happened. I'm not going to point it out. I'm just going to say it went into a quilt time out for about a day before I got back to work on it. 
Internal borders done. Those little setting blocks are really nice. 
Finished top with the wide outer border. I need more borders in my quilt life. I'm pretty pleased with how this one turned out. It's folded up and in the shop bag for the next time I go to the quilt shop so I can pick up backing fabric. 

Wednesday, November 18, 2020

Deconstruction - Part 3

I measured the somewhat wonky quilt top and added a border. If you have many bias edges a border can stabilize the overall piece and ensure you have sides that match and aren't wavy. Trust me, it is worth the extra time. 
I pulled this fun coordinating pink from my collection and made up the binding before I even loaded it onto the frame. 
Ready to quilt!
I went with a teal thread on top and bobbin. Swirls, waves, and some wavy lines for an allover design.
These waves are one of my favorites. 
The lighting on this is horrible but you can see the texture of the quilting. 
Finished and ready for binding. 

Monday, November 16, 2020

Quilt Kit Sewing

Many years ago I bought a quilt kit offered by Joanne Fabrics. It was a block of the month and I picked up the almost the entire kit at sale prices. I pulled it out of its hiding place and spend the next six days piecing a new block each day. 

Block One
    
Block Two
 
Block Three
 
Block Four
 
Block Five
 
Block Six

I'll continue working through these until I have finished the quilt. It is nice to have something ready to piece on hand. Perhaps I should kit up some for myself using a couple favorite blocks. I should work on finishing some of the in-progress projects I already have going. Do you have projects that have been waiting years to be completed? Sewing weather is upon us in the norther hemisphere. Pull a couple out and try to work on them a little each day.