Showing posts with label scissors. Show all posts

Wednesday, July 12, 2023

Tool Tips

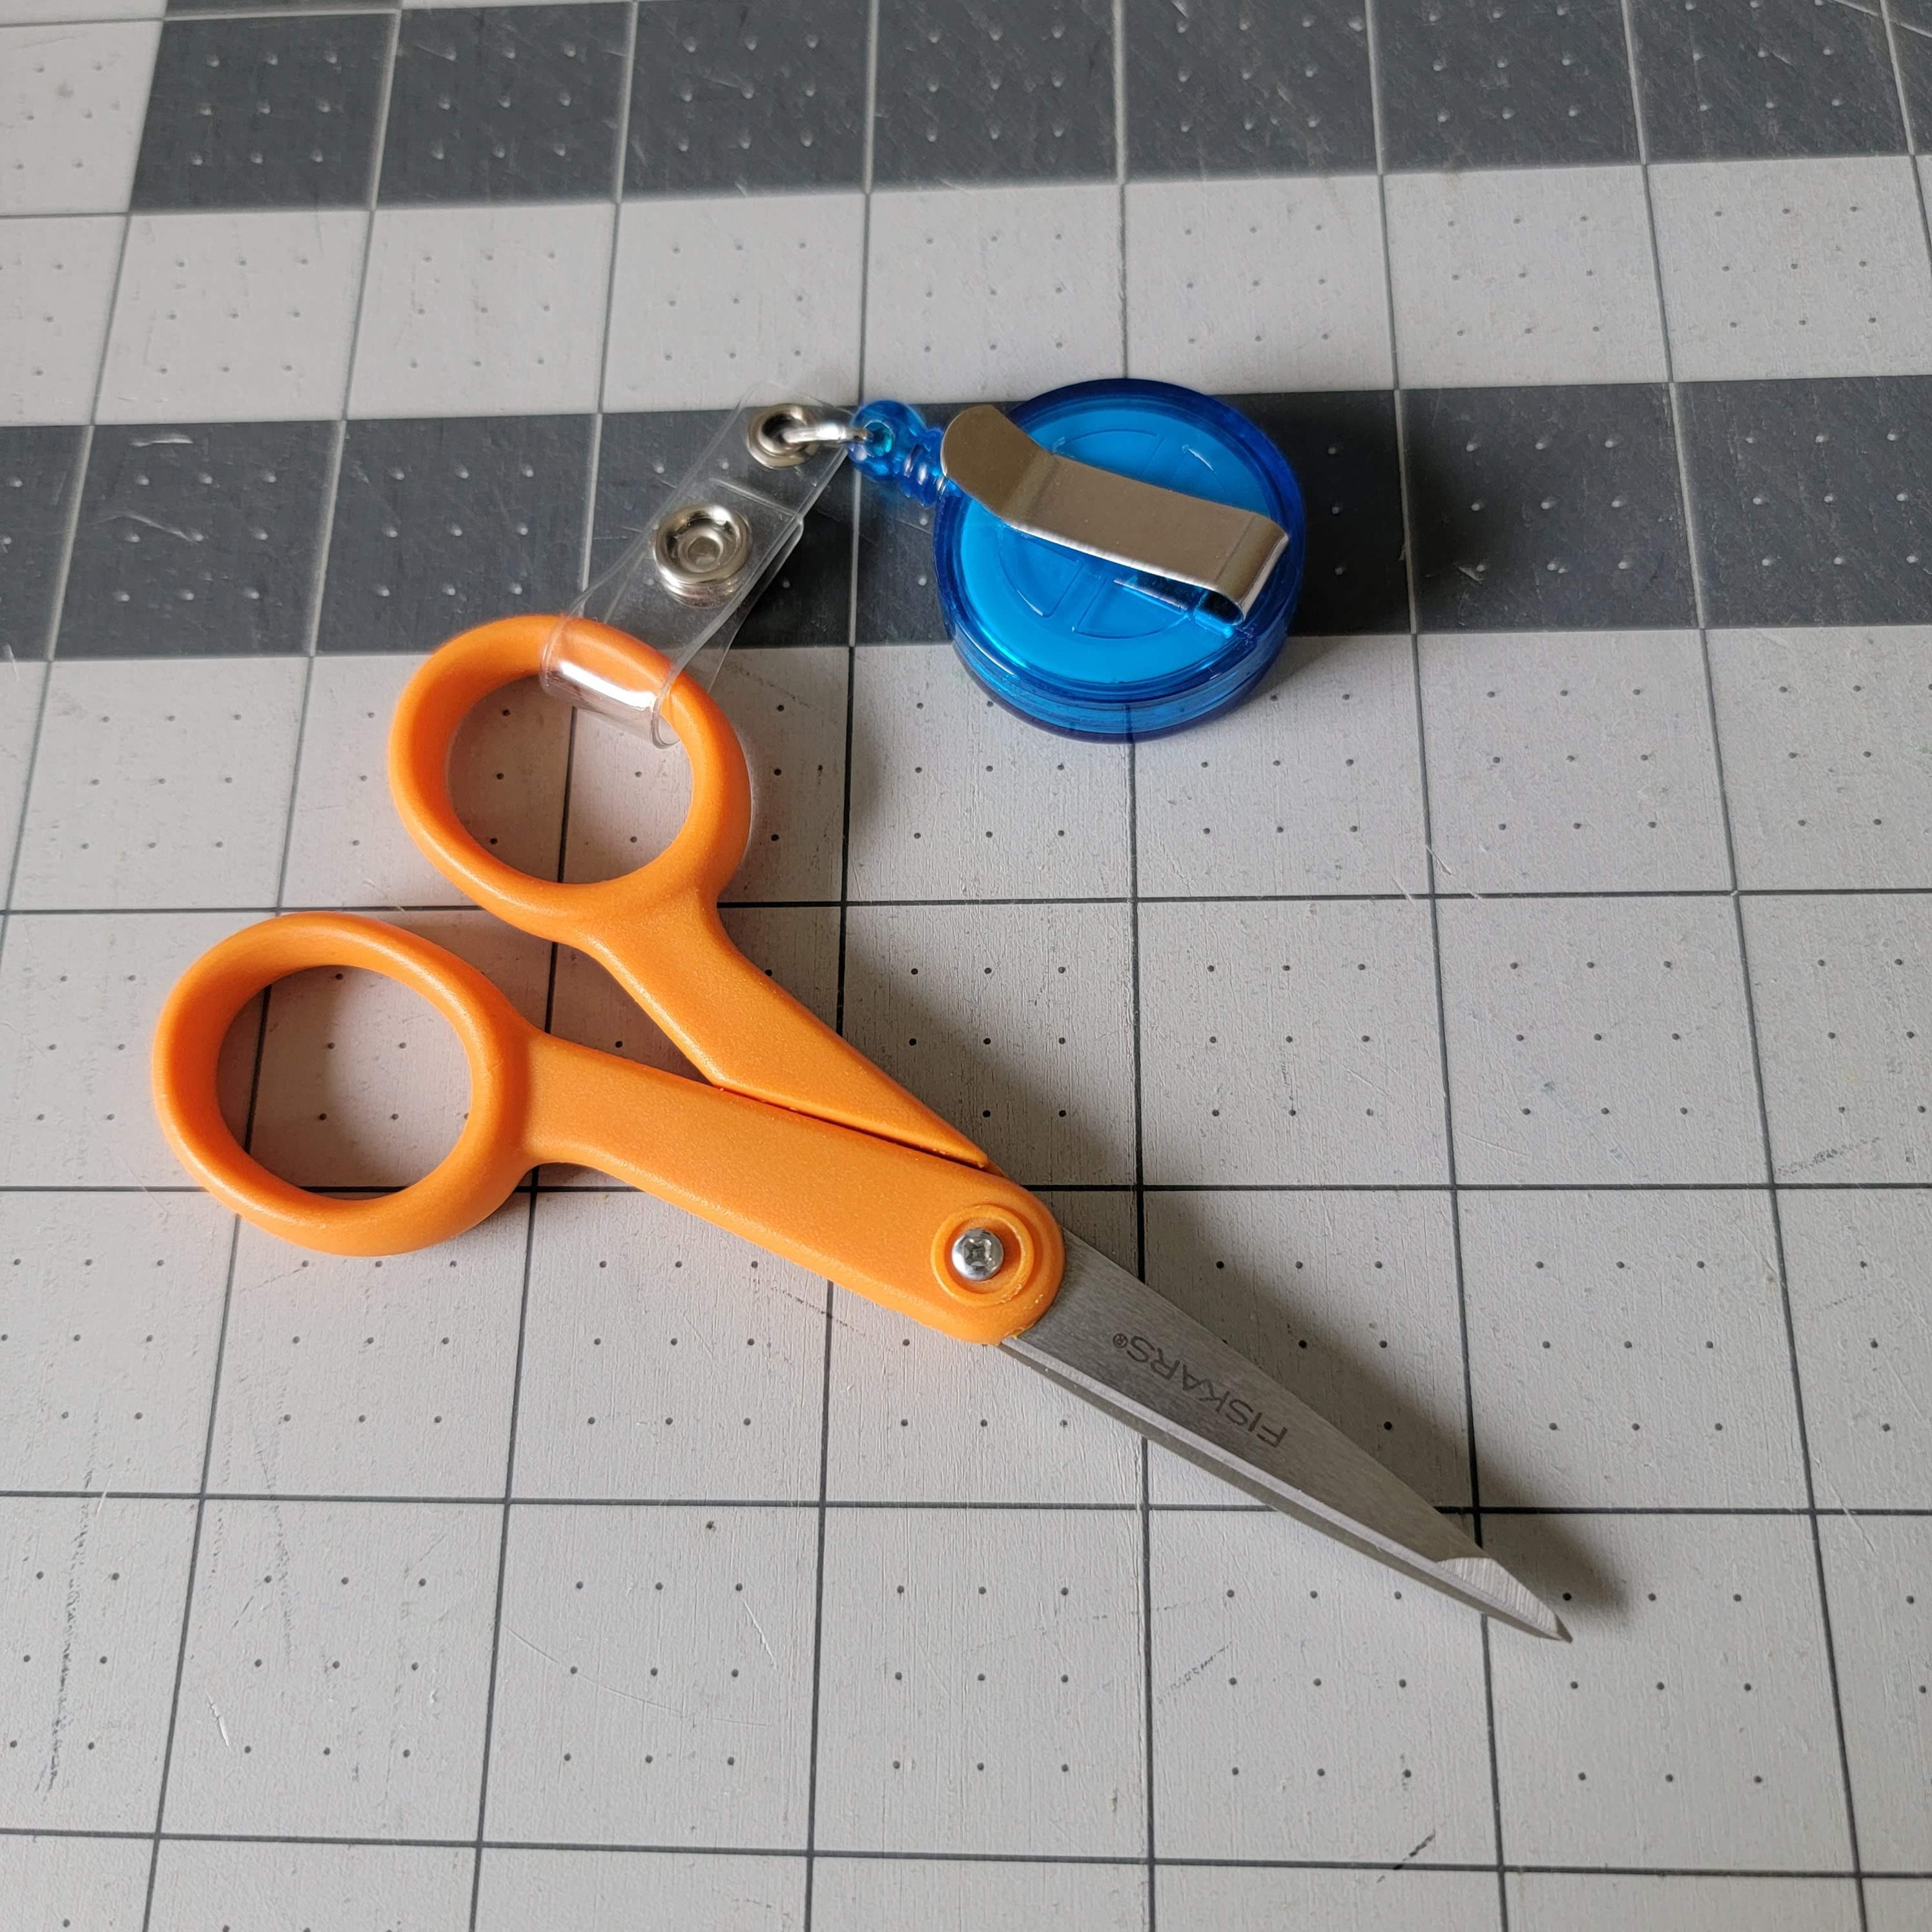
Today I'd like to talk about some of my favorite and must-have tools. First, a quality pair of snips. These are my favorite. I have two: one with my long arm, and one with my English Paper Piecing bag/kit. I keep mine on a retractable badge holder. That way I can slide the clip onto my shirt collar so my scissors are always handy. I can also slide the clip onto my keyboard tray on the frame. 
Next, the humble yard stick. You can pick these up at the home improvement warehouse of your choice, usually for just a couple dollars each. They don't have to be fancy, or accurate, for this. I use them to support the side clamps on my long arm machine when the backing is skimpy. They make sure the machine bed and handles don't get caught up on the clamps while the machine works. Just slide it under the elastic for the clamps and set on top of the two most level bars of the frame. This really depends on your machine frame set up. 

You can also see the elastic marker with cord locks. I use this to keep my quilt top straight and square while quilting. I float my quilt tops (particularly with charity quilts because they are so small) so this keeps me on track without pre-basting.

Wednesday, December 1, 2021

Tool Tip Wednesday

On Saturday I broke my retractable holder for my snips. I slip the click onto the collar of my shirt so my scissors are always handy when I'm working with the long arm. This also ensures I don't leave them on the surface of the quilt. 
Thankfully, I had a back up clip in my desk. The scissors are Fiskars micro-tip. They are perfect for keeping next to your sewing machine or in your sewing bag. I'm pretty sure I have three pair: one in my hand sewing kit, one for my long arm, and a third pair with my embroidery machine. Those tips are indeed sharp. 

Tools and supplies (affiliate links):

Monday, November 11, 2019

So Many Socks

After getting the 72 slot cylinder for my circular sock knitting machine I have been working on holiday gifts. The 64 slot is perfect for socks for my small, narrow feet, but I know so many people with human-sized feet. This is the pair of monster socks I knit up. It's nice to use up those little odds and ends leftover from making matching socks. 
There was some coffee along the way, too. 
I even finished up this tiny sock knit on the machine. This sock is worked bck and forth on about 24 stitches and is seamed up the back.
I finished these fun socks made with Uneek Sock from Urth Yarns. 
Lastly, was this pair knit using some very affordable yarn I bought from Erlbacher Gearhart when I ordered the 72 slot cylinder.

You can create your own knit and crochet survival kit using this post.

Tools and supplies (affiliate links):
Size E crochet hook
Paper Mate Ink Joy pens
Clover Locking Stitch Markers
blunt tip scissors
Large eye needles 
Knit Picks Interchangeable knitting needle set
Clover Yarn Threader
clear makeup bag

Wednesday, December 12, 2018

Travel Knitting Kit

When I travel, I usually take along a simple kitting project to keep my hands busy during flights or long drives. This means I may need a few knitting tools. I want to share my kit so you can see what I have and carry regularly. I've never had a problem flying with this kit in my carry-on bag. I only fly domestically in the United States, so your mileage may vary. 
I always have a project bag dedicated to my travel project. It helps me keep the yarn, needles and kit separate from the other things in my carry-on bag. This knitting project bag will easily hold two 100 gram cakes of fingering yarn, the working project, and my knitting toolkit. I made the knitting project bag using Noodle-head's free Open Wide Pouch pattern. I use the medium size but make the bag as tall as it is wide (12" by 12"). The rest of the construction is the same. I usually travel with a circular needle that has wood needles. This is the Knitter's Pride fixed circular, size 6, 32" cable.
Inside the kit are several little bits and bobs one might need.
Inside that little tin are several smaller bits and bobs
All of these things fit inside the clear cosmetics bag I picked up at one of the big-box stores several years ago. This clear makeup bag is about the same size and would work just as well. 

You might need something not in my kit. You might not need everything that's in my kit. Don't be afraid to travel with your knit or crochet project. Even if you don't travel very much, you can still put together a really useful kit for your project so you aren't stuck without a tool to keep working. 

Tools and supplies (affiliate links):
Knitter's Pride fixed circular, size 6, 32" cable
Size E crochet hook
Paper Mate Ink Joy pens
Clover Locking Stitch Markers
blunt tip scissors
Large eye needles 
Knit Picks Interchangeable knitting needle set
Clover Yarn Threader
clear makeup bag

Tuesday, February 24, 2015

Tool Tip Tuesday: Fiskars Thread Snips

I always have to turn around and reach for my scissors when cutting threads on the long arm.  (I'm not going into the bury threads/don't bury threads argument.  Do what you're comfortable with.  I don't bury threads.)
I wanted a solution that would keep my scissors, or some snips, at hand without having to turn and search for the scissors.  It occurred to me that this could be easily accomplished with just a couple things.  I picked up the Fiskars Thread Snips on sale ($6-$9).  The badge reels ($3-$4 for a pair) were picked up at Office Depot.
I decided that I liked how the snips felt in my hand with the badge reel on this side (the top) of the snips.  I attached the snips and then stood in front of my long arm trying to figure out  the best place to hang the darn thing.  Reach is an issue as is keeping the dangling thing out of the way of high-speed parts and feeding threads.
I ended up clipping it onto the bottom of one of the thread holders.  I haven't loaded a quilt and tested this location.  I'll update this once I've run a test.  I'm pretty sure it will work out.

Total cost of the tool tip:  Less than $10.  I think this will work similarly if you're trying to keep track of the snips at your sewing machine.  Just be sure to keep them out of your normal operating area (I would never attach these snips to my person) because they are sharp and they do not stay closed due to the design of the snips.  Wearing open blades is never a good idea.

Do you find you're misplacing your cutting tools?  What have you done to keep track of them?

Thursday, October 2, 2014

Thread Thursday: Staying Organized

I found that I was having trouble keeping track of my scissors while working on the long arm.  Having to traipse back and forth along the long arm's 10 feet to find them was becoming annoying.  Several other quilters and crafters had raved about this cute little cart from IKEA.
I wasn't in love with the white or the turquoise but the gray seemed like a good fit.  I put it into the cart and it came home with us.  This project requires only one peep.
As proof that I needed somewhere to store my tools, I had trouble finding space to put this cutie together.  I ended up doing some of the assembly on top of my closed treadle cabinet.  Don't tell the vintage sewing machine people.
Like all things created IKEA, this one included simple assembly that could be accomplished with tools on-hand or those provided.  This little wrench will likely never be used again but it was a thoughtful design.
In about 30 minutes I had my cart assembled and ready for thread.
I picked up those little hanging bins and the baskets from IKEA, too.
Look at all that thread!  I've got a system for keeping track of my threads, rulers, marking tools, tape measure and scissors.  I think this was a great investment.  Why didn't I just make an apron to carry my scissors?  Because that wouldn't be as cool as building stuff from IKEA.

Do you have a unique way to store your tools and supplies?

Wednesday, June 18, 2014

Tool Tip: Thread Snip

This is a quick little tip that I got from a video that was shared on Facebook.  I couldn't find the video, so you'll be stuck with my pictures and basic description.

Do you drop your scissors or the little block units when snipping the threads between chain-pieced units?  Do scissors just seem like an over-abundance of cutting capability to snip those threads so you can move on to the pressing and the next round of chain piecing?  This may be for you!  (You may also think it is just plain silly.  Make up your own mind.)
For this thread cutter you're going to need at least one letter opener like the one shown above and two pieces of hook fastener.  I went with the Command strips from 3M because I could get the fastener and the letter openers in one happy place.
You'll need two pieces of the fastener and one letter opener per installation.  I picked up enough for more than one, but I haven't decided where the second one will be installed.
Take two pieces of the fastener and stick them together with the hook sides of the strips.  This will make your cutter easier to move around or replace.  Pull the paper off the back of one of the Command strips and press firmly to attach to the letter opener.  Figure out where you want to put your cutter.
Pull the paper off the back of the other piece of fastener and press firmly to the underside of your sewing table or chosen location.  I put mine under the edge of my machine table to the left of the machine bed.
You can either turn it around to face the other way when not in use, or remove it and put it into a drawer nearby.  I didn't like mine hanging around, so I put it in the drawer to the right of the machine.

Now you are set to cut those threads at a faster pace without having to pick up your scissors.  Just hold the two chain pieced units, one in each hand, and slide the joint into the slot to cut the threads.  I haven't much testing this one except to make sure it cuts.  I will have to do a bunch of chain piecing to provide a fair review.  If you decide to give it a try, please let me know how it worked out for you.

Do you have any tips for making sewing tools out of unexpected things?