Showing posts with label machine. Show all posts

Wednesday, October 18, 2023

Machine Embroidered Notebook

Kreative Kiwi has some great embroidery designs. Last week they had a great sale on in-the-hoop notebook covers. I've been eyeing these for a long time. I've made more than a couple notebook covers but I had never made one using my embroidery machine. 
Each step is a hooping, which is a neat way to make something bigger than you embroidery hoop could handle if you were to make all of it in a single hooping.
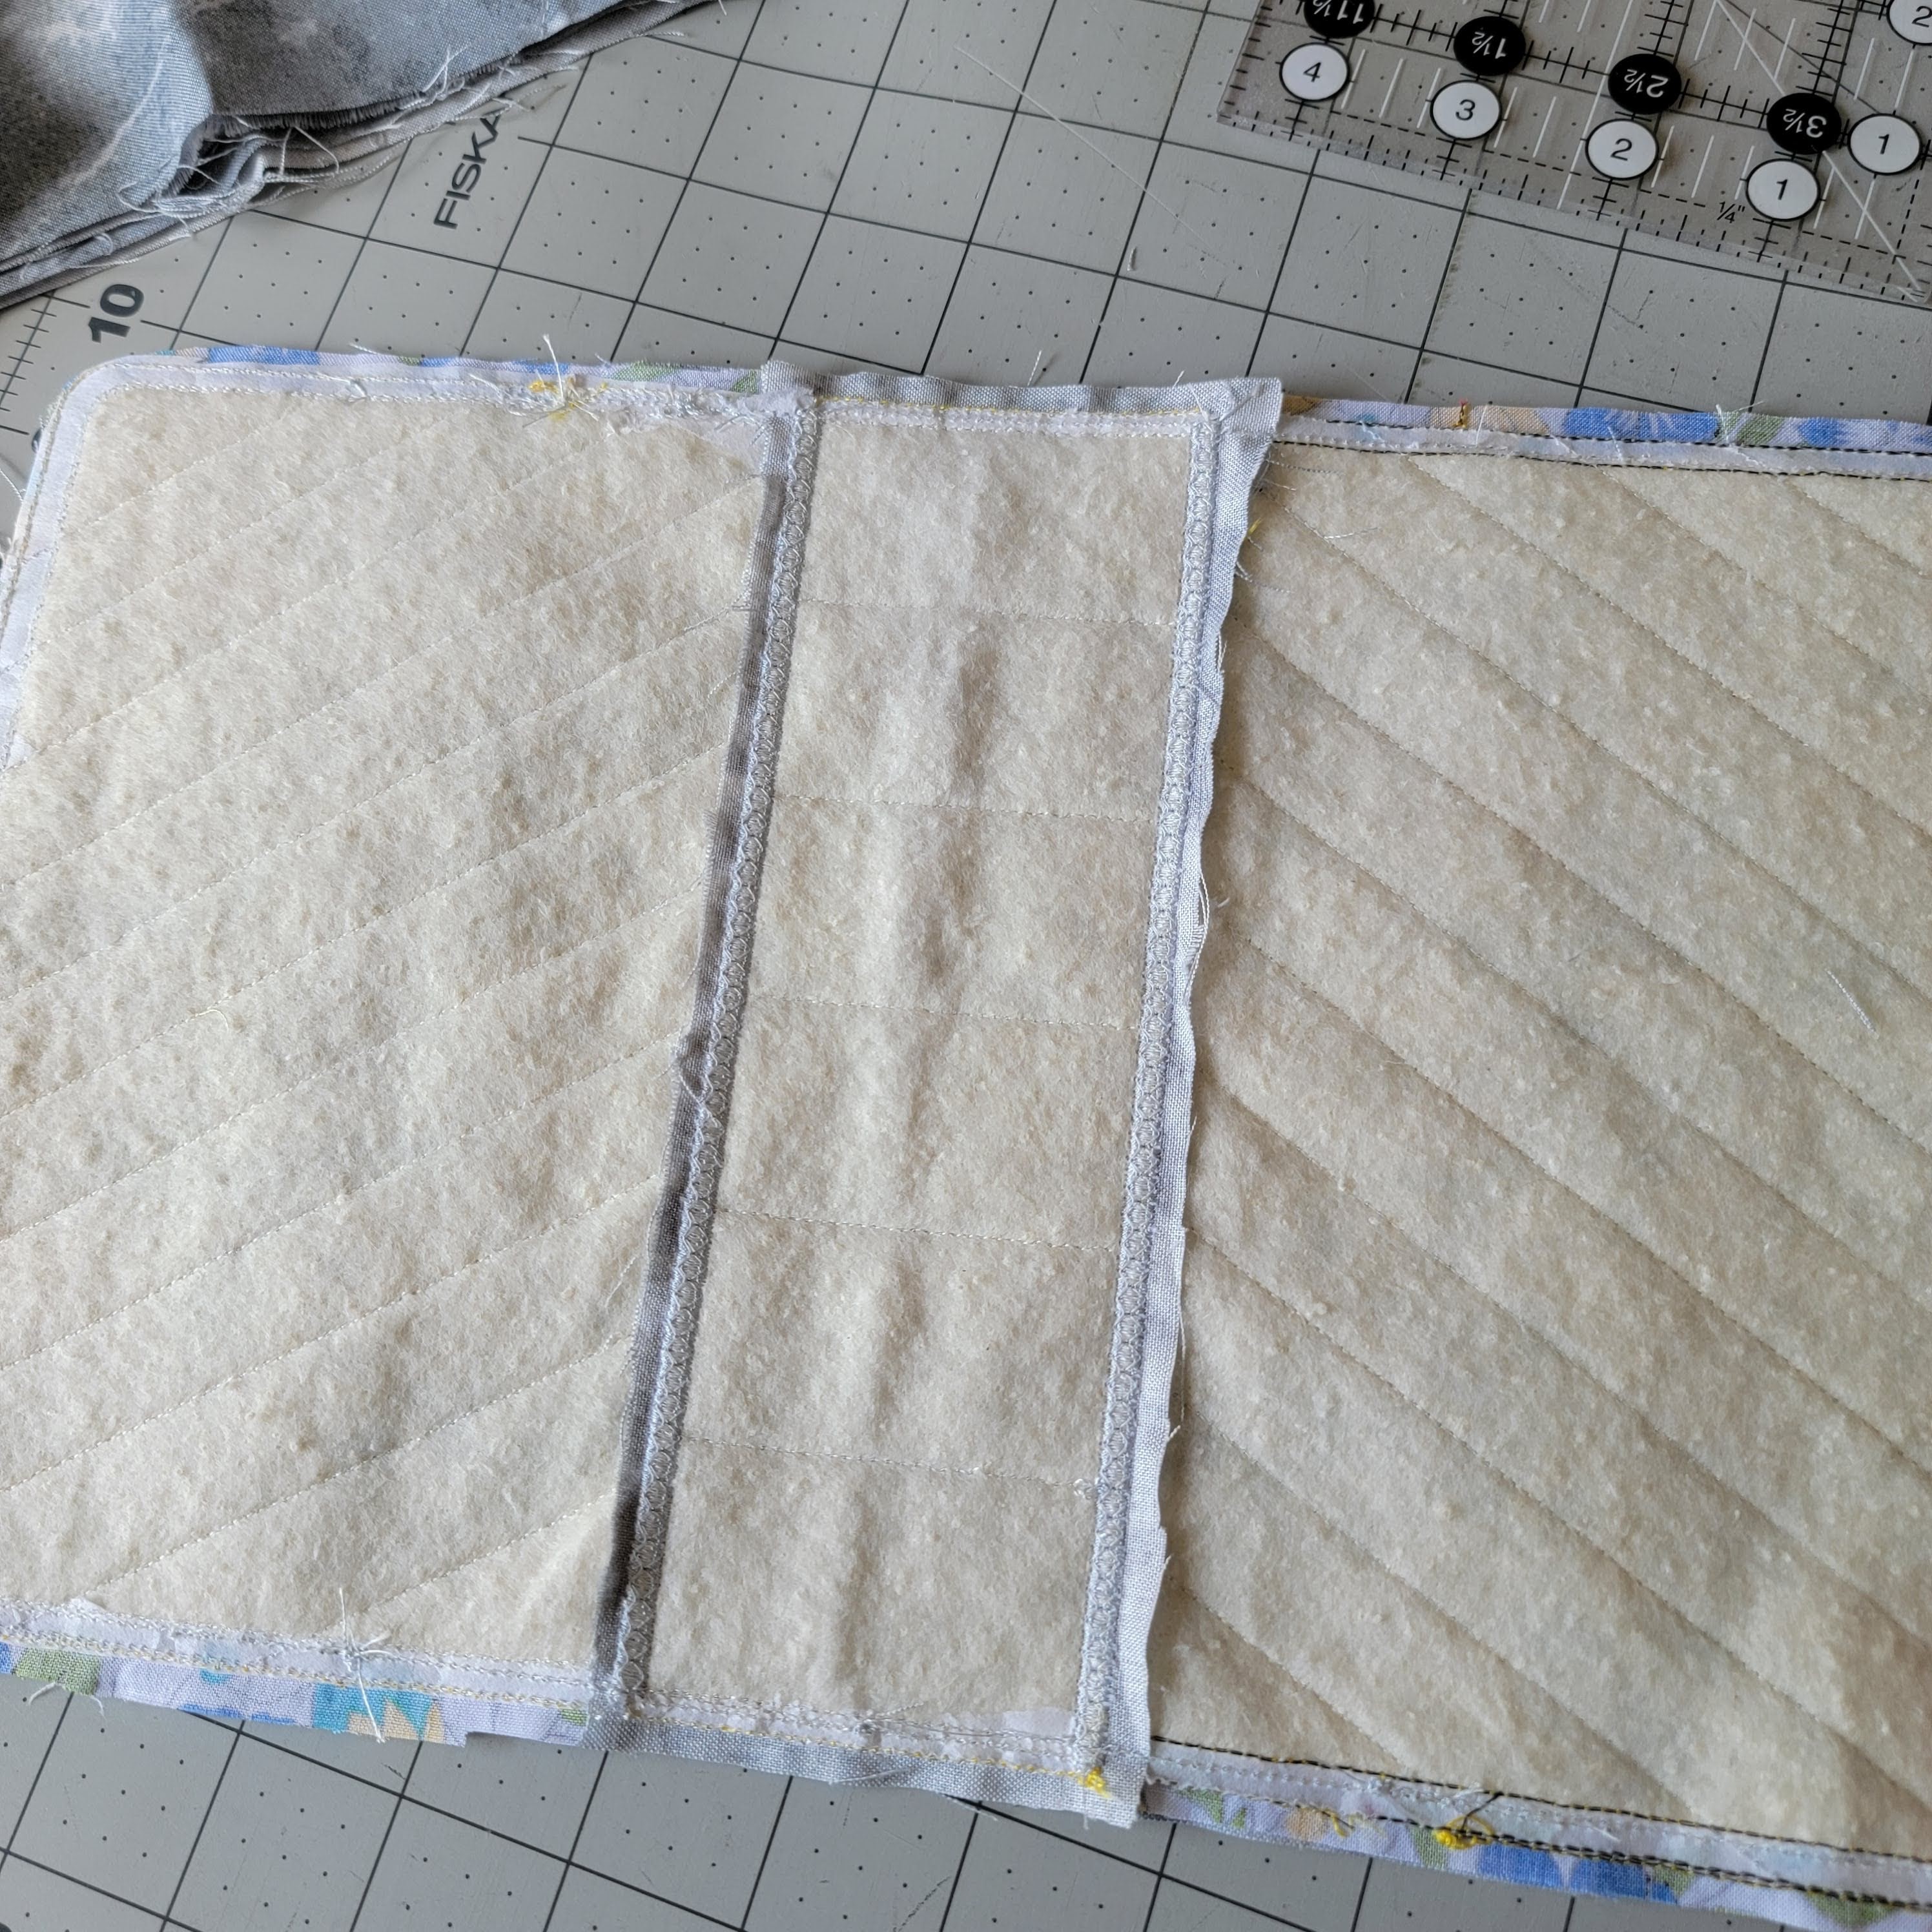
This pattern even adds the lining in the hoop. The gray fabric is leftover from a quilt I made. 
I used some batting scraps I had from another project. 
Here it is turned and pressed. 
And wrapped around my notebook. This was a great little project. I'm sure I will make a few more of these. The embroidery design comes with four sizes so finding one to fit your notebook is easy.

Tools and supplies (affiliate links):

Monday, May 31, 2021

Multipass

When I saw this recent embroidery design release by Off With Their Threads I raced to the website to buy my copy. This is such a great geek project. After trimming some slivers off my card, it holds my vaccine card perfectly.  
I was so glad I found this gray vinyl in my collection. Perfect for this project. This design fits in the 5" by 7" hoop and stitches out pretty quickly. 
I backed mine with coordinating gray felt. I think I'll use vinyl as backing on the next one. 

Friday, April 23, 2021

Get Rolling


I want to share the many things I've been doing. However, it seems I haven't been doing many things. I did get some roller skating in last week. I bought these great wheels from Roller Skate Nation. Let me tell you, they are fast!
Don't forget your safety gear!

Skate accessories I bought to support this crazy new hobby (affiliate links):
Zeato All-in-One Skate Tool
Triple Eight Saver Series Pad Set
Triple Eight The Certified Helmet

Friday, March 19, 2021

Luminous Wheels

This week this smashed box showed up on my doorstep. 
Inside, and unharmed, were these wheels, new bearings, and laces for my skates. Because skating is all about the accessories. I bought these from Roller Skate Nation. I don't blame them for the smashed box. I'm sure the box didn't look like that when it left them. 
Here are my skates before the change. I was using the dirty Moxi wheels from my Beach Bunnies on my Moonlight Rollers. 
Here is the after. That's right, I decided to get Luminous wheels. Because I wanted light up wheels. I'm pretty happy with this set up. This is how I roll. 

Wednesday, February 17, 2021

Skating Sugar Skulls

Last week my new skates showed up, these are Sapphire from Moonlight Rollers. I hadn't seen a comparable blue in other skates and these spoke to me. I'm super happy I decided to give them a try. These are at a higher price-point than my Moxi Beach Bunnies but less than a pair of Moxi Lollies. Unlike my Beach Bunnies these didn't come with toe caps. That got my crafty mind churning.
I used the Moxi toe cap to create a template and cut out some marine vinyl I had on hand. There are loads of tutorials on how to make your own toe caps out there on. Look around and try to find a style you like. Some are sewn, some are put together with rivets, and others are crocheted. So many options!
Then I hooped some stabilizer and took the frame to the embroidery machine.
There is a risk when cutting before embroidery but it seemed the best way. The Sugar Skull key fob design is from Designs by Little Bee
Then I stitched up the sides and closed the loop for the laces at the top. Time for the moment of truth. 
And there you have it! I may play with the pattern a little more to fine tune it but they fit, look cool, and should keep from scuffing the toes of my skates. 
I may use a smaller embroidery design in the future. Overall this was a great holiday project. 

Machine embroidery design: Sugar Skull key fob from Designs by Little Bee

Tools and supplies (affiliate links):
Fiskars Self Healing Rotary Cutting Mat
Fiskars 8-inch scissors
Juki TL-2010Q
Magna-Glide bobbins (absolutely the best for my embroidery machine)
Pellon Stitch-N-Tear, 20" by 30 yd, White

Wednesday, February 3, 2021

Dayna Pack

I've had this amazing embroidery for a while now. I stitched it out on my embroidery machine a while back. The design is from Urban Threads Embroidery. I really like their designs and I've stitched them out successfully on two different brands of embroidery machines. They also offer their designs as hand embroidery designs for about $1. This was the perfect project to use that stitched out design. 
The Dayna Pack is a simple design that works up quickly with good results. I made mine with an adjustable strap that did not include the hardware called for in the pattern. I used what I had on hand and I really like the result. 
I used a small piece of a Halloween print in the lining. 
I really like the size of this little bag. I see more of these in my future. Pick up your own copy of the Dayna Pack on Etsy.  

Monday, December 7, 2020

Yarn Basket Bag

I've been eyeing the Basket Bag pattern by Michelle Patterns for a while.
When I saw it on sale for 25% off (still on sale as I write this blog post) I grabbed it. The cutting and sewing directions are clear and easy to follow. I cut in the morning and had a finished bag by lunch time. 
This was my test sew of the largest size and it is perfect for holding yarn and bunches of yarn at that. This would be a great little bag as a base for a gift basket. A small one with a couple hanks of yarn and some stitch markers for your favorite knitter would be great! Or filled with handmade washcloths, handmade soap, a couple bath bombs, and lotion for the friend that likes to pamper themselves. So many options!
I learned the pattern and what I might want to change when making another. That isn't a critisizm of the designer. Everyone has their own workflow and how they like their finished objects. Make as many patterns from as many designers as possible. It will help you learn what you like in construction and your favorite techniques. 

Monday, August 24, 2020

Sunshine Crossbody Pouch

A friend mentioned the Sunshine Crossbody Pouch pattern from Bagstock Designs and I decided to give it a go. This is a free pattern with detailed instructions with color photos. You can also find a handful of step-by-step video tutorials on YouTube if you search for "sunshine crossbody pouch". I looked through my collection of vinyl, fat quarters from Spoonflower, and zips to come up with the perfect combination. This fabric Cephalopods world is still available on Spoonflower. 
On Friday I cut out all the pieces. Fabric, interfacing, vinyl, all ready to go. I buy my zippers from Zipit Zippers on Etsy. Great prices and excellent service. I may need to order some more.
I only had a fat quarter of the cephalopod print so I was very careful with my cutting to get just the right images in my center panels. 
Assembly on Saturday was pretty quick since I did all the cutting on Friday. I deviated from the pattern a little with the strap but that's just because I make my cross body bags this way and it works for me. The pattern is perfectly fine the way it is written.
Sewing with vinyl means I get to use my craft clips more than usual. I like them better for keeping some things lined up because they don't distort the fabric like pins can. 
This is a view of that interior zipper pocket and the fact that I failed to leave that zipper open while constructing the bag. There was some sailor language but it was unnecessary as it was really easy to grab that zipper pull and open the zipper from the lining side of the bag. It was super easy to turn the bag through that interior pocket. Maybe I should change my view on this kind of zippered pocket. 
Don't forget to label your work! Seriously, if you spend hours of your time making something put your mark on it. I mean it. 
And my finished bag! This was a fun little bag. I don't know that it would be my everyday bag (not that I carry a bag at all any more) just because it doesn't really have a convenient place for my phone. That outer pocket is big enough to hold your phone (I have the Samsung) but it isn't getting it into or out of that pocket. My ideal handbag includes a slip pocket inside that is big enough for my phone.

My favorite zipper supplier is ZipIt Zippers on Etsy
Free pattern Sunshine Crossbody Pouch from Bagstock
I buy my bag hardware from Strapworks.com

Tools and supplies (affiliate links):
Creative Grids 6.5" x 24.5" Rectangle
Creative Grids 6.5" Square Ruler
Fiskars Rotary Cutter
Fiskars Self Healing Rotary Cutting Mat
BLACK+DECKER Classic Steam Iron
Grabbit Magnetic Pin Cushion
Fiskars 8-inch scissors
Juki TL-2010Q
Pellon Flex Foam
Craft Clips
Heat'n Bond Non-Woven Feather Weight Fusible 20"x 25 Yards-White
SF101 Shape-Flex® (I was unable to find this for a reasonable price on Amazon. I recommend checking your local big box craft/sewing store.)
Pattern storage: Plastic Envelopes, Clear Reusable Poly Envelope Waterproof File Folder with Snap Button, US Letter/A4 Size

Friday, July 10, 2020

Sewing Machine Gifting

A coworker asked for a recommendation on a sewing machine. I said I could give him a sewing machine. All I had to do was dig around and find one.
I dug around in the attic and pulled out this winner. Winner because it works, and has most of the parts. I did some sample sewing to make sure all the stitches worked.
I couldn't find the spool pin cap (this one is from my Juki). But it isn't strictly speaking a requirement. He should be able to get one aftermarket, or 3D printed. In a pinch you can put a rubber band on the spool pin and that will do the job. I also couldn't find the button hole attachment but now often do people really do button holes?
This one even has the manual! I keep some things entirely too long. I scrounged up the right bobbins, some spare needles, and a couple spools of thread. I will get it all boxed up and in the trunk for the next time I see him.

Wednesday, July 8, 2020

In The Hoop

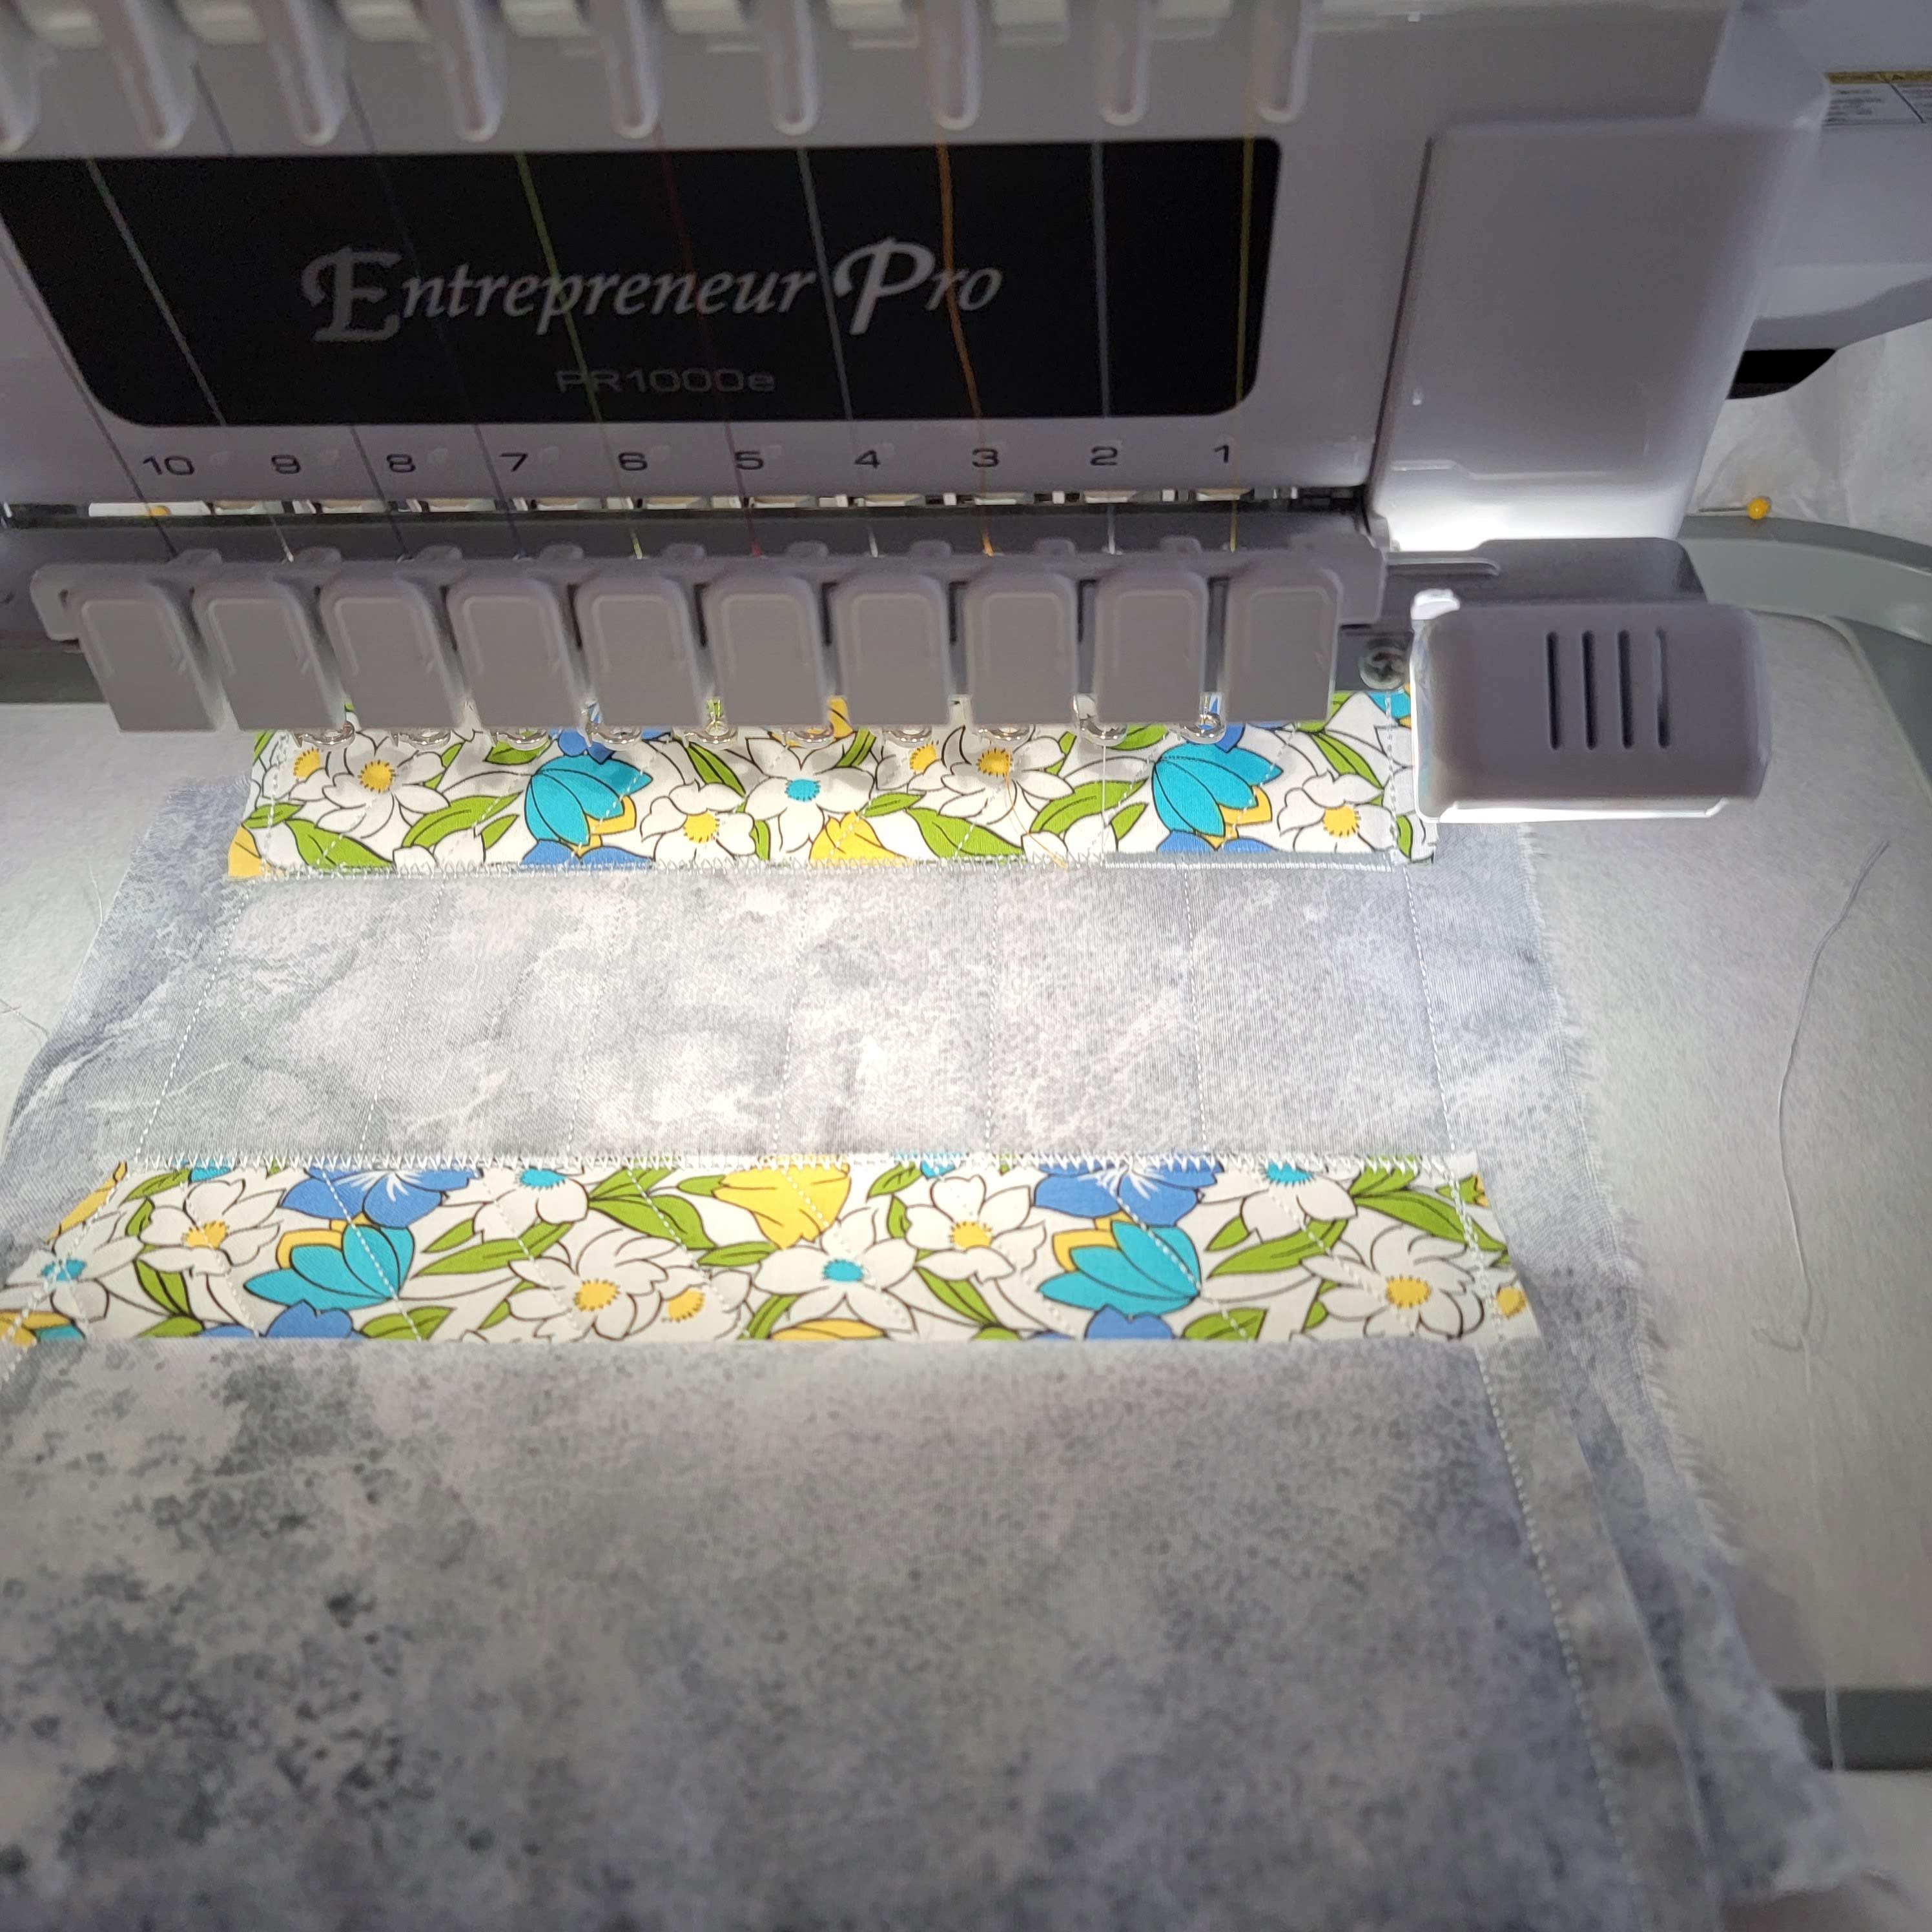
Time to get hooping! My cutting table prior to the real mess. I discovered Off With Their Threads last week. They were having a sale and I couldn't resist picking some fun in the hoop (ITH) projects. I grabbed my tear-away stabilizer and hooped it up.
I decided to use this lime green vinyl I picked up at one of the big box fabric stores a while back. The strap for the claw clasp was a leftover from another project. This is the step in the project I realized I had taped it onto the work the wrong way. I grabbed my seam ripper and got that sorted out. 
I taped down the clasp before the final stitch out just to be sure the needle wouldn't hit it. 
Trimmed and ready for the final steps on the sewing machine. This project is not completely in the hoop but the last couple seams are quick on the machine.
Such a cute little pouch! I want to buy so many different printed vinyls so I can make more of these. 
Lined with a fun printed felt. 
What do you do with such a little pouch? Well, you stuff two or three face masks into it so you will always be prepared. 
Fun little project! I think I should make a couple more. Great to hang on your key ring or handbag.

Machine embroidery design: Off With Their Threads Mini Backpack

Tools and supplies (affiliate links):
Creative Grids 4.5" x 12.5" Rectangle Quilting Ruler
Fiskars Rotary Cutter
Fiskars Self Healing Rotary Cutting Mat
BLACK+DECKER Classic Steam Iron
Grabbit Magnetic Pin Cushion
Craft Clips with Tin Box Package, Pack of 100
Fiskars 8-inch scissors
Juki TL-2010Q
Magna-Glide bobbins (absolutely the best for my embroidery machine)
KAM snaps
Pellon Stitch-N-Tear, 20" by 30 yd, White
Premium Metal Lobster Claw Clasps - Wide 3/4 Inch D Ring

Wednesday, July 1, 2020

Odds and Ends

This lily (I think it is a lily) was blooming in my front garden recently. Right there next to the weeds. We like all the plants here, even the dandelions.
I carried my latest crochet project (that I have yet to share) around in this awesome tote I made using an embroidery design from Urban Threads and too many Sharpies.
I made fococcia bread for dinner one night using this recipe.
It came out great! We added it to the list of things to make when we host dinner and games with friends. 
I finished this fun pair of stripy socks using the mini-mast I picked up specifically to make fun stripy socks. Expect to see many more in even more exciting color combinations. Yarn from Knit Picks; stripes are Felici, solid purple is Stroll solid.

Tools and supplies (affiliate links):
Knitter's Pride medium sock blockers
Baker's Half Sheet (2 Pack)
15 X 16 inch canvas tote (20 pack)

Too many Sharpies (affiliate links):
Ultra Fine Point Sharpies
Sharpie Electro Pop Permanent Markers, Ultra Fine Point
Sharpie Permanent Markers, Ultra Fine Point, Cosmic Color
Sharpie Permanent Markers, Fine Point, 80s Glam Colors
Fine Point Sharpies
Sharpie Color Burst Permanent Markers, Fine Point
Sharpie Permanent Markers, Fine Point, Cosmic Color
Sharpie Permanent Markers, Fine Point, 80s Glam Colors