What can you do with a piece of fur from Ikea? Well, my plan was to make a fur mantle that would give the viewer the impression of a barbarian character.
I made a foundation for the fur and sewed the fur to the foundation.
And trimmed the fur into a suitable shape.
Then, I decided I didn't want it to be white and did a dye experiment. And that is where it all went sideways. I didn't wait for the water to get up to temp. I wasn't sure the water would ever get up to temp. In the end, I had this bluish fur. It wasn't white, but it wasn't the gray I was aiming for. It's still pretty awesome.
Showing posts with label projects. Show all posts
Monday, November 18, 2024
Friday, November 15, 2024
Horned Hat
I've been sewing up fleece hats this week. I found this great pattern from Feerie Telle and just had to pick it up and make a fun hat.
The horns are made using smaller pieces so I went through my scrap bin and picked out some blues.
I needed to get a feel for the effect so I pinned the front of the hat to my foam head. I think they turned out just great.
Then I finished the hat and it is so great! I'm sure I'll make a few more of these, with different colored horns. These are the large horns. It also includes instructions for smaller horns. Have you made any fun fleece this fall?
The horns are made using smaller pieces so I went through my scrap bin and picked out some blues.
I needed to get a feel for the effect so I pinned the front of the hat to my foam head. I think they turned out just great.
Then I finished the hat and it is so great! I'm sure I'll make a few more of these, with different colored horns. These are the large horns. It also includes instructions for smaller horns. Have you made any fun fleece this fall?
Wednesday, November 8, 2023
Making Masks
We recently attended a game convention that required masks for all attendees.
I wanted some new masks made with fabric that fit the theme.
The cut away triangles are so cute!
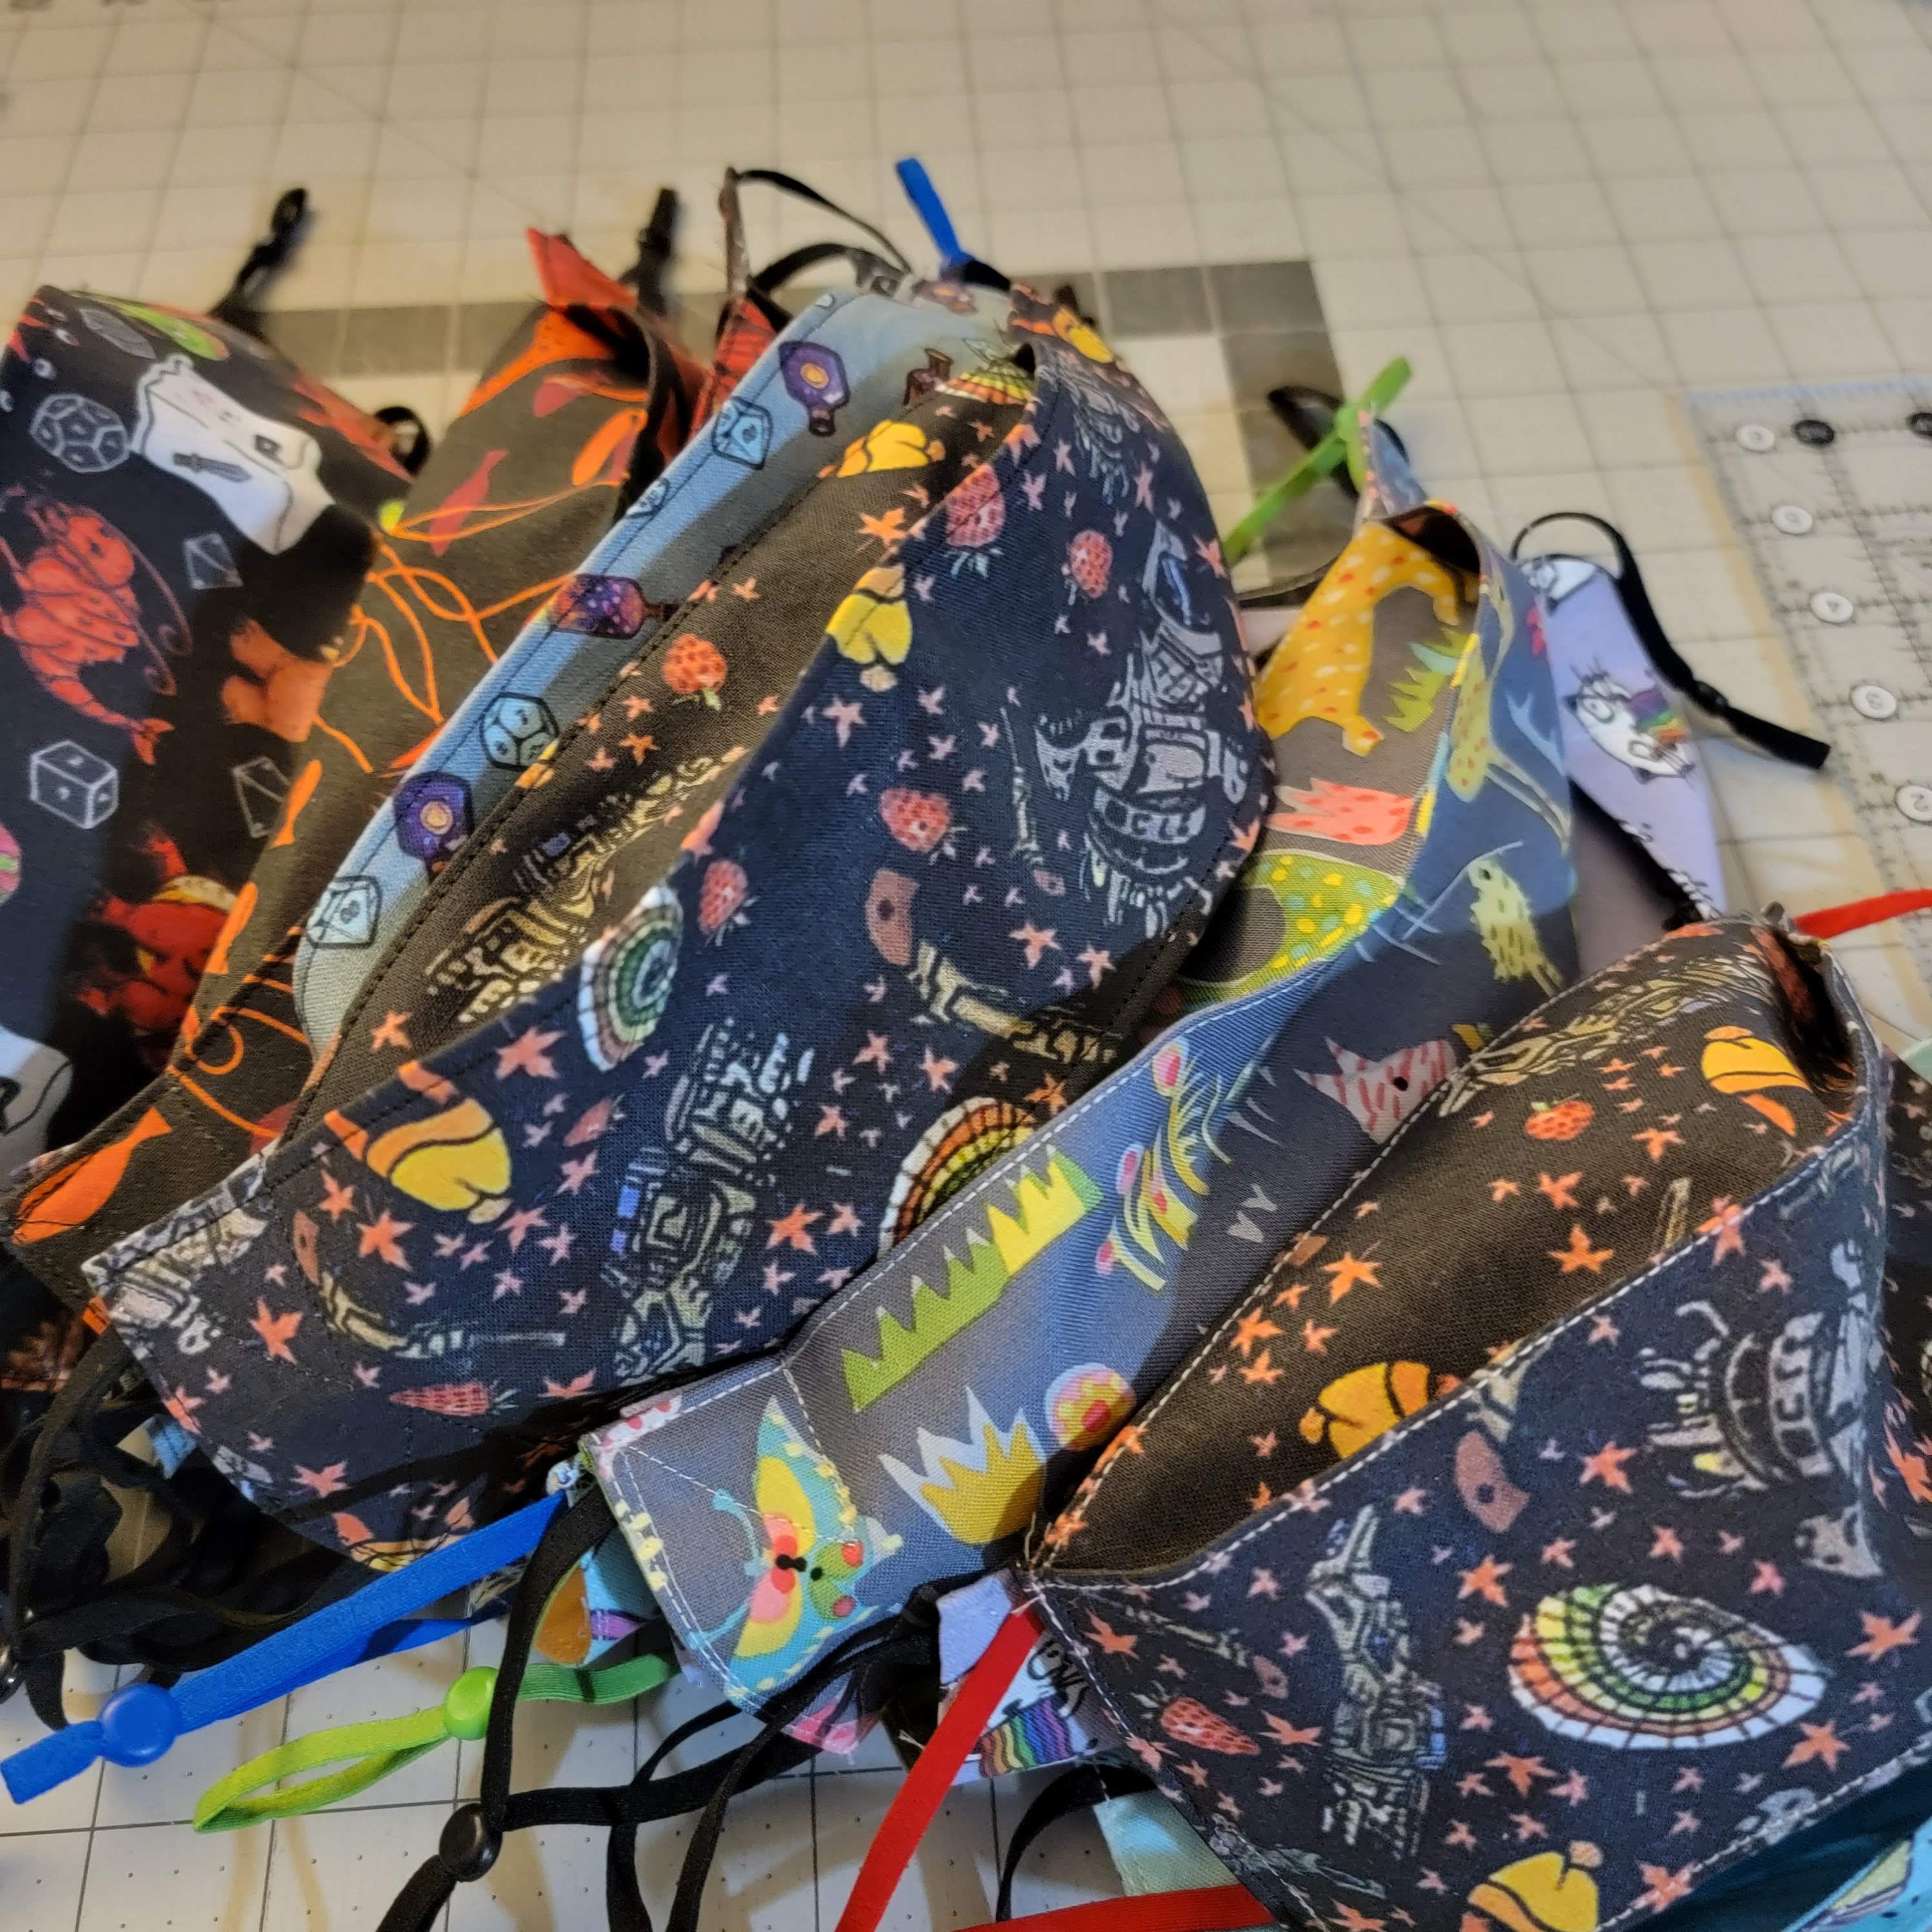
I made a dozen new masks. Not that we needed that many for a weekend event. Dice, beholders, potions, dragons, gelatinous cubes, and rainbow vomiting cats. Fabrics from Spoonflower.
Then we popped them into the wash so they would be clean for our convention.
I wanted some new masks made with fabric that fit the theme.
The cut away triangles are so cute!
I made a dozen new masks. Not that we needed that many for a weekend event. Dice, beholders, potions, dragons, gelatinous cubes, and rainbow vomiting cats. Fabrics from Spoonflower.
Then we popped them into the wash so they would be clean for our convention.
I wrote my own tutorial for these masks. You can find out more about the design on my post How I Mask. Stay safe out there.
Tools and supplies (affiliate links):
Tucker Trimmer III
Fiskars Rotary Cutter
Fiskars Rotary Cutter replacement blades
Fiskars Self Healing Rotary Cutting Mat
BLACK+DECKER Classic Steam Iron
Grabbit Magnetic Pin Cushion
Fiskars 8-inch scissors
Fiskars Rotary Cutter
Fiskars Rotary Cutter replacement blades
Fiskars Self Healing Rotary Cutting Mat
BLACK+DECKER Classic Steam Iron
Grabbit Magnetic Pin Cushion
Fiskars 8-inch scissors
Adjustable ear bands - these may not be available, but the link will help you find some
Monday, August 28, 2023
Binding the DWR
It has been months since I quilted the Double Wedding Ring quilt. More than six months. I thought this striped fabric would be the perfect binding.
I grabbed my Magical Rainbow of Binding cheat-sheet from the Geeky Bobbin. This wonderful chart (just sign up for the Geeky Bobbin's newsletter) is free and wonderful.
It helps you calculate the number of strips you need to bind your quilt. I needed nine for my quilt.
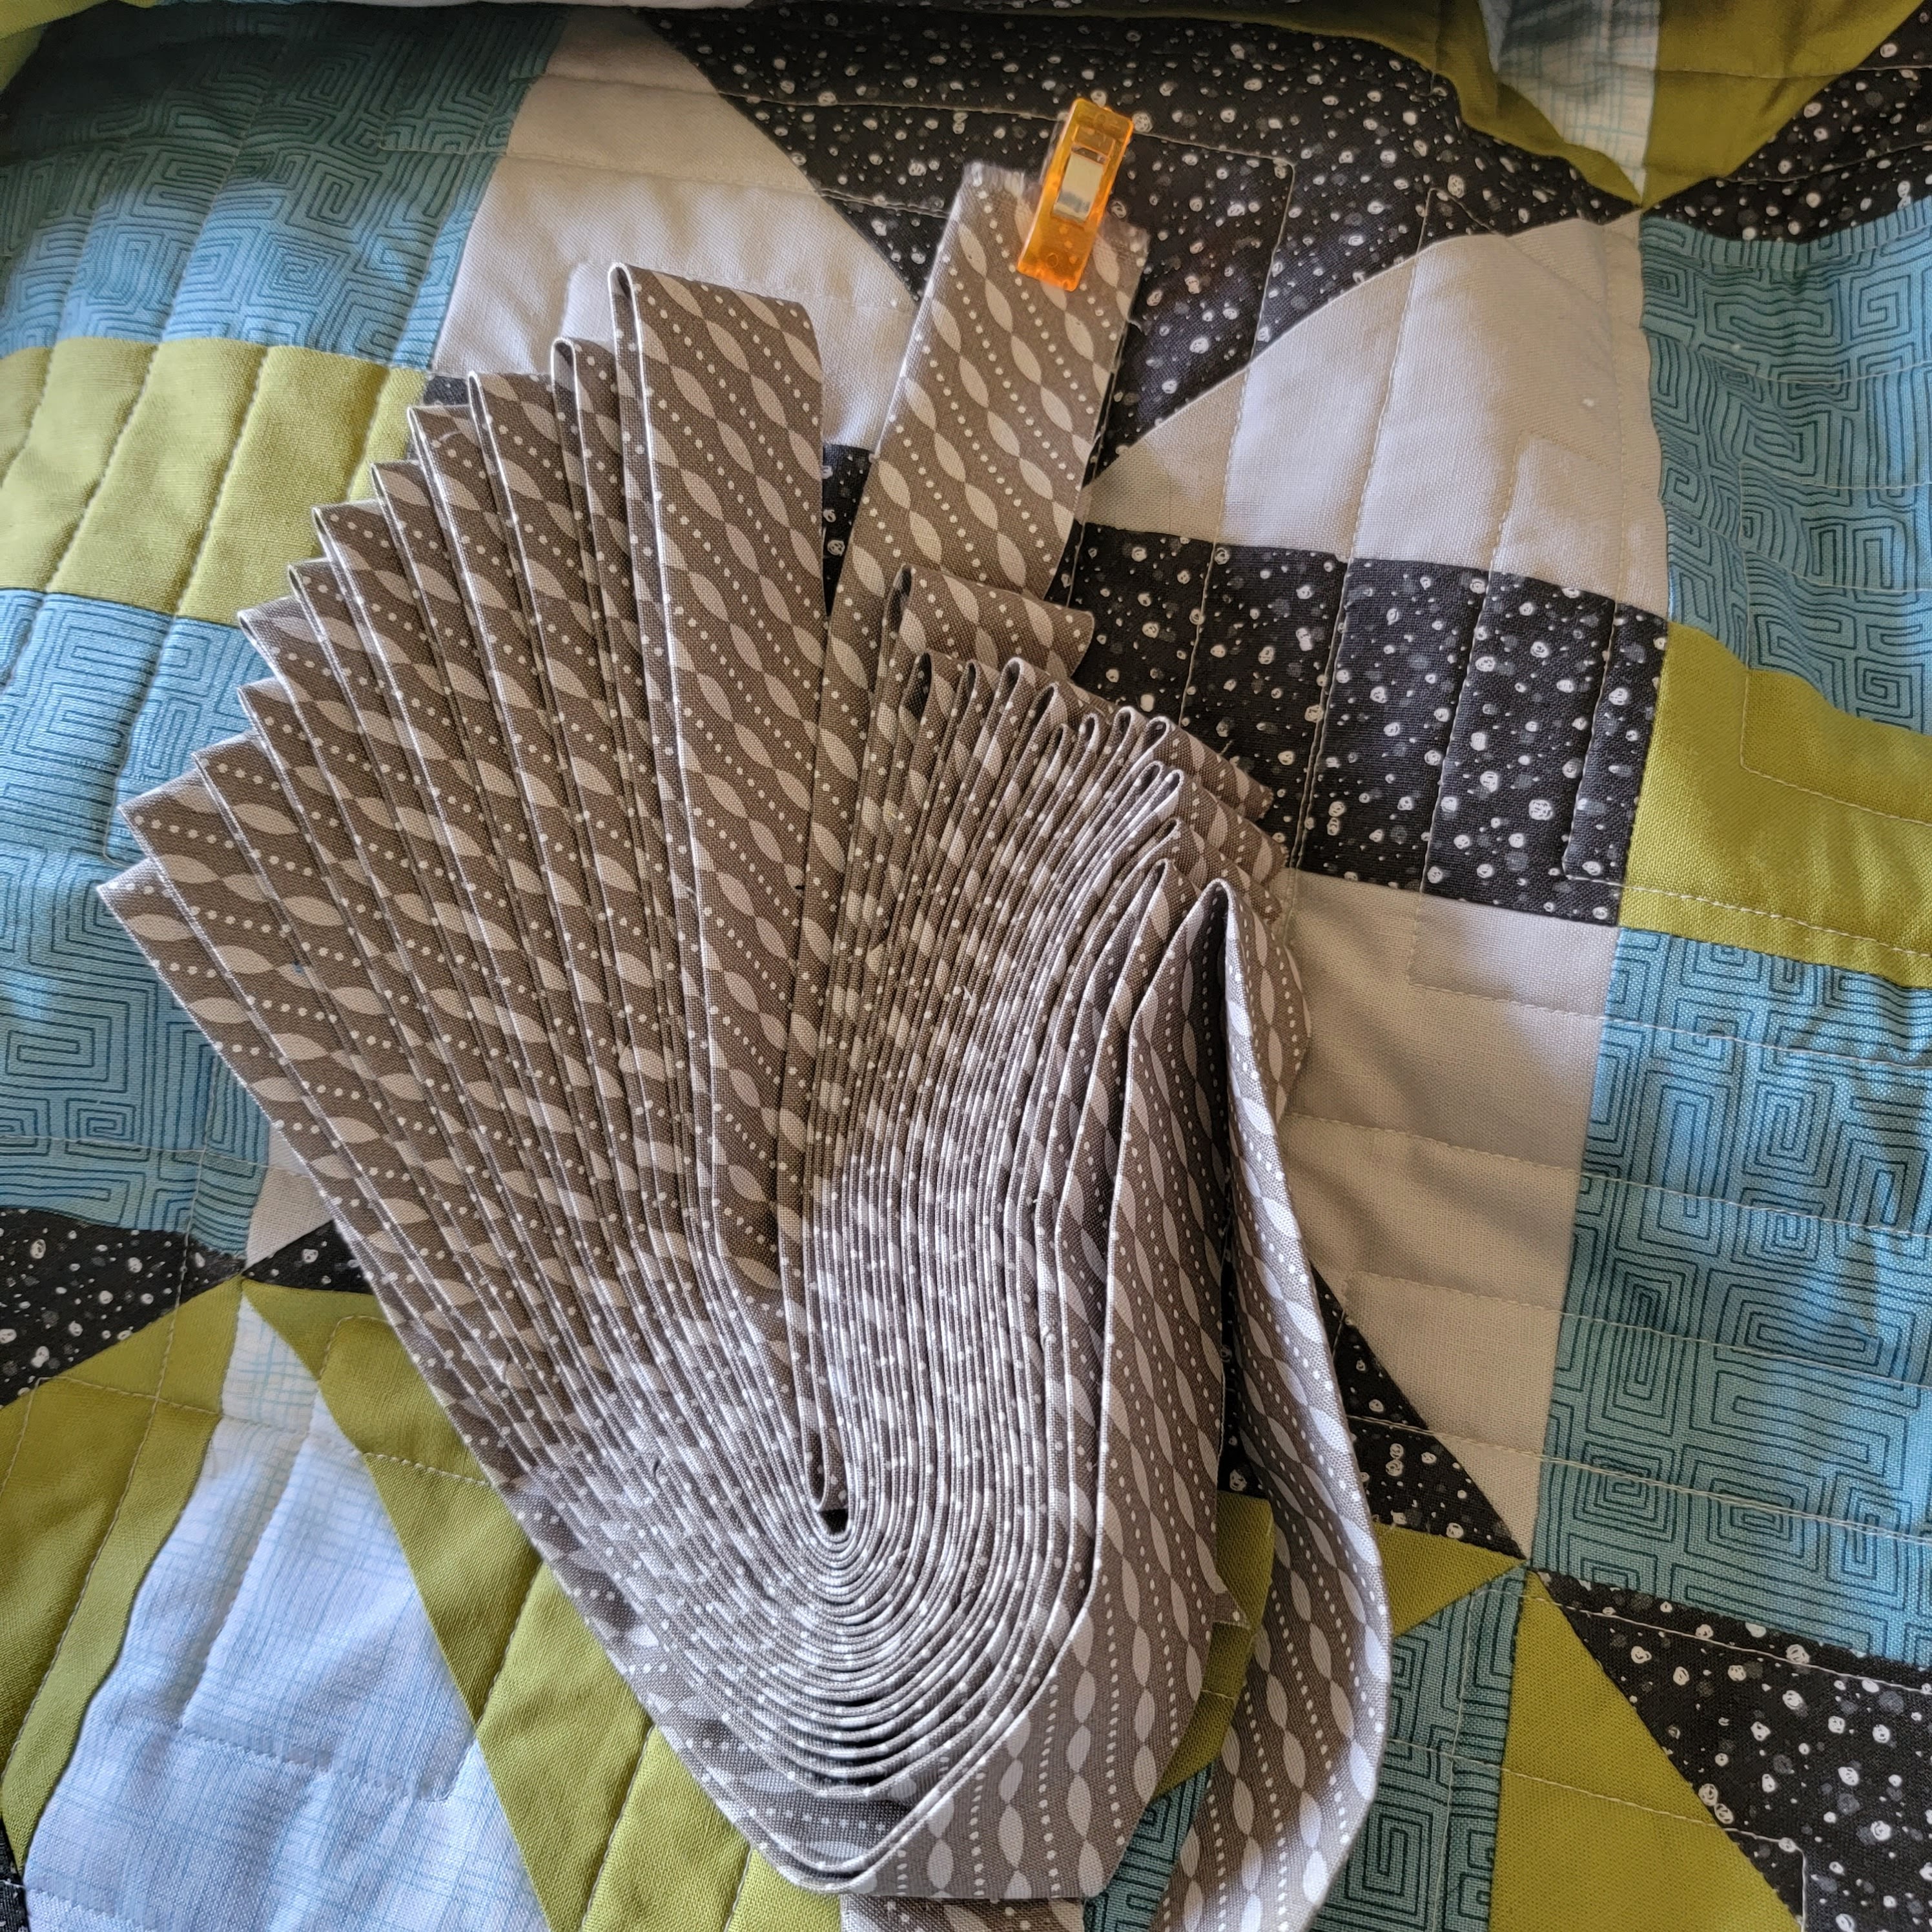
I love a stripy binding. I accordion fold my binding so it is easy to store and attach. Curious about how I attach my binding? You can find my Quilt Binding Tips and Tricks in the sidebar.
That makes another finished quilt! It only took forever to finish.
Creative Grids 6.5" Square Ruler
Creative Grids 4.5" x 12.5" Rectangle Quilting Ruler
Fiskars Rotary Cutter
Fiskars Rotary Cutter replacement blades
Fiskars Self Healing Rotary Cutting Mat
BLACK+DECKER Classic Steam Iron
Grabbit Magnetic Pin Cushion
Fiskars 8-inch scissors
Juki TL-2010Q
Fiskars 14x14 Inch Self Healing Rotating Cutting Mat
I grabbed my Magical Rainbow of Binding cheat-sheet from the Geeky Bobbin. This wonderful chart (just sign up for the Geeky Bobbin's newsletter) is free and wonderful.
It helps you calculate the number of strips you need to bind your quilt. I needed nine for my quilt.
I love a stripy binding. I accordion fold my binding so it is easy to store and attach. Curious about how I attach my binding? You can find my Quilt Binding Tips and Tricks in the sidebar.
That makes another finished quilt! It only took forever to finish.
Double Wedding Ring Quilts book from Victoria Findlay Wolfe.
Tools and supplies (affiliate links):
Creative Grids 6.5" x 24.5" RectangleCreative Grids 6.5" Square Ruler
Creative Grids 4.5" x 12.5" Rectangle Quilting Ruler
Fiskars Rotary Cutter
Fiskars Rotary Cutter replacement blades
Fiskars Self Healing Rotary Cutting Mat
BLACK+DECKER Classic Steam Iron
Grabbit Magnetic Pin Cushion
Fiskars 8-inch scissors
Juki TL-2010Q
Fiskars 14x14 Inch Self Healing Rotating Cutting Mat
Monday, May 22, 2023
Frolic Mystery Quilt Finish!
It's been more than year since I quilted my version of Bonnie Hunter's Mystery Quilt Frolic. I decided it was time to get it bound.Applying binding to large quilts is a wrestling match. I attach the binding to the back of the quilt so I can machine finish it from the top.
If you want to learn more about how I mark my binding for joining the ends, or other quilt binding tips, I have a page (linked on the sidebar) where you can find my machine finished binding tips.
My way is not the only way, and it necessarily the best way. It is just the way I get consistent results. If you're on the fence about using FriXion pens in your crafting, don't worry, I only mark on the back of the fabric, or where the binding will be hidden once finished.
Then, once I press the binding away from the quilt, I roll it to the front and finish it by machine. It makes for a sturdy binding.
Now it is ready for its first wash. My version was made using larger pieces than the pattern called for and a completely different color palette from the mystery. I think it came out great! Do you like to change up the colors when making mystery quilts?
If you want to learn more about how I mark my binding for joining the ends, or other quilt binding tips, I have a page (linked on the sidebar) where you can find my machine finished binding tips.
My way is not the only way, and it necessarily the best way. It is just the way I get consistent results. If you're on the fence about using FriXion pens in your crafting, don't worry, I only mark on the back of the fabric, or where the binding will be hidden once finished.
Then, once I press the binding away from the quilt, I roll it to the front and finish it by machine. It makes for a sturdy binding.
Now it is ready for its first wash. My version was made using larger pieces than the pattern called for and a completely different color palette from the mystery. I think it came out great! Do you like to change up the colors when making mystery quilts?
Tools and supplies (affiliate links):
Monday, January 23, 2023
Double Wedding Ring
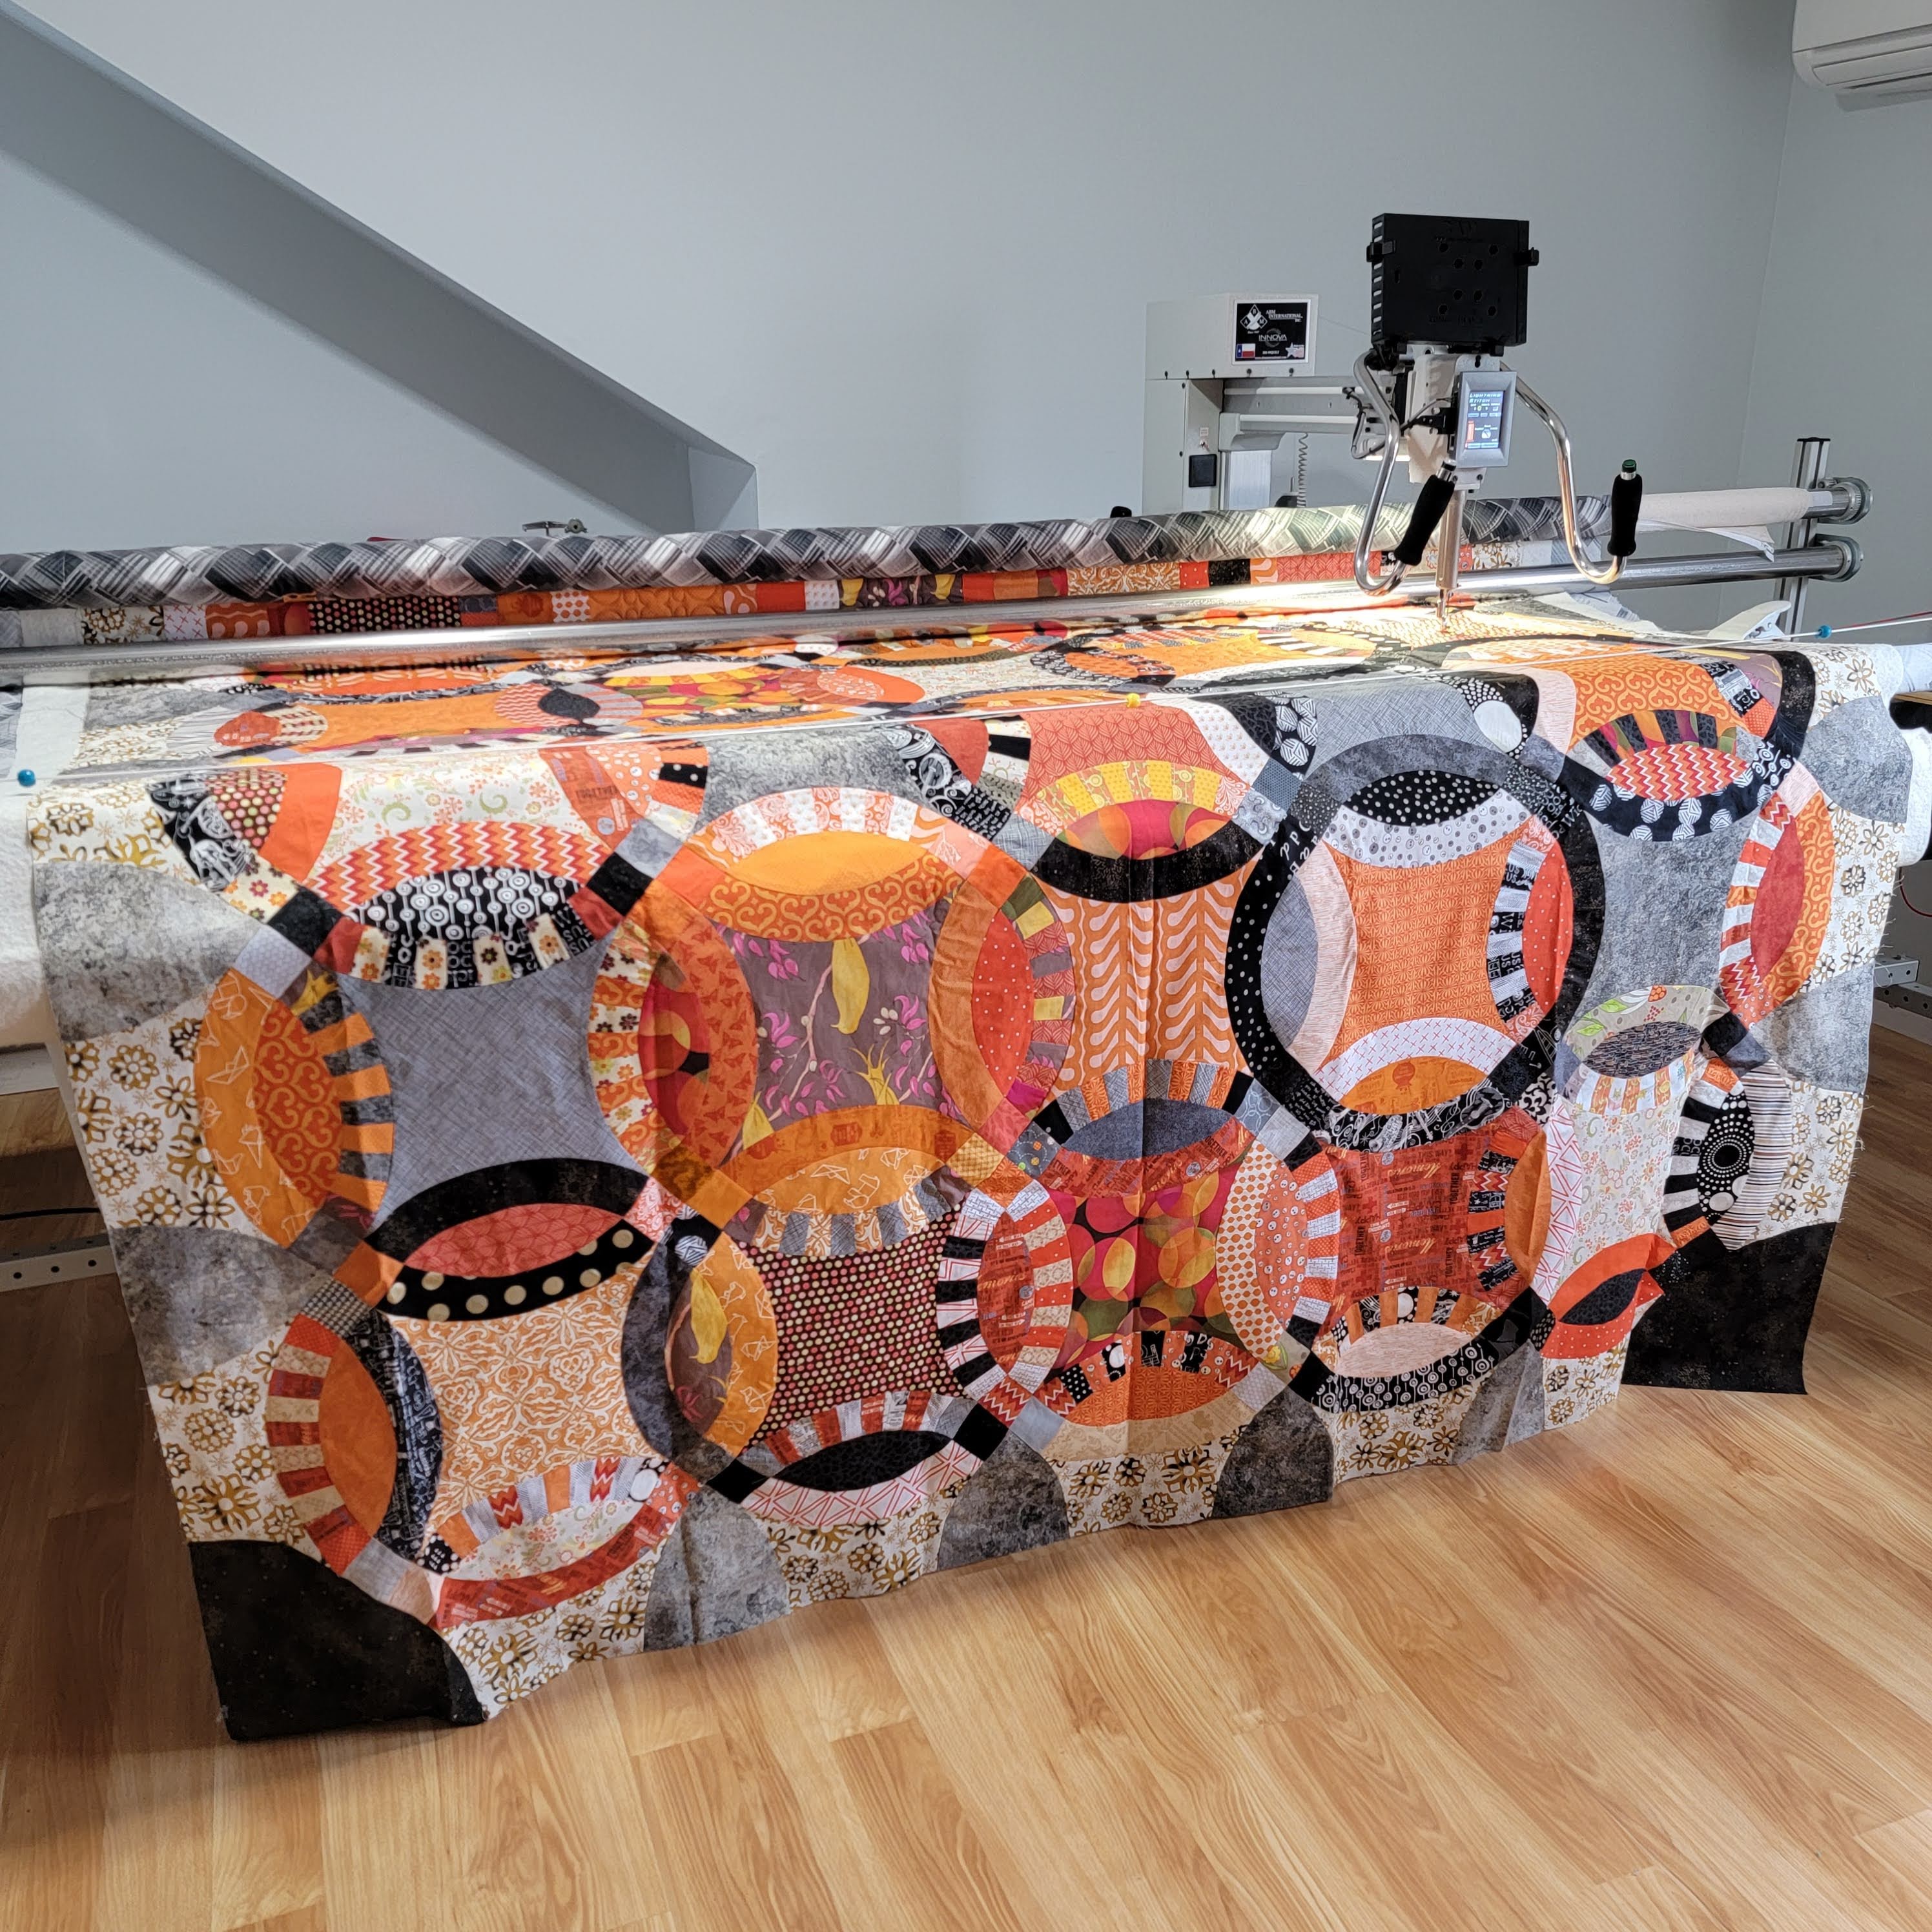
It has been months since I worked on this quilt. I picked up the backing a couple months ago but hadn't gotten around to quilting. I decided it was time to make some progress. I designed the label using my embroidery design software. I like to embroider the label directly onto the backing fabric.
I used my new roll of Hobbs Heirloom 80/20 Cotton Blend batting. I'm happy I decided to try this batting. It's great! I like the definition it gives the quilting.
I chose a dark gray thread.
Loaded and got quilting. The quilting on this involved three different designs. One for the centers, another for the mellons.
I used my new roll of Hobbs Heirloom 80/20 Cotton Blend batting. I'm happy I decided to try this batting. It's great! I like the definition it gives the quilting.
I chose a dark gray thread.
Loaded and got quilting. The quilting on this involved three different designs. One for the centers, another for the mellons.
The last design, is only used in the corners and it is by far my favorite.
Trimmed and ready for binding.
I don't know that I would quilt another with this level of detail. It took weeks because of all the starts and stops. Hopefully it won't take me another three months to get the binding done.
Don't forget the label!
Double Wedding Ring Quilts book from Victoria Findlay Wolfe.
Tools and supplies (affiliate links):
Creative Grids 6.5" x 24.5" Rectangle
Creative Grids 6.5" Square Ruler
Creative Grids 4.5" x 12.5" Rectangle Quilting Ruler
Fiskars Rotary Cutter
Fiskars Rotary Cutter replacement blades
Fiskars Self Healing Rotary Cutting Mat
BLACK+DECKER Classic Steam Iron
Grabbit Magnetic Pin Cushion
Fiskars 8-inch scissors
Juki TL-2010Q
Fiskars 14x14 Inch Self Healing Rotating Cutting Mat
Creative Grids 6.5" x 24.5" Rectangle
Creative Grids 6.5" Square Ruler
Creative Grids 4.5" x 12.5" Rectangle Quilting Ruler
Fiskars Rotary Cutter
Fiskars Rotary Cutter replacement blades
Fiskars Self Healing Rotary Cutting Mat
BLACK+DECKER Classic Steam Iron
Grabbit Magnetic Pin Cushion
Fiskars 8-inch scissors
Juki TL-2010Q
Fiskars 14x14 Inch Self Healing Rotating Cutting Mat
Wednesday, December 14, 2022
Fleece Sewing
A friend of mine has one of those really big skeletons from Halloween. He wants to dress the big one up as a skeletal Santa and the little ones up as elves. He asked if I could make them some hats. I said sure. This is the stack of fabrics I pulled that met the red, green, black, and white requirements.
Step two was to measure the skull circumference of one of the small skeletons. We have one sitting around so that was an easy step. Then I found a free pattern, and tutorial for a Santa hat at Fleece Fun.
I made one to test my sizing. Just a little loose. Time to make the hat for the big guy. I supersized the pattern from Fleece Fun based on the measurements my friend sent me.
I made the ball for the end of the pointy hat.
And sewed it up into a huge hat.
This is how big it is. Big enough to cover the shoulders of my dress form.
Then I cut and sewed six elf hats.
Aren't these delightful!
This was a great project. I can't wait to see the pictures of the skeletons and their hats.
Step two was to measure the skull circumference of one of the small skeletons. We have one sitting around so that was an easy step. Then I found a free pattern, and tutorial for a Santa hat at Fleece Fun.
I made one to test my sizing. Just a little loose. Time to make the hat for the big guy. I supersized the pattern from Fleece Fun based on the measurements my friend sent me.
I made the ball for the end of the pointy hat.
And sewed it up into a huge hat.
This is how big it is. Big enough to cover the shoulders of my dress form.
Then I cut and sewed six elf hats.
Aren't these delightful!
This was a great project. I can't wait to see the pictures of the skeletons and their hats.
Tools and Supplies (affiliate links):
Monday, August 8, 2022
Double Wedding Ring
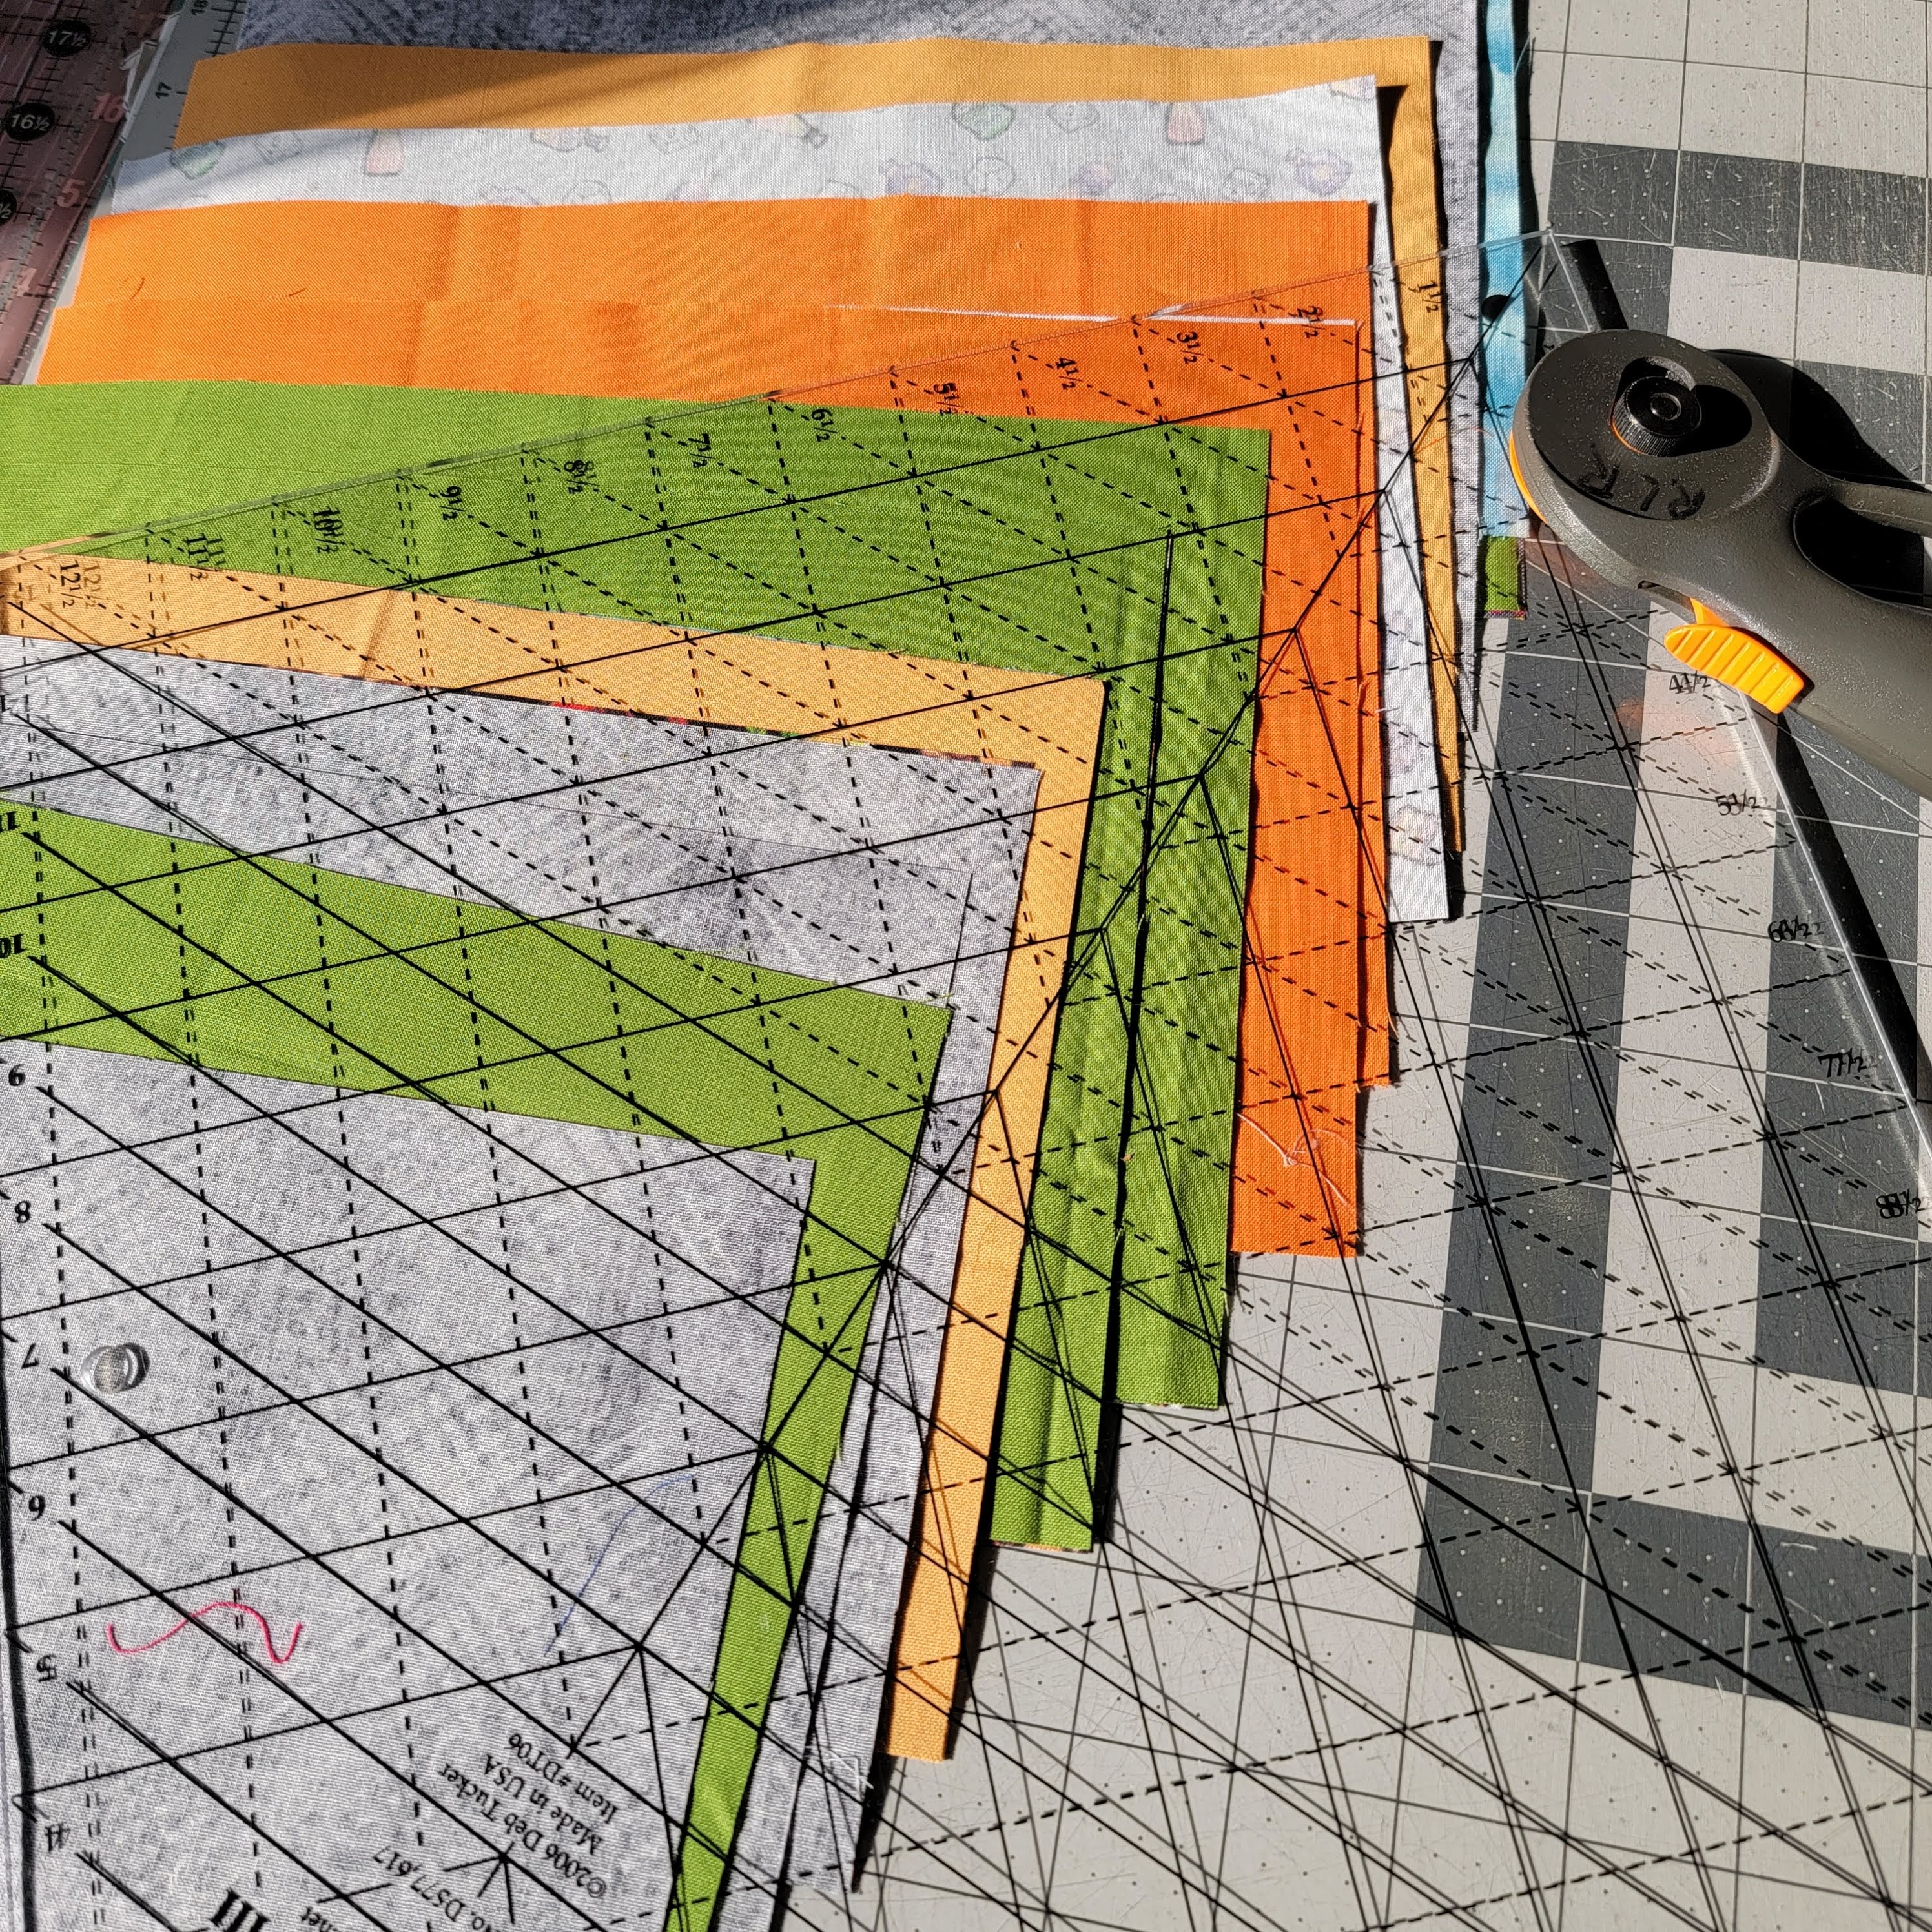
I started cutting out this quilt in May 2022. I've been working on it pretty steadily for a couple weeks now.
I've been sharing little snippets on Instagram when I finish a ring. Each is unique. Then I hit the tipping point where each seam creates a larger and larger piece and you just know the top will be finished soon.
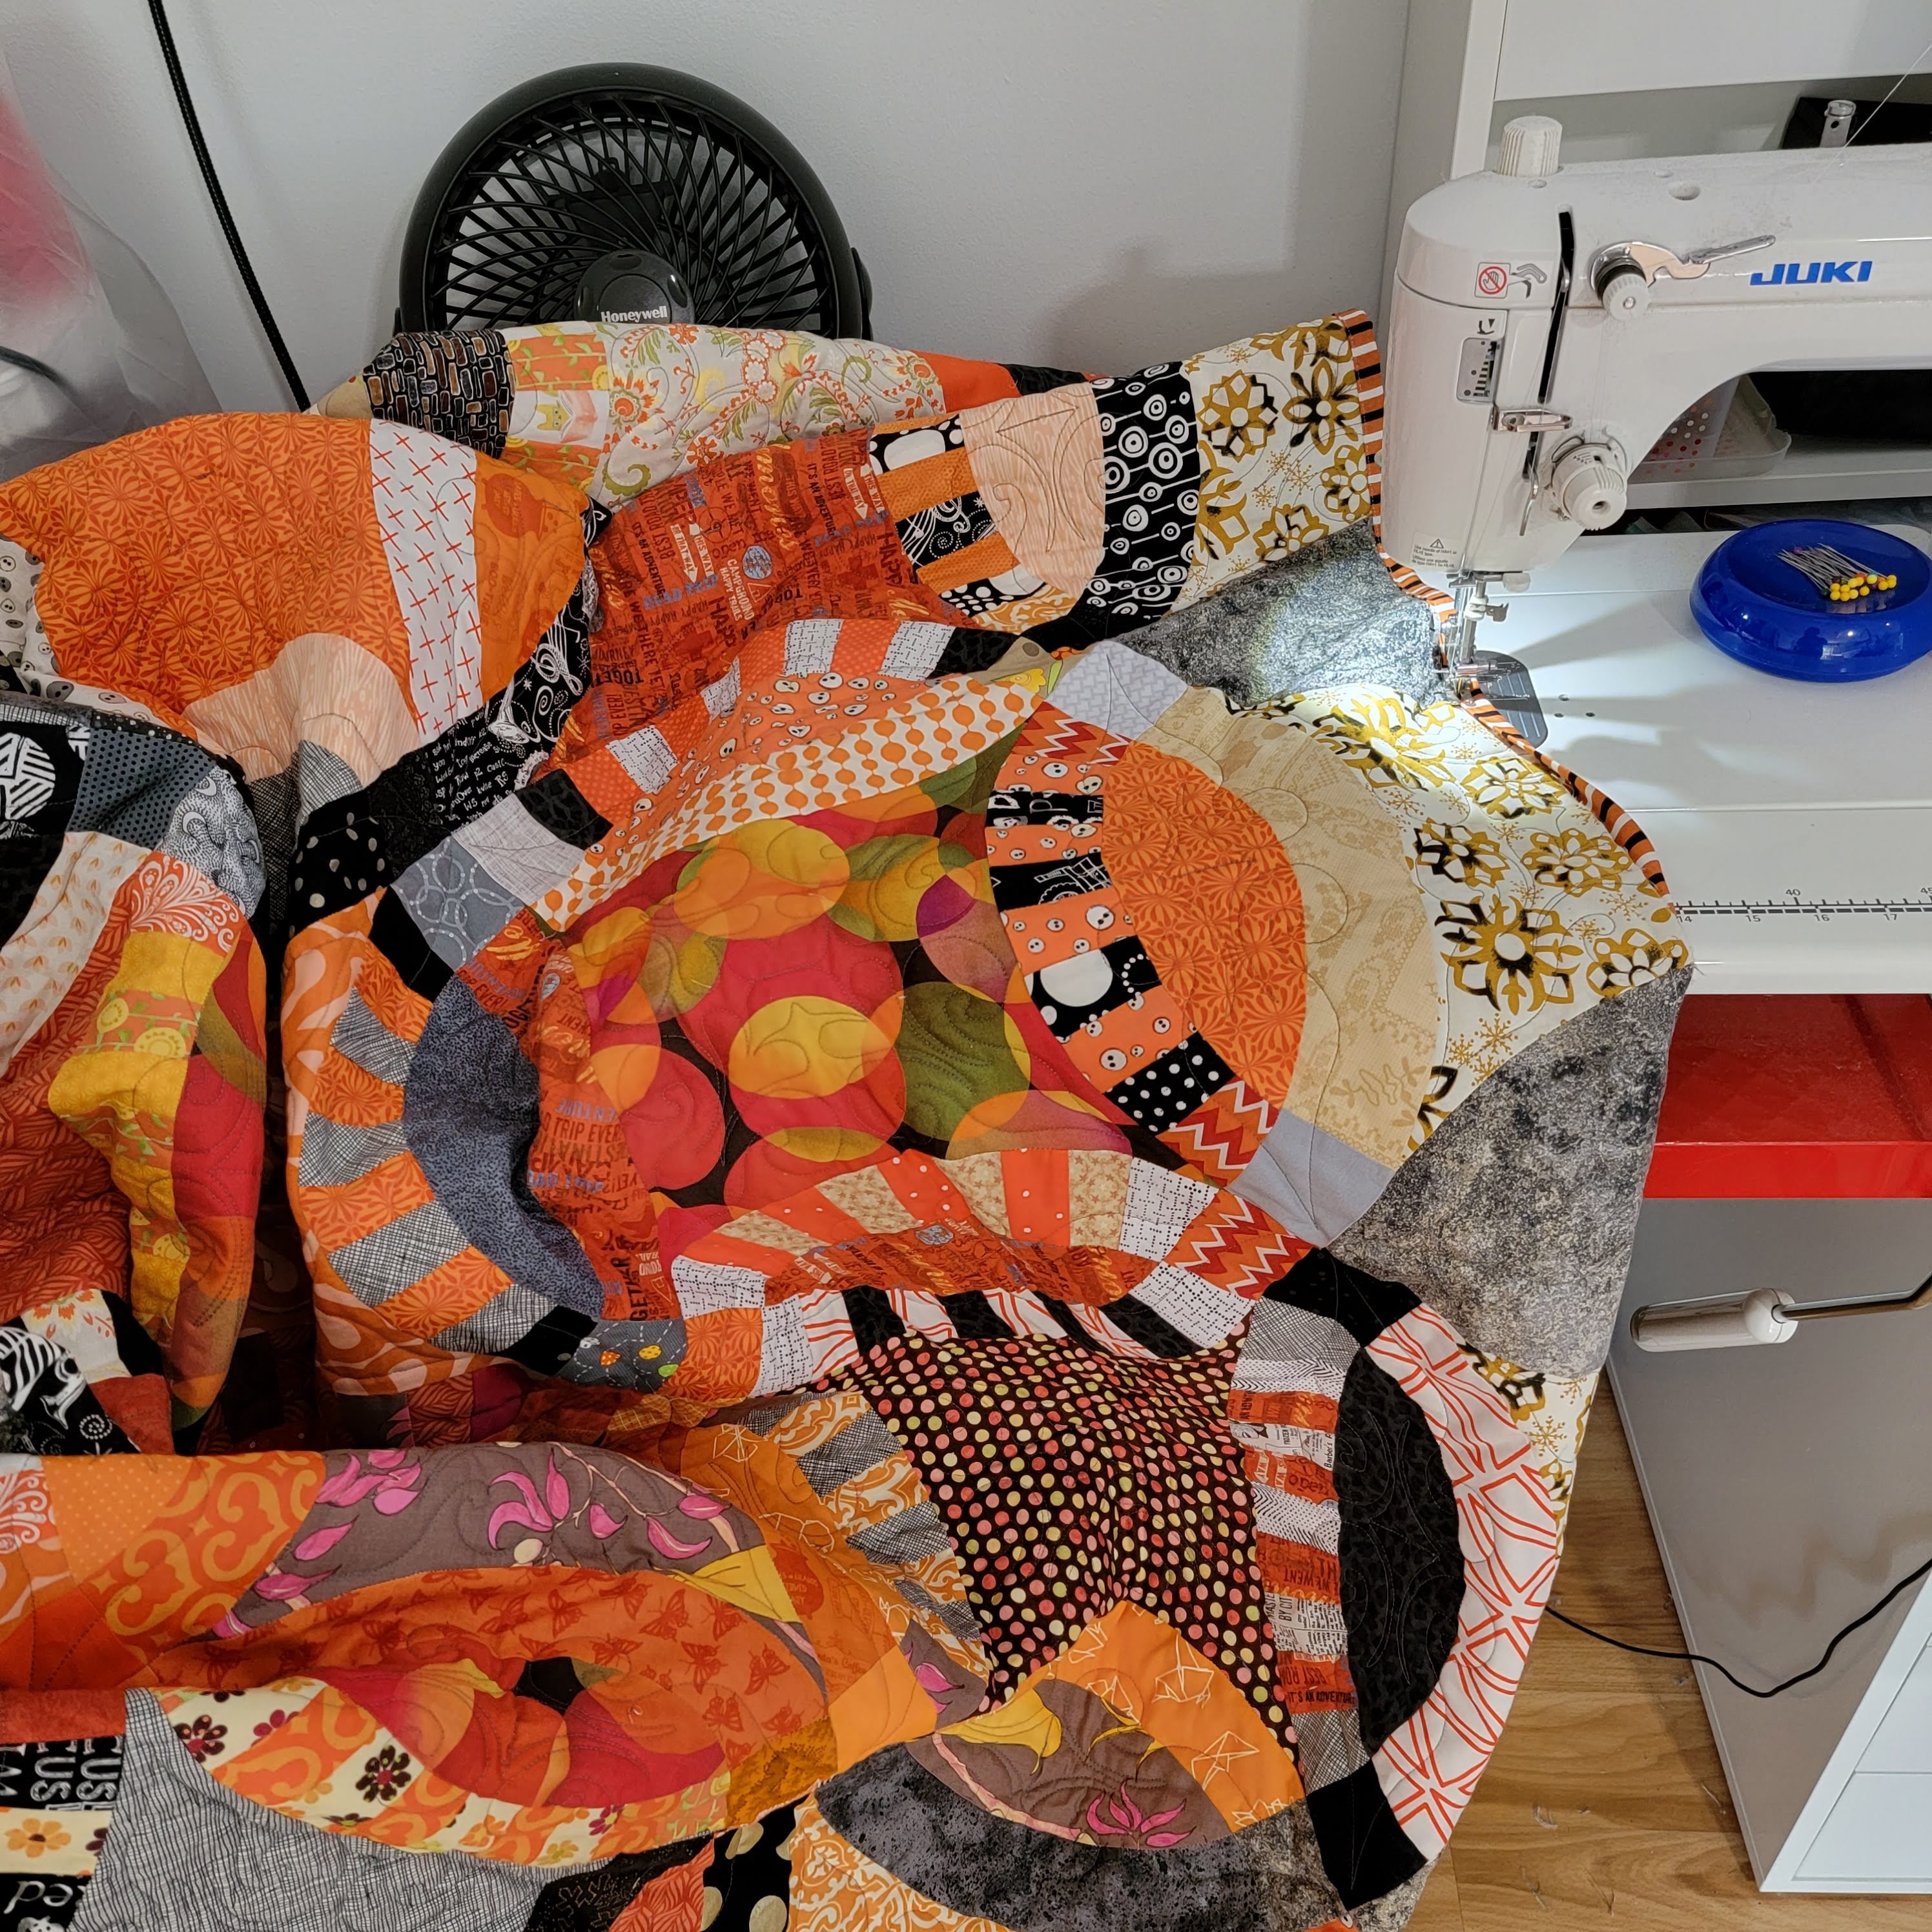
I finished the top. As with many of my quilt projects, this one will get set aside until I can buy some appropriate backing fabric. This quilt begs for quilting designed specifically for the Double Wedding Ring. I have a couple and I'm going pick my favorite.
Double Wedding Ring Quilts book from Victoria Findlay Wolfe.
Tools and supplies (affiliate links):
Creative Grids 6.5" x 24.5" Rectangle
Creative Grids 6.5" Square Ruler
Creative Grids 4.5" x 12.5" Rectangle Quilting Ruler
Fiskars Rotary Cutter
Fiskars Rotary Cutter replacement blades
Fiskars Self Healing Rotary Cutting Mat
BLACK+DECKER Classic Steam Iron
Grabbit Magnetic Pin Cushion
Fiskars 8-inch scissors
Juki TL-2010Q
Fiskars 14x14 Inch Self Healing Rotating Cutting Mat
Creative Grids 6.5" x 24.5" Rectangle
Creative Grids 6.5" Square Ruler
Creative Grids 4.5" x 12.5" Rectangle Quilting Ruler
Fiskars Rotary Cutter
Fiskars Rotary Cutter replacement blades
Fiskars Self Healing Rotary Cutting Mat
BLACK+DECKER Classic Steam Iron
Grabbit Magnetic Pin Cushion
Fiskars 8-inch scissors
Juki TL-2010Q
Fiskars 14x14 Inch Self Healing Rotating Cutting Mat
Subscribe to:
Posts (Atom)