Showing posts with label wedding. Show all posts

Monday, August 28, 2023

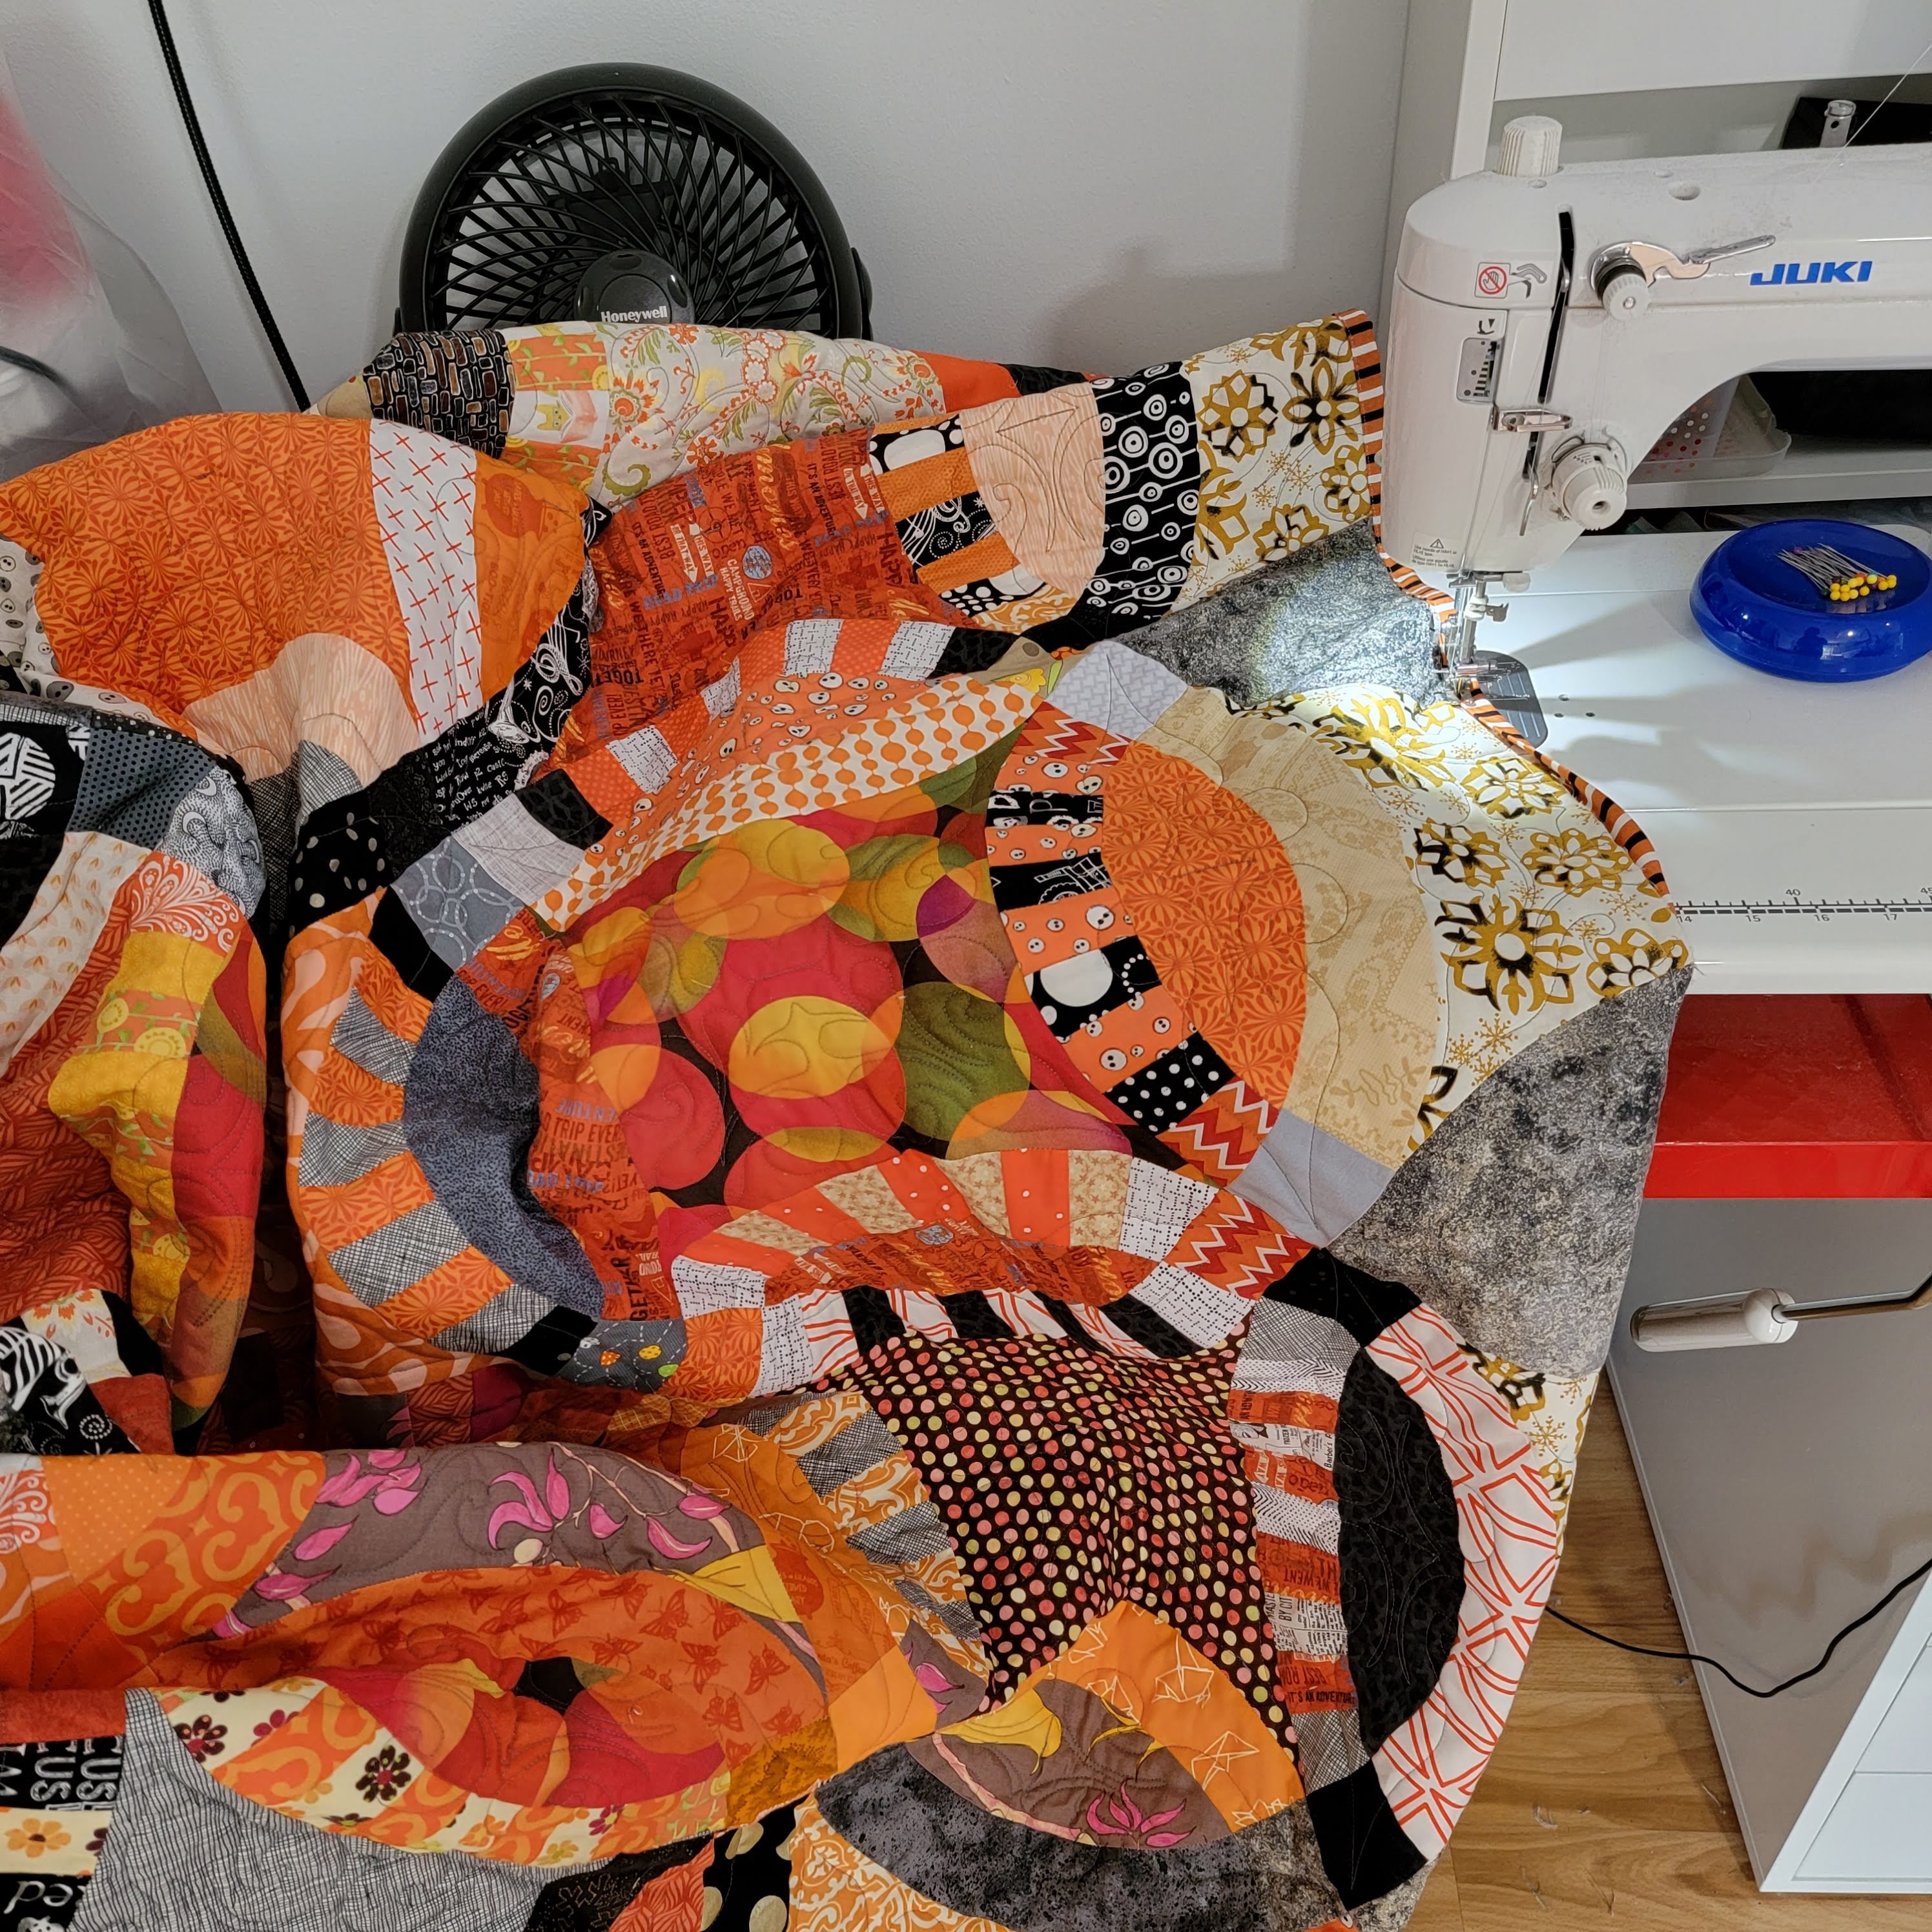
Binding the DWR

It has been months since I quilted the Double Wedding Ring quilt. More than six months. 
I thought this striped fabric would be the perfect binding. 
I grabbed my Magical Rainbow of Binding cheat-sheet from the Geeky Bobbin. This wonderful chart (just sign up for the Geeky Bobbin's newsletter) is free and wonderful. 
It helps you calculate the number of strips you need to bind your quilt. I needed nine for my quilt. 
I love a stripy binding. I accordion fold my binding so it is easy to store and attach. Curious about how I attach my binding? You can find my Quilt Binding Tips and Tricks in the sidebar. 
That makes another finished quilt! It only took forever to finish. 

Monday, January 23, 2023

Double Wedding Ring

It has been months since I worked on this quilt. I picked up the backing a couple months ago but hadn't gotten around to quilting. I decided it was time to make some progress. I designed the label using my embroidery design software. I like to embroider the label directly onto the backing fabric. 
I used my new roll of Hobbs Heirloom 80/20 Cotton Blend batting. I'm happy I decided to try this batting. It's great! I like the definition it gives the quilting. 
I chose a dark gray thread. 
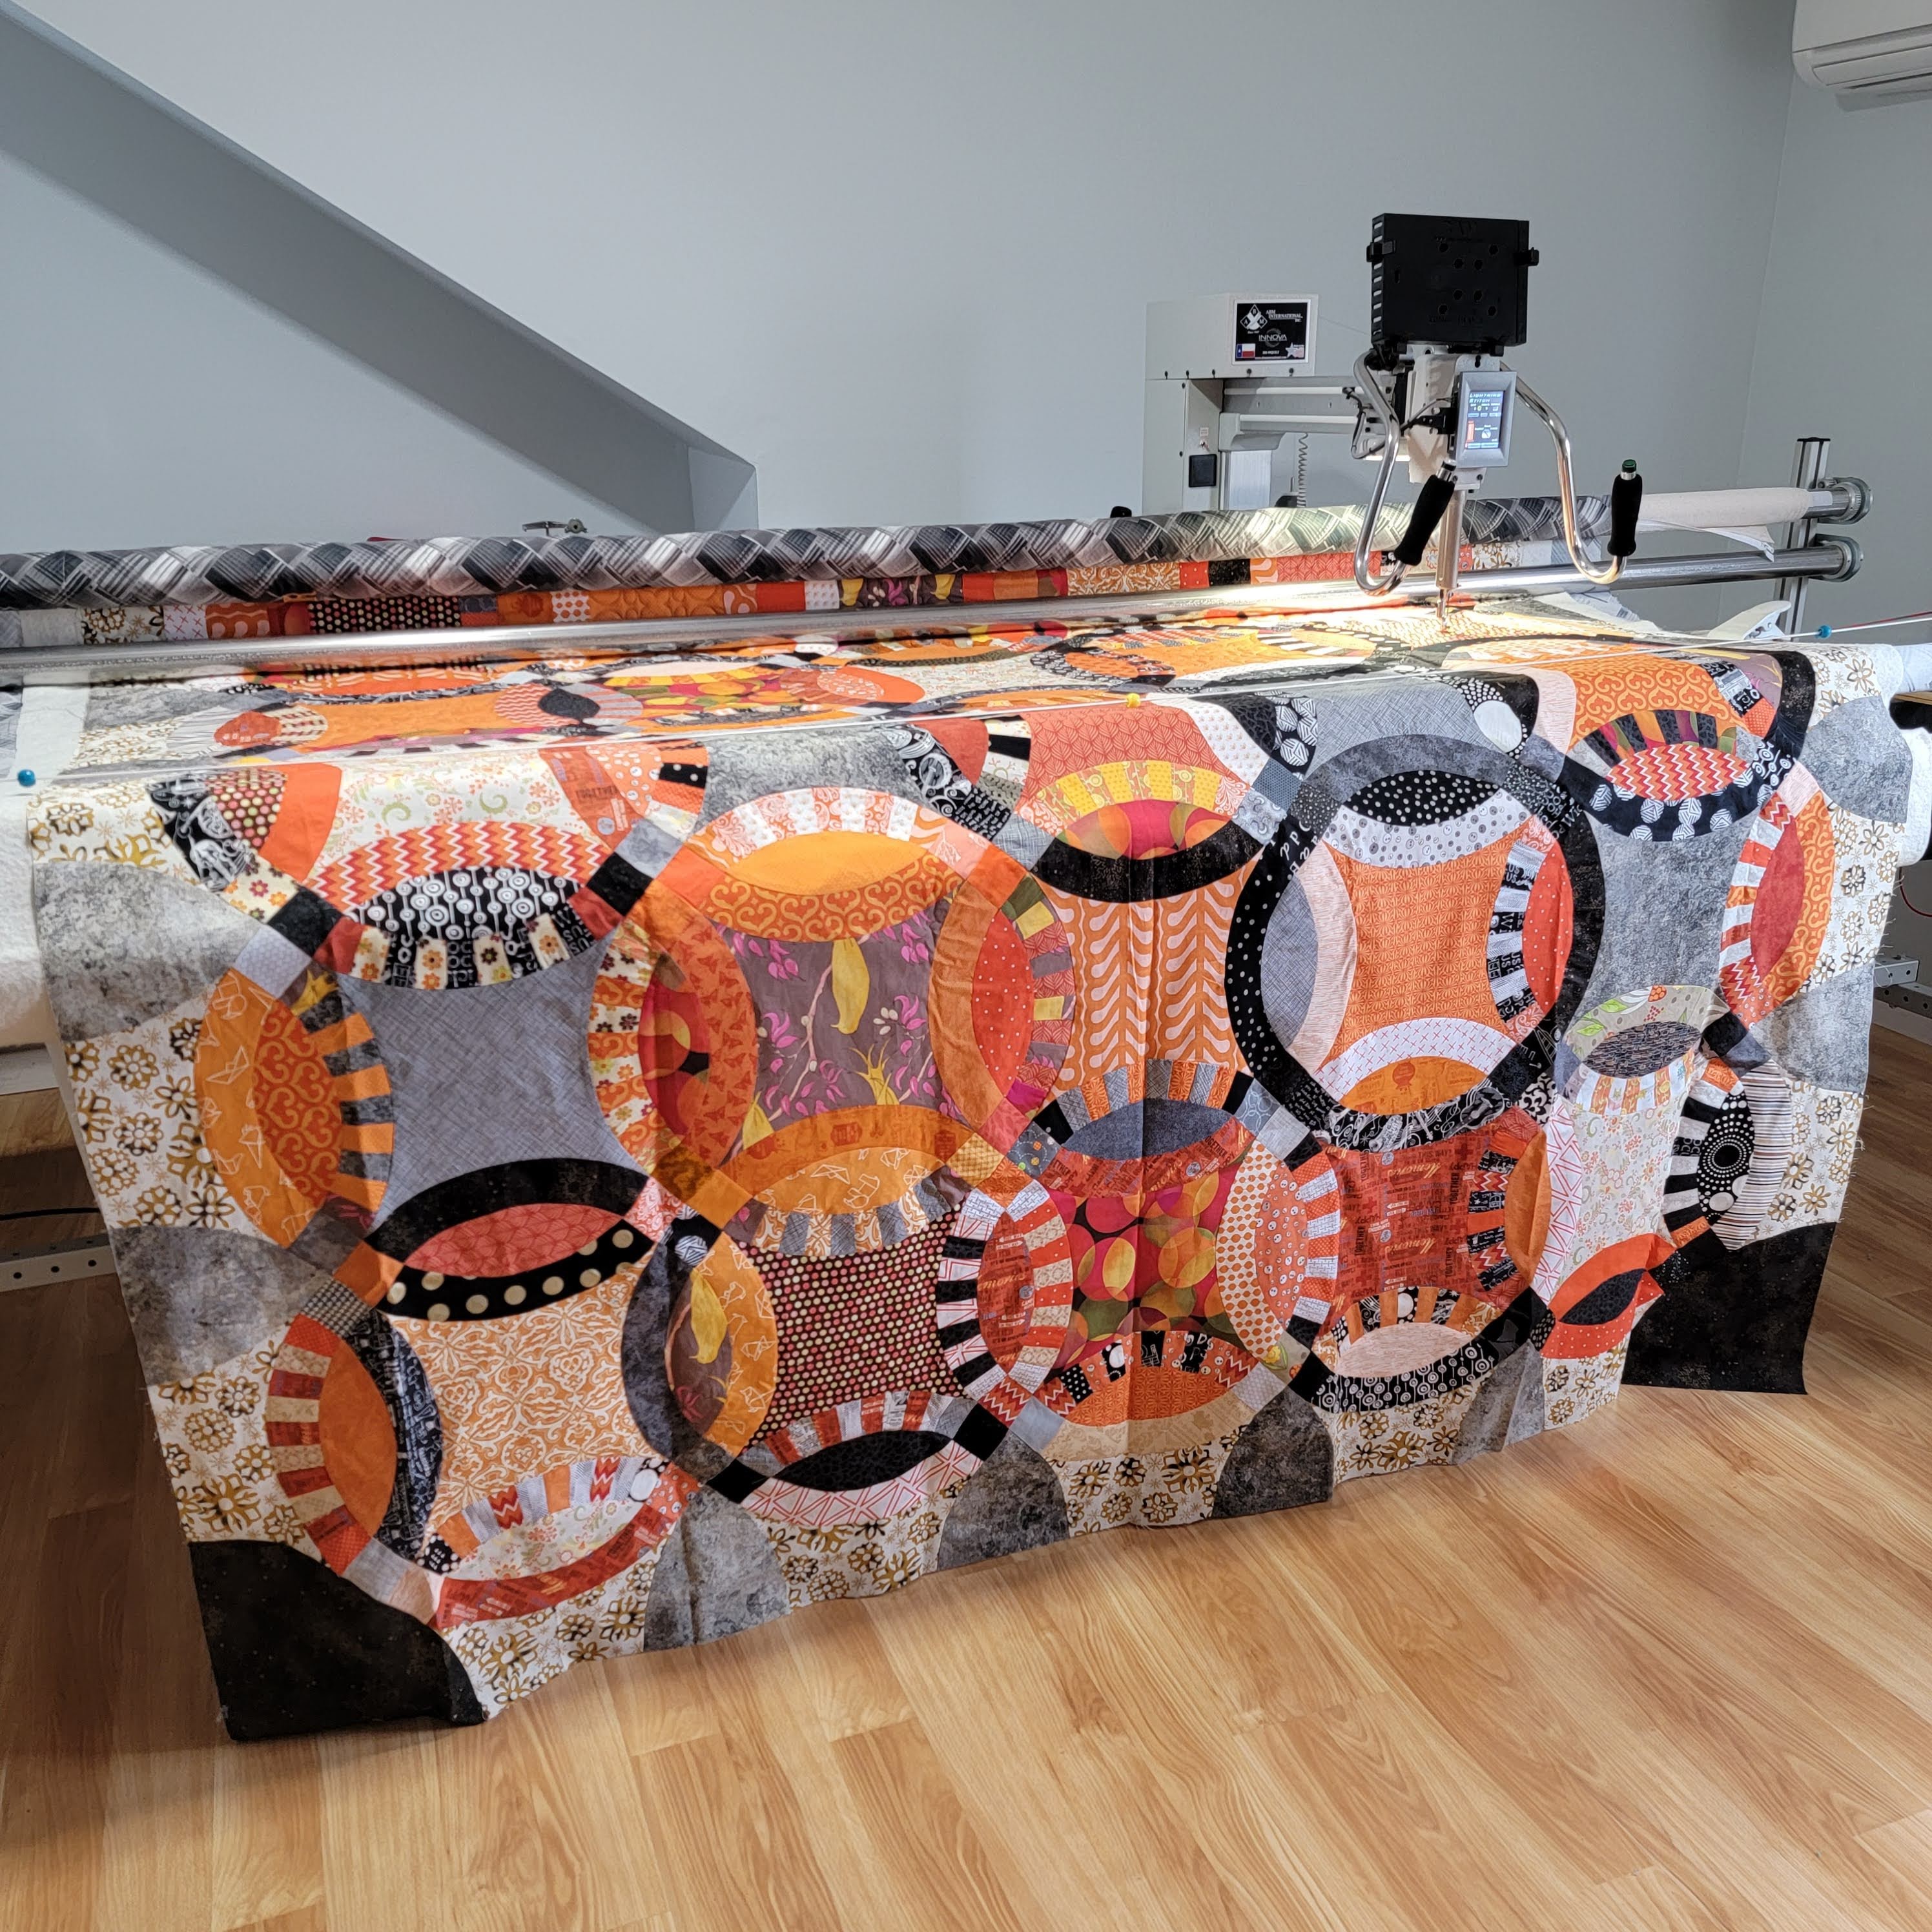
Loaded and got quilting. 
The quilting on this involved three different designs. One for the centers, another for the mellons. 
The last design, is only used in the corners and it is by far my favorite. 
Trimmed and ready for binding. 
I don't know that I would quilt another with this level of detail. It took weeks because of all the starts and stops. Hopefully it won't take me another three months to get the binding done. 

Don't forget the label!

Monday, August 8, 2022

Double Wedding Ring

I started cutting out this quilt in May 2022. I've been working on it pretty steadily for a couple weeks now. 
I've been sharing little snippets on Instagram when I finish a ring. 
Each is unique. 
Then I hit the tipping point where each seam creates a larger and larger piece and you just know the top will be finished soon. 
I finished the top. As with many of my quilt projects, this one will get set aside until I can buy some appropriate backing fabric. This quilt begs for quilting designed specifically for the Double Wedding Ring. I have a couple and I'm going pick my favorite. 

Wednesday, June 8, 2022

Double Wedding Ring

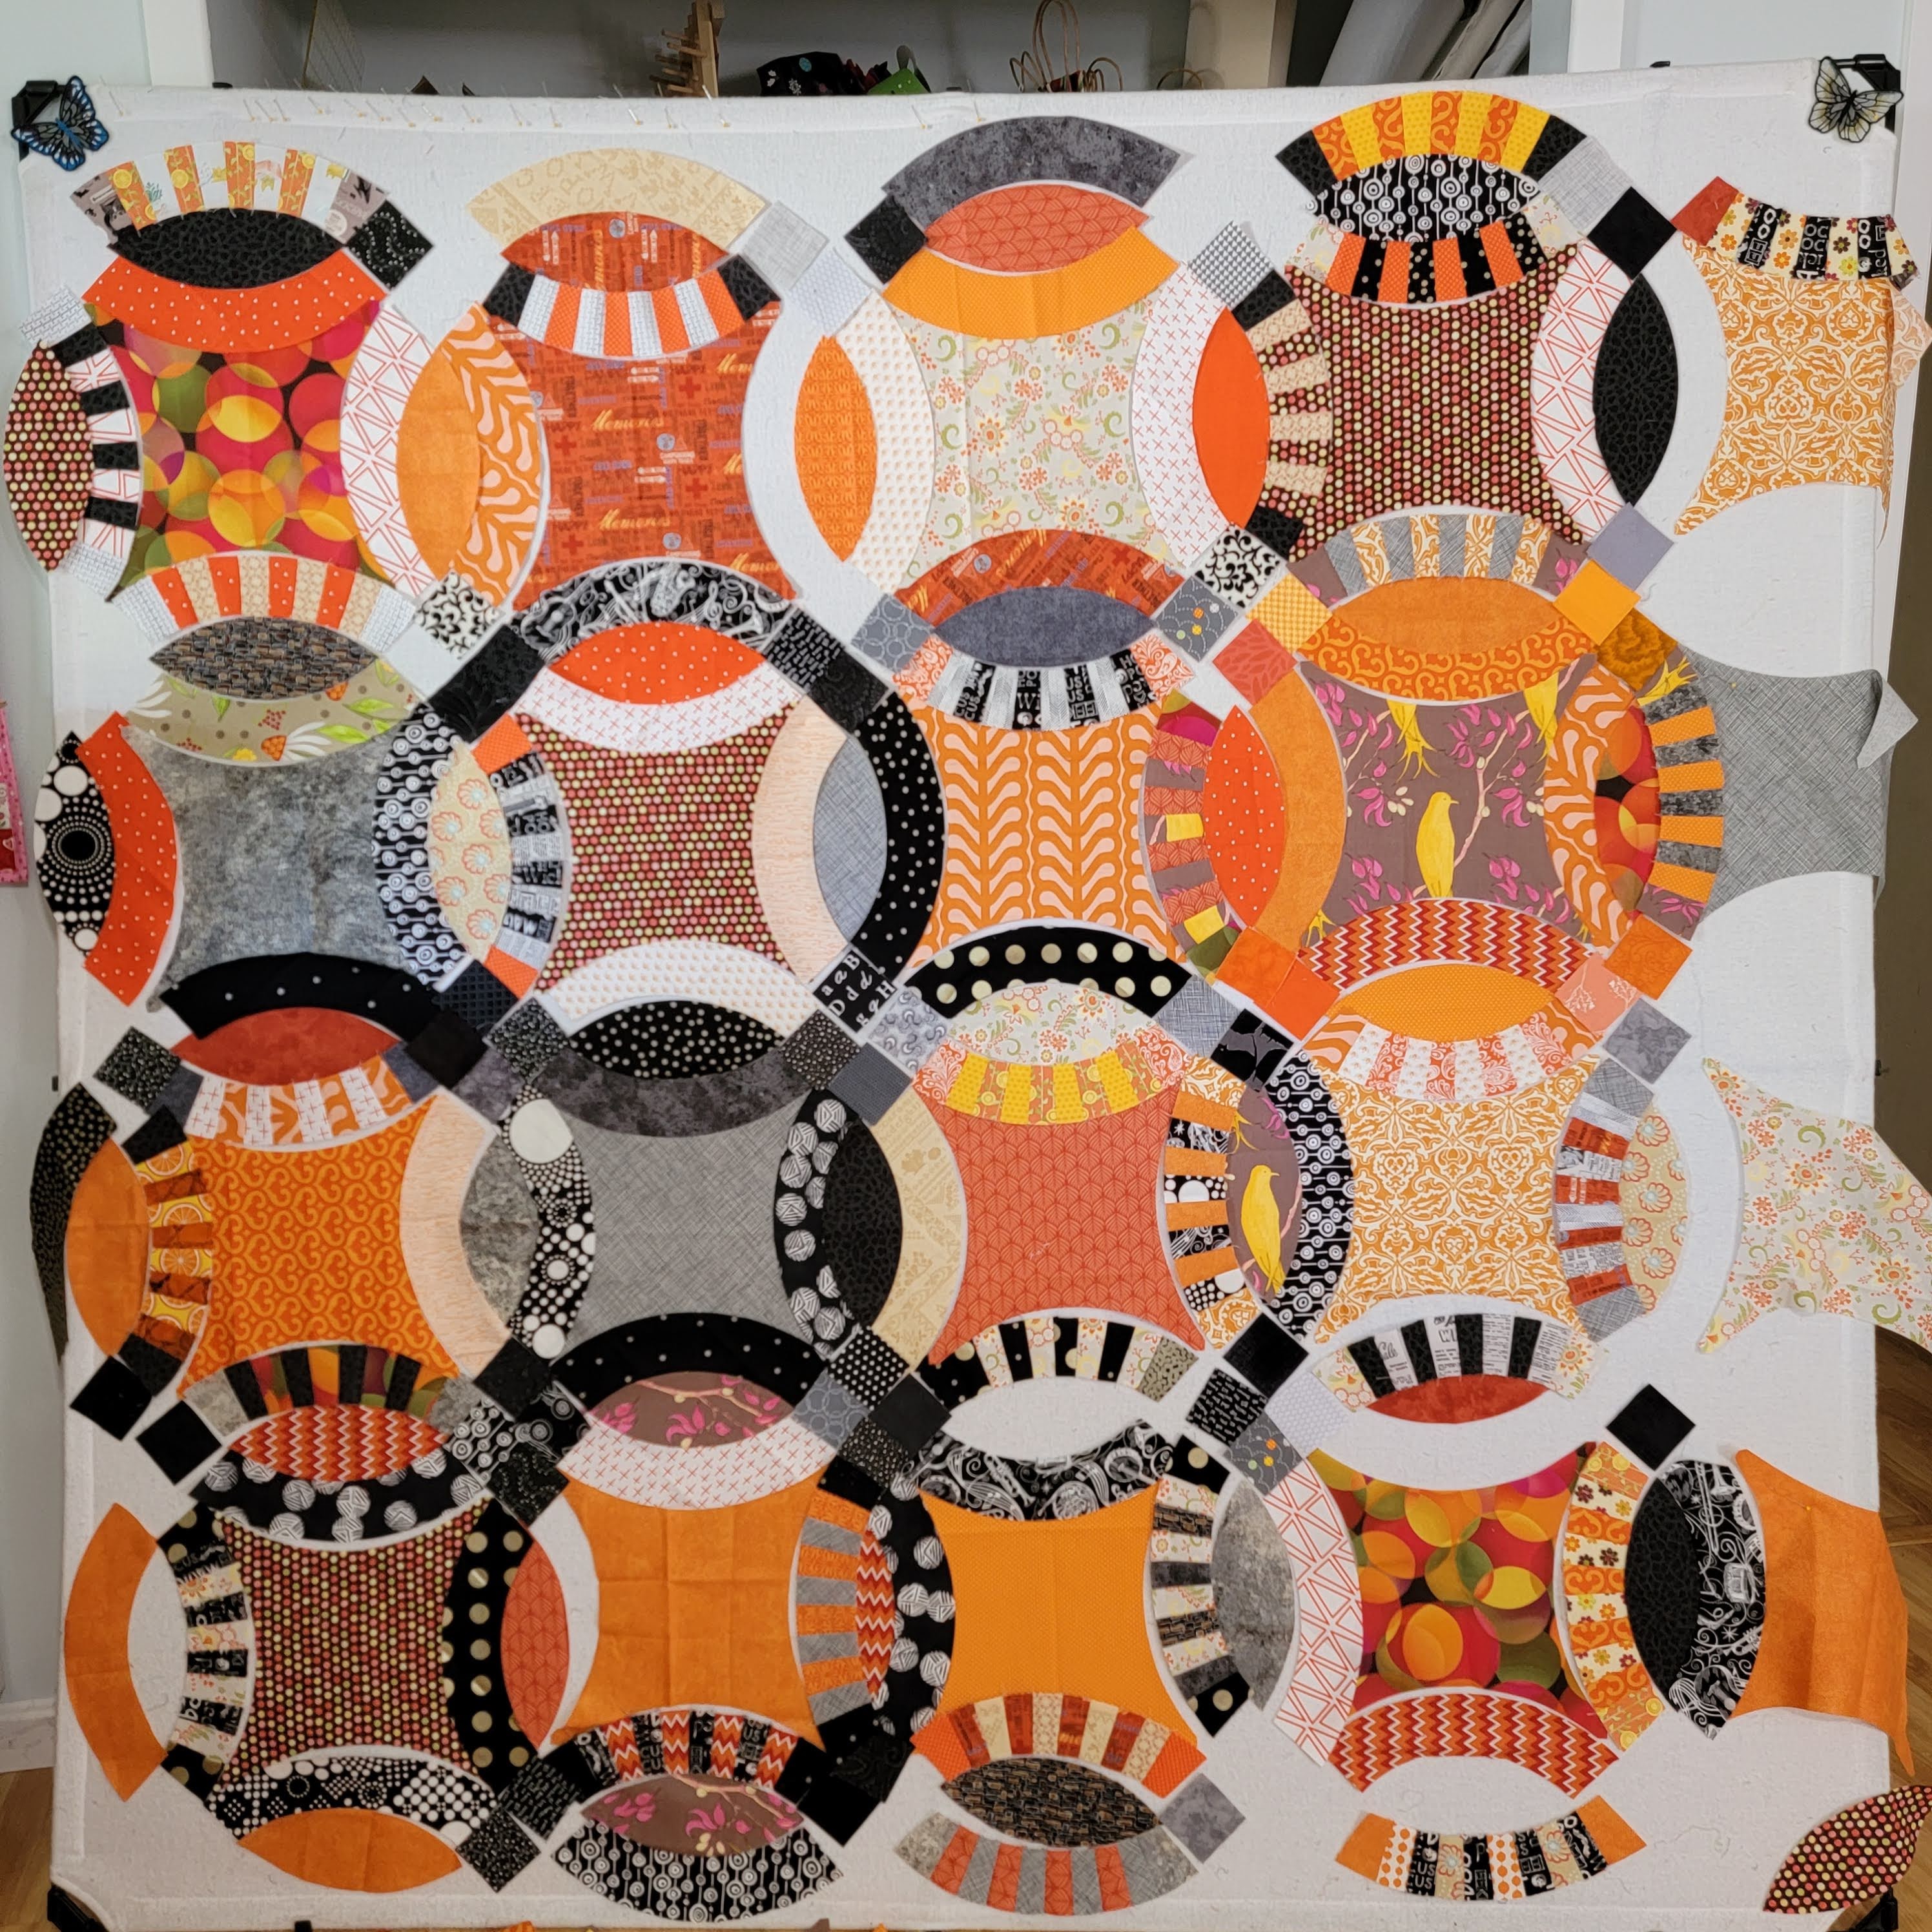
I finally reached the point where I wanted to start sewing some of the melons together. Don't expect the final quilt to look like this. I move pieces around every time I look at it. 
I think I have all the pieces cut. Big, involved quilts like this always take way longer than I think and I was pretty sure this one would take a while. 

Wednesday, June 1, 2022

Double Wedding Ring

I'm still making slow progress on my double wedding ring quilt. I love how these fabrics will become a wonderful, scrappy quilt someday. Those pieced arcs are just so great. I'm still cutting and rearranging as I go. I'm sure I will settle on a layout when I start sewing the pieces together. Even then, I may adjust as I start sewing. 

Wednesday, May 18, 2022

Double Wedding Ring

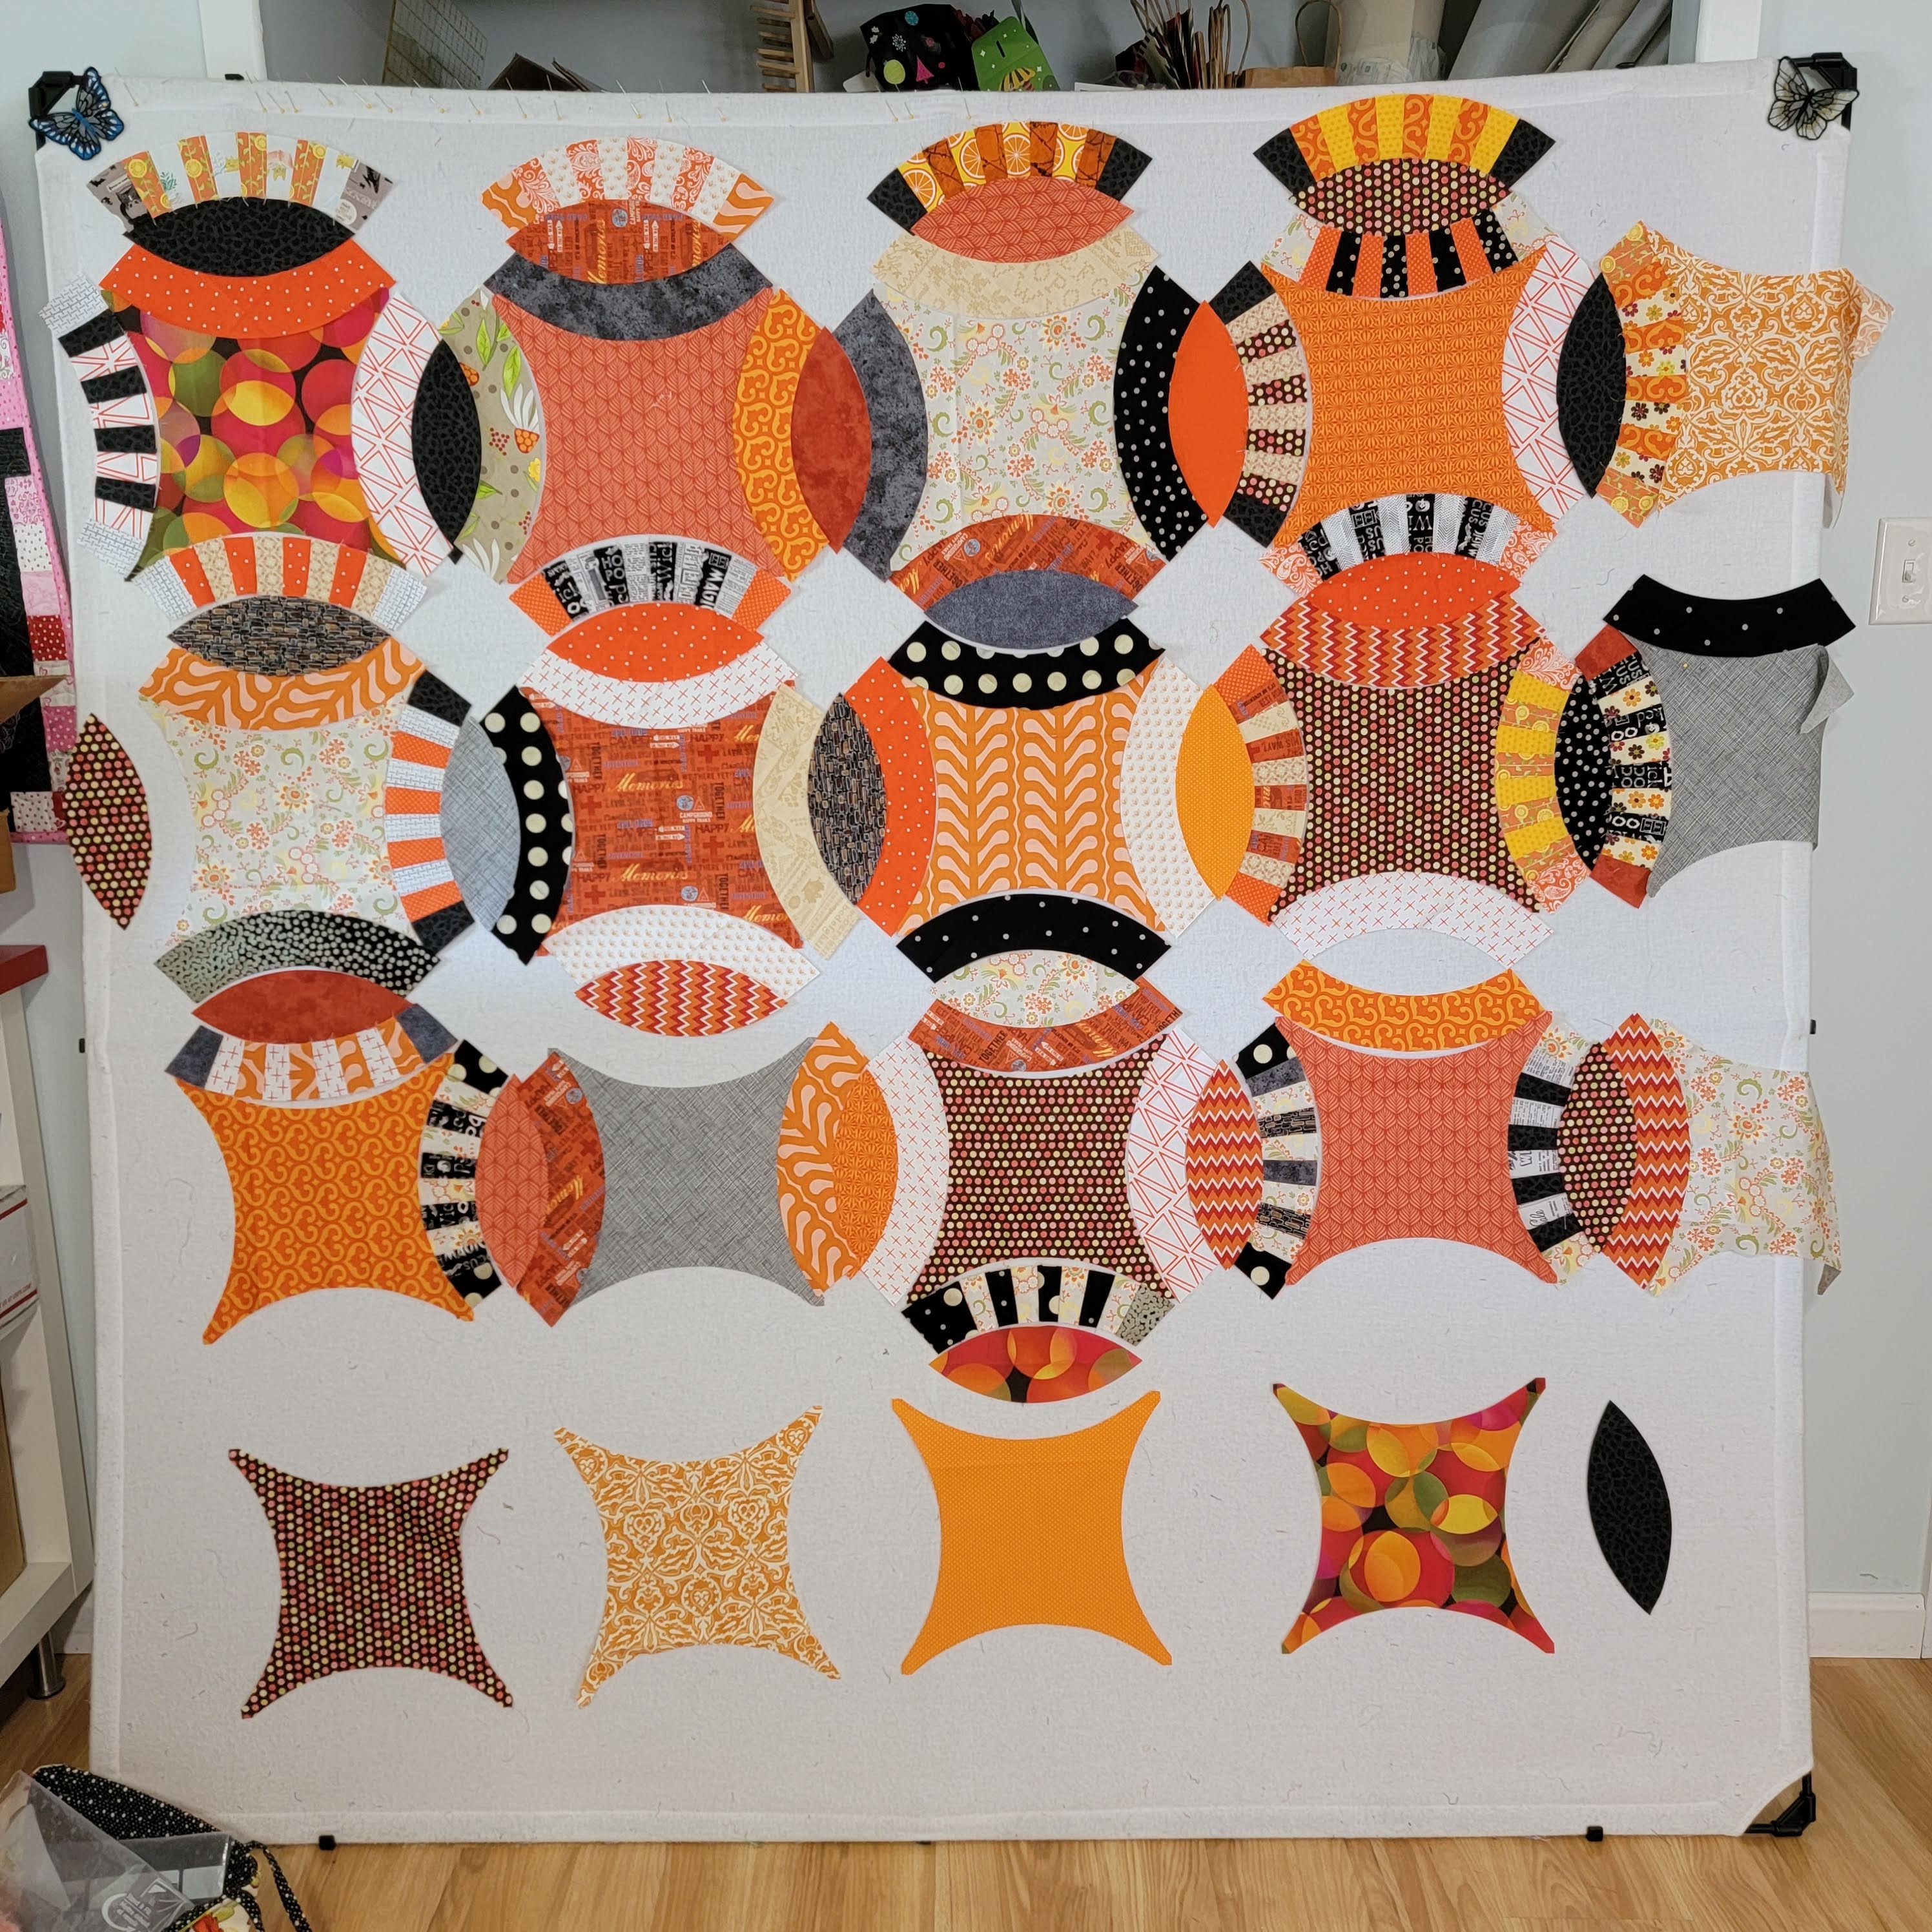
I continue to cut and layout pieces for my double wedding ring quilt. I've only made a couple pieced arcs. They aren't perfect but that is the sewist, not the templates. I will get it sorted out before assembly. Overall, this is a great project. Slow and great. 
I pieced a bunch of arcs. These are potato chip sewing. The kind of thing you can't have just one of. 
I will keep cutting and hanging these pieces on my design wall. I'm not sure how big the finished quilt will be but I love where it is going. Have you made a double wedding ring quilt? 

Wednesday, May 11, 2022

Double Wedding Ring

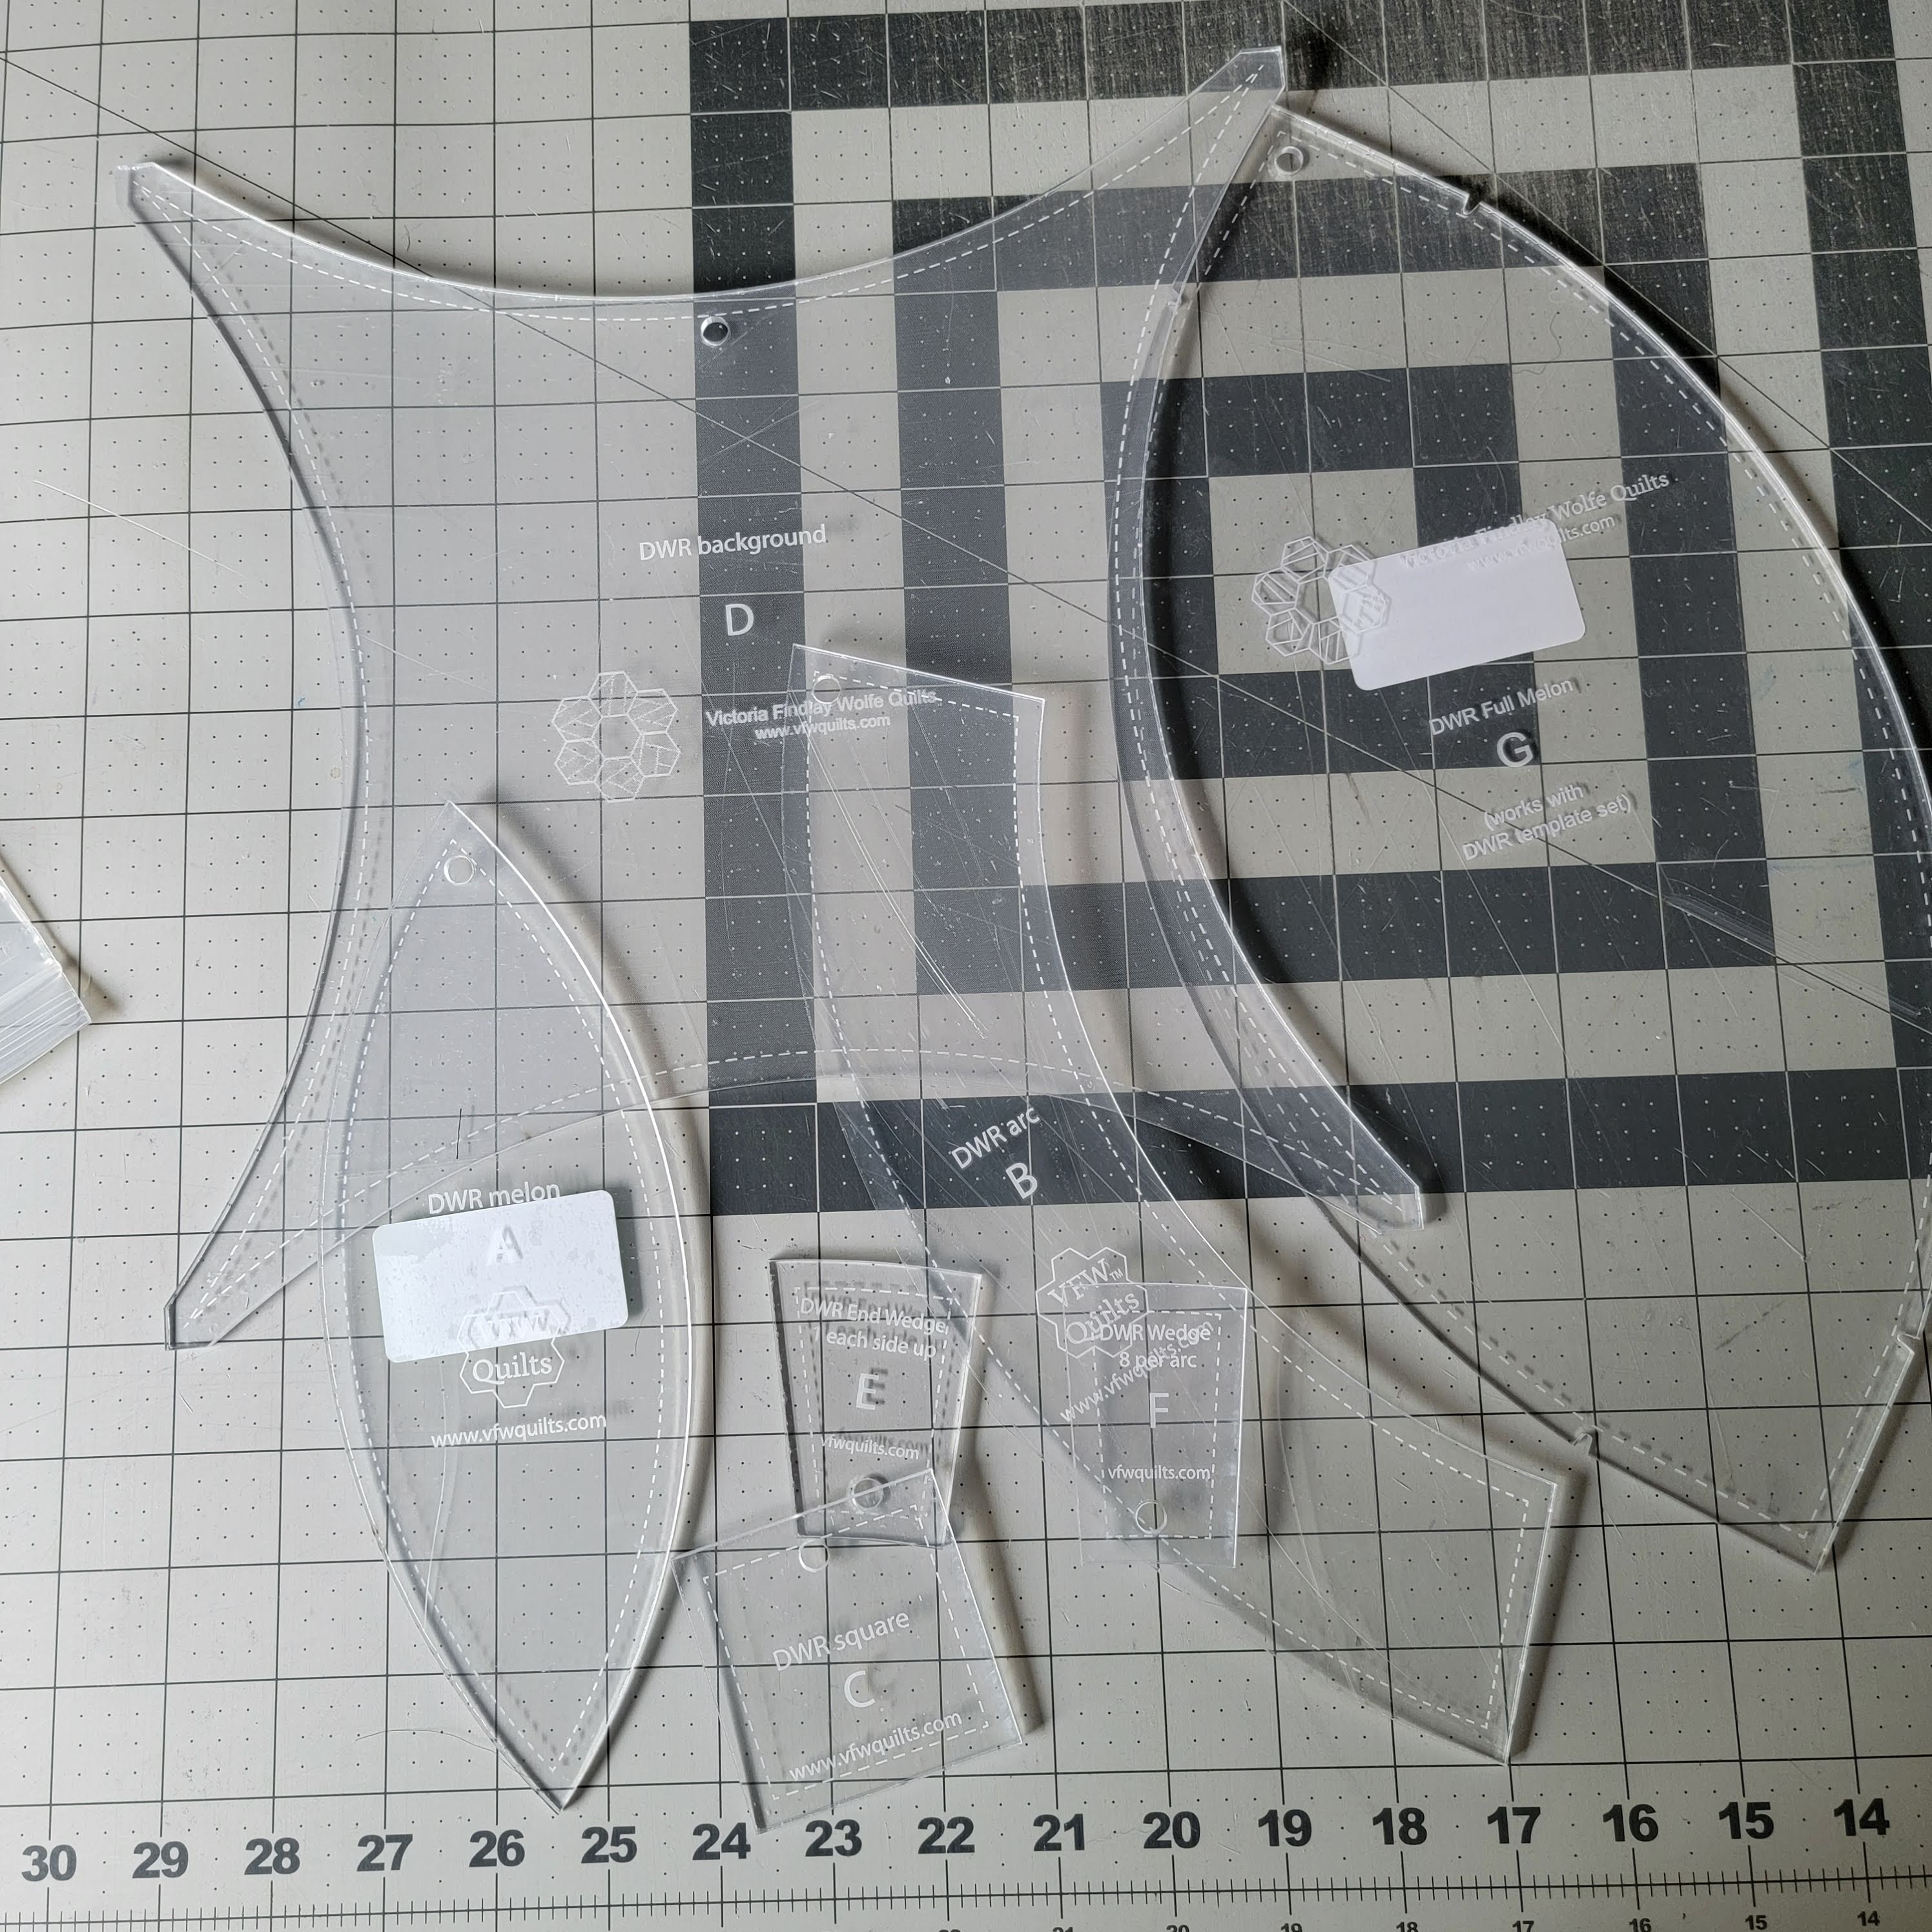
Like many quilters I aspire to make wonderful quilts. Also, I like quilt rulers and templates. I picked up the double wedding ring and large melon templates to go with my copy of Double Wedding Ring Quilts book from Victoria Findlay Wolfe.
I pulled a stack of fabrics I think will work and started cutting. 
I don't have a grand plan right now. This will be long-term project where I cut some pieces, sew some pieces, and look at the design wall to see how it is coming together. One of the exciting parts is that the little wedges that make up the arcs can be cut from some pretty small scraps. The design wall will be busy for a while. 

Wednesday, January 19, 2022

Florid Bloom Quilting

This quilt has waited longer to get quilted than most. You can learn more about this quilt in this post from September 2020, or this one also from September 2020. Those posts will tell you where to buy the Florid Bloom template set and Double Wedding Ring Quilts book from Victoria Findlay Wolfe.
I chose this fun daisy pantograph and let the machine do its magic. All this quilt needs now is some binding so it can be the quilt it has always wanted to be. 

Tools and supplies (affiliate links):

Monday, September 14, 2020

Florid Bloom

I just want to say upfront that I really, really, really dislike the new Blogger interface. They made it easier for mobile users, which I support, but the changes pretty much make working with the tool on a desktop a complete pain in the ass. I'm not sure why they didn't stick with what works for desktop users and let the new stuff be used by mobile users. It's like they assumed everyone was using mobile for blogging and they could ignore the world of desktop users. I'm not averse to change, just change that seems to be for change-sake and provide little/no benefit for users. I'm going to give it a better try since it seems to be behaving slightly better than it did in June/July when they first announced the shift. That doesn't mean I'm happy about it. 

Part 2

This is one of the finished blocks for this quilt. The big pieces make the curved piecing simple enough to get a good result. There are few questionable seams in there but most of them are spot-on. 

I worked through these units over a couple weeks. The next part was joining them together into a top. This took careful marking and many pins. 

I'm not sure I have an appropriate backing for this one. I'll have to look in my collection. 

I seriously see a scrappier version of this quilt in my future. I have an idea on how to incorporate some grandmother's fans into the quilt. You'll have to check back to see how that turns out. 

Check out Part 1 of my Florid Bloom quilt. There you will find links to the book and templates I used to create this quilt. 

Tools and supplies (affiliate links):
Creative Grids 6.5" x 24.5" Rectangle
Creative Grids 6.5" Square Ruler
Creative Grids 4.5" x 12.5" Rectangle Quilting Ruler
Fiskars Rotary Cutter
Fiskars Rotary Cutter replacement blades
Fiskars Self Healing Rotary Cutting Mat
BLACK+DECKER Classic Steam Iron
Grabbit Magnetic Pin Cushion
Fiskars 8-inch scissors
Juki TL-2010Q
Fiskars 14x14 Inch Self Healing Rotating Cutting Mat

Wednesday, September 2, 2020

Florid Bloom

Part 1
I wanted to try out the Florid Bloom template set and Double Wedding Ring Quilts book from Victoria Findlay Wolfe. I pulled out my stack of 1930s reproduction prints and cut out some pieces.
This is where the Fiskars Rotating Cutting Mat came in handy. I don't use it often but sometimes I find the project that really needs a rotating cutting mat.
See how nice and neat!
I had a pretty good collection of prints but this project will likely get me to end of the 1930s prints.
Here is the first layout I did once I had cut all the arcs.
It sat like that for about a week before I cut the yellow for the little center slices.
I had just enough of this green to cut the interior pieces.
It wasn't easy finding coordinating prints from my collection of fabric. I'm trying to work exclusively from my fabrics and not buy any more. I have so much! After I took this photo I realized I hadn't cut the corner pieces. I'm trying to decide if I want to attempt bias binding and leave those rounded corners. I've got time to decide. I definitely see a super scrappy version of this quilt in my future.

Tools and supplies (affiliate links):
Creative Grids 6.5" x 24.5" Rectangle
Creative Grids 6.5" Square Ruler
Creative Grids 4.5" x 12.5" Rectangle Quilting Ruler
Fiskars Rotary Cutter
Fiskars Rotary Cutter replacement blades
Fiskars Self Healing Rotary Cutting Mat
BLACK+DECKER Classic Steam Iron
Grabbit Magnetic Pin Cushion
Fiskars 8-inch scissors
Juki TL-2010Q
Fiskars 14x14 Inch Self Healing Rotating Cutting Mat

Wednesday, August 12, 2020

Custom Masks

Another quilter asked if I could make a pair of custom masks for a bride and groom. I said yes.
First, I used the machine's built-in fonts to design the embroidery and make it the size I needed. I then learned about poor embroidery alignment on pre-cut fabric and how my embroidery thinks I want one color when I want another. It was a good test.
Then, I got it right on the second time. I even managed to get it similarly lined up on the second mask. 
Different lining for yet another visual indication of who each belongs to. 
Pressed and ready for top stitching. 
Top stitched and ready for their trip to the west coast for the happy couple. Don't let the pandemic slow you down or prevent you from making memories. I hope these help make their special day a little more special.

Tools and supplies (affiliate links):
Creative Grids 6.5" x 24.5" Rectangle
Creative Grids 6.5" Square Ruler
Creative Grids 4.5" x 12.5" Rectangle Quilting Ruler
Fiskars Rotary Cutter
Fiskars Rotary Cutter replacement blades
Fiskars Self Healing Rotary Cutting Mat
BLACK+DECKER Classic Steam Iron
Grabbit Magnetic Pin Cushion
Fiskars 8-inch scissors
Juki TL-2010Q
Clover 2-Type Bodkin