Showing posts with label tote. Show all posts

Wednesday, August 16, 2023

Green Bags

I'm not sure how this fabric came to be in my collection. It could have been Aunt Betty. In any case, I had enough to back a quilt and enough to make two totes using the Green Bag Lady pattern. 
I didn't use my serger on these. I did make them with French seams so they are very tidy.
It was a good afternoon project. These fold up very nicely to tuck into your bag when going to the store. I've always got one in my bag. 

Then Green Bag Lady regularly gives away totes through random drawings. Follow her blog or the Green Bag Lady Facebook page. Great work keeping paper and plastic bags out of the landfill.

Monday, May 16, 2022

Make May Modern

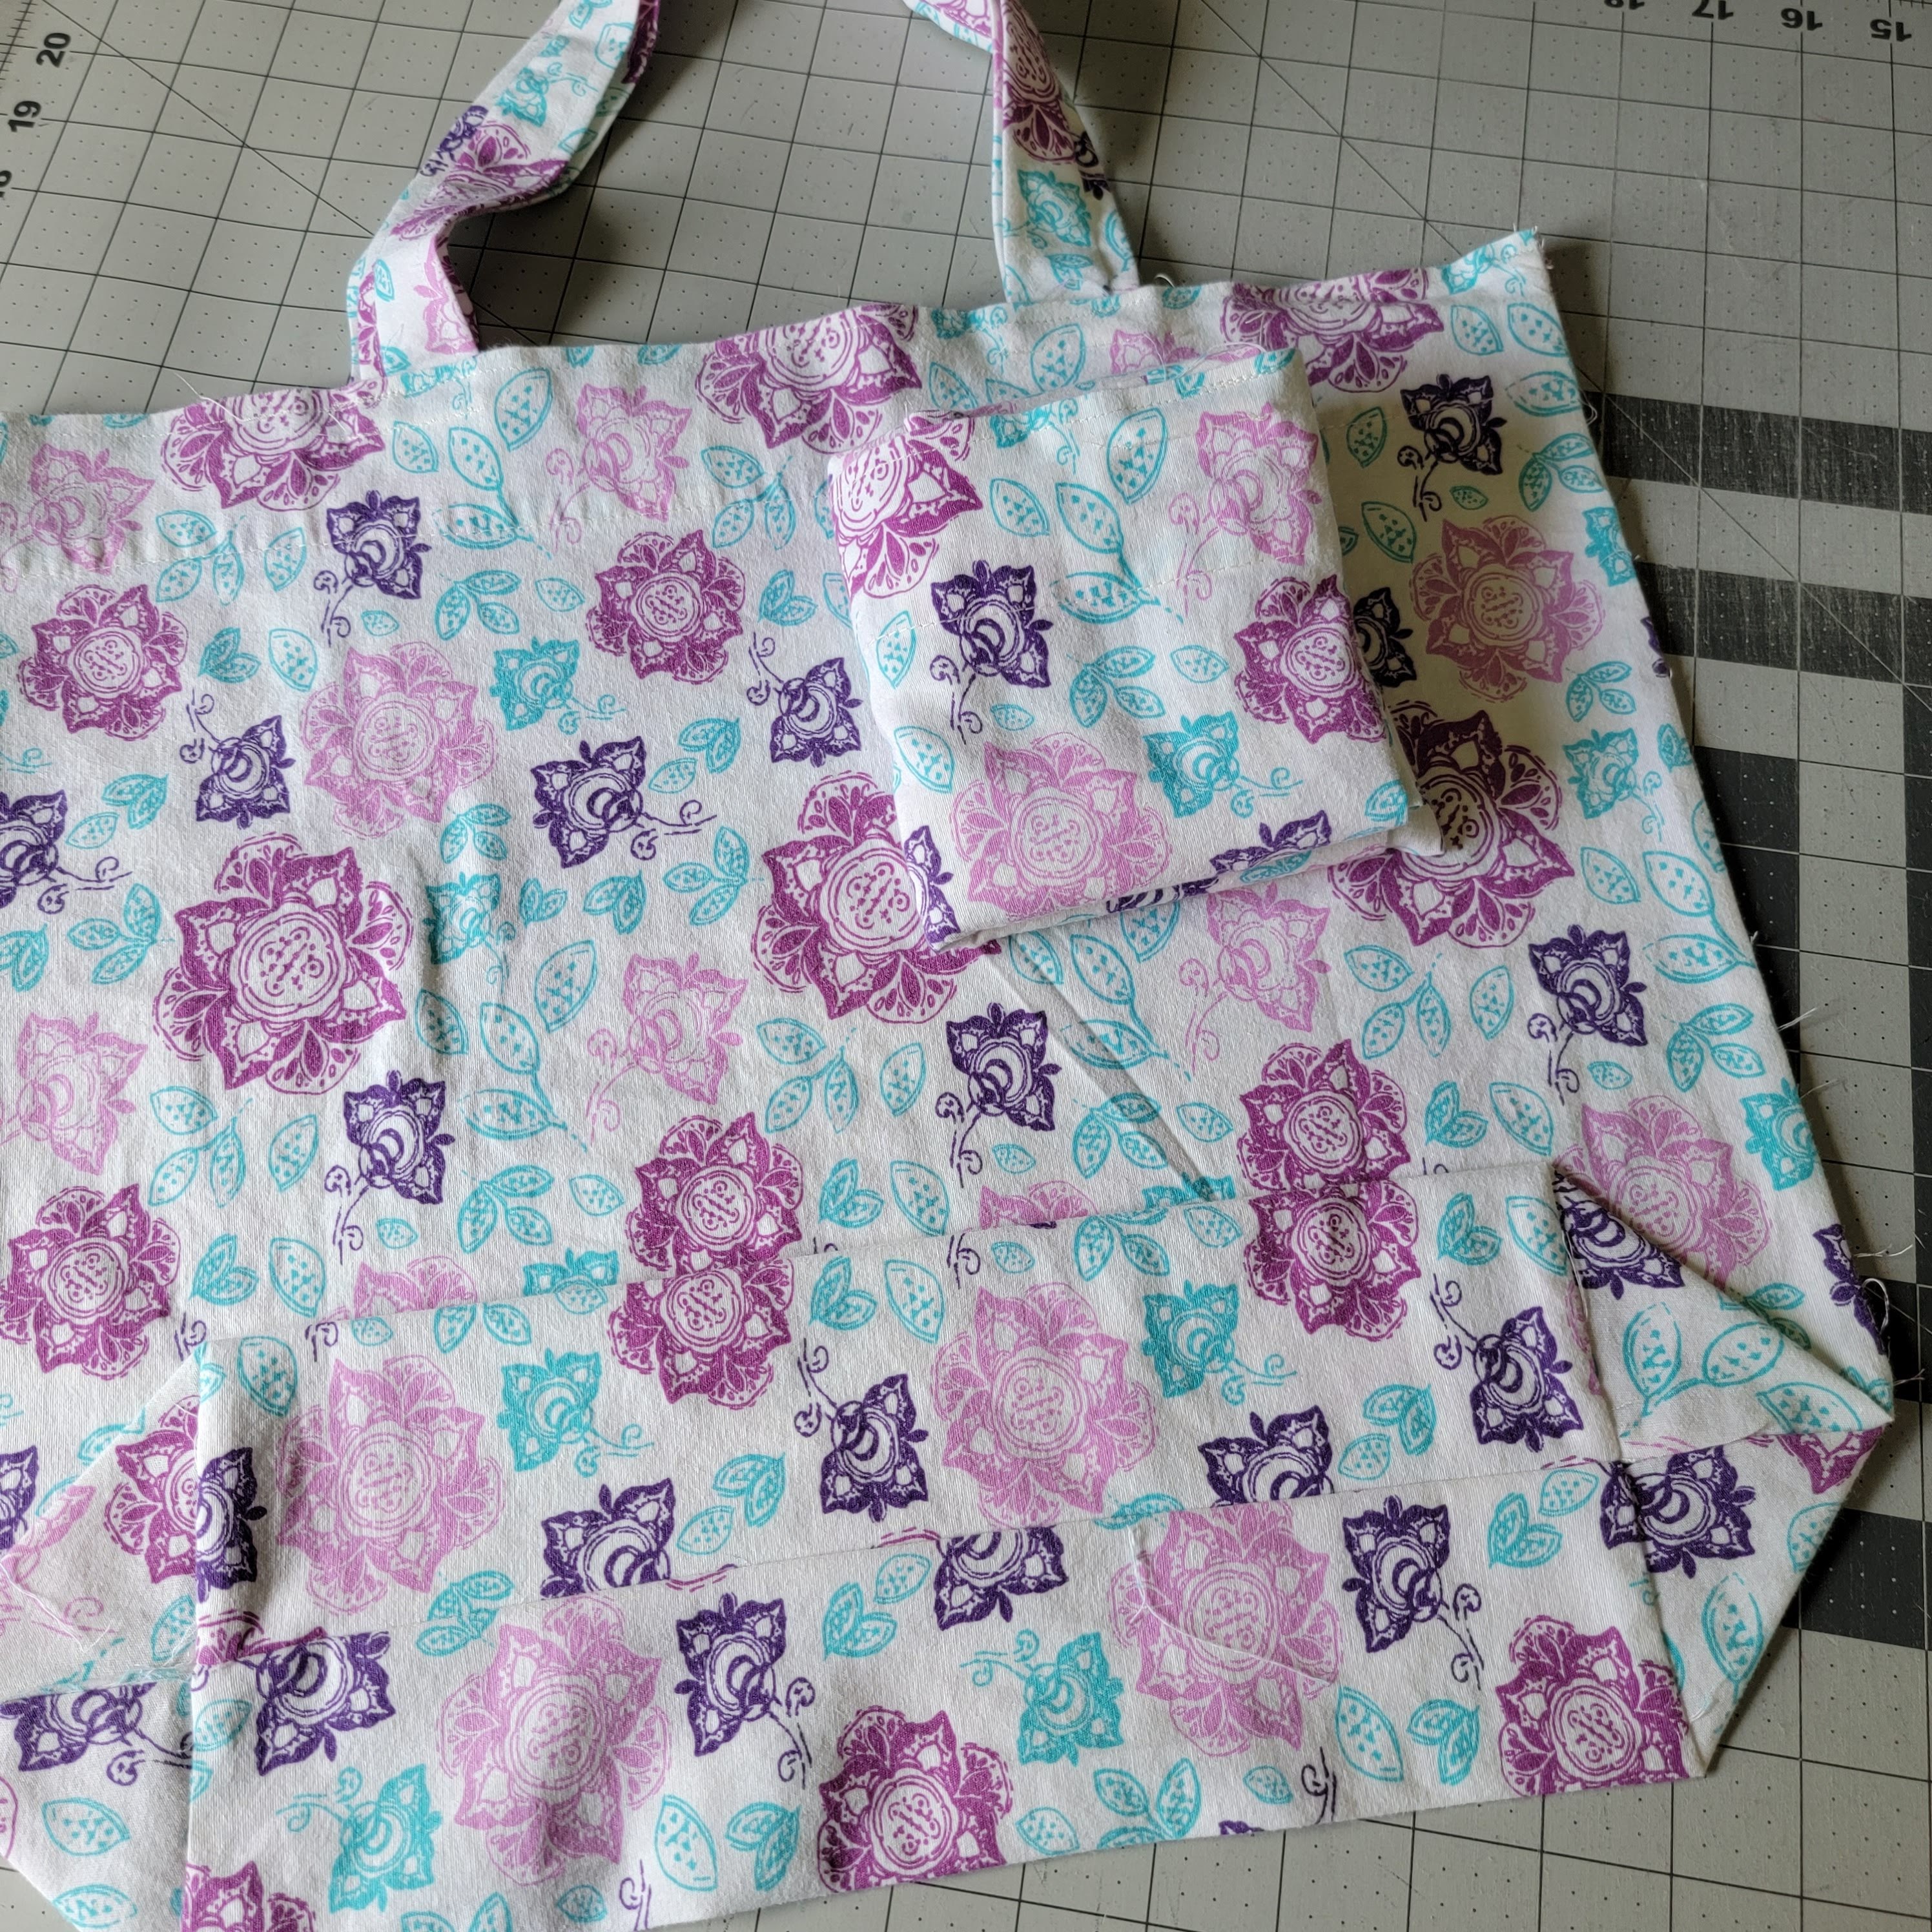
Last Saturday the Baltimore Modern Quilt Guild held their Make May Modern one day retreat. I didn't attend in person but they encouraged everyone to make a tote using the Ruby Star Society Reusable Shopping Tote pattern (free). Since I didn't attend I decided to at least sew along with part of my day and make the tote. This fabric has been in my collection for more than five years. I'm pretty sure it came to me as a mystery box of quilting cottons from Craftsy. Large prints almost always become totes or bags because I don't have much luck cutting them up for quilts. 
This little pattern has you measure for your cutting lines. I used my Creative Grids Circle Savvy 11-3/4in x 18-1/2in Quilt Ruler to cut the curves. I use the Fiskars Stick Rotary Cutter, 28mm to cut those arcs.
I cut the pocket a little bigger than the pattern asked for. 
I used the serger to tidy up the straps before folding and top stitching. This pattern uses French seams but doesn't make it sound complicated. 
It does fold into the pocket. Not that it I managed to fold it to look pretty. Usually I fold my totes so they are tidy but this is the first time I've made one with a pocket specifically for the task. 
Overall this was a great afternoon project. I don't think this bag will become my go-to bag as it does have some waste. I might use some of the techniques on other simple totes, though. It does have a very professional finish. 

Friday, July 17, 2020

Totes Totes

I've been digging through my fabric and pulling out pieces I think will work for masks. When I find pieces big enough to make totes (about 1/2 yard of fabric per tote) I press it and set it aside. I did that all week. 
I sat down to assemble them on Sunday. I didn't even count them first. 
When I sew these I move through them rather quickly, sewing a piece and dropping it beside me. 
Assembly-line sewing at its finest. These are constructed using my serger then finished on the Juki. 
They do stack up nicely. 
Eleven totes finished! I stack these up and use them to gift things. They are great to give away almost anything and the recipient then has a reusable tote for groceries. Win-win in my book. Mostly seasonal in this group.

Free pattern by The Green Bag Lady.

Tools and supplies (affiliate links):
Creative Grids 6.5" x 24.5" Rectangle
Fiskars Rotary Cutter
Fiskars Self Healing Rotary Cutting Mat
BLACK+DECKER Classic Steam Iron
Grabbit Magnetic Pin Cushion
Fiskars 8-inch scissors
Juki TL-2010Q

Wednesday, June 17, 2020

Odds and Ends

Sometimes I will go through my collection of fabric, pull out a few, and get stitching. Here is a stack of fabric I pulled last week. What did I make? Well, a bunch of things.
I used this fun camper fabric and a zipper from ZipIt on Etsy (they are taking a break right now but they are my favorite zipper vendor) to make a pillow case for my travel pillow.
Definitely going with me when we can travel more freely again.
I used the free pattern from the Green Bag Lady to cut out nine totes. These are quick when assembled on the serger. The top hem gets finished on the Juki TL-2010Q. I say quick but it took me all week cutting and sewing over about a week. I'm sure I could easily finish this many in a weekend.
Aren't these great! Now I'm ready to gift them to friends for all sorts of occasions. Great for leaving fresh-baked bread on your neighbor's porch or holding some pieces of scrap batting for a friend that wants to try quilt-as-you-go. These are my favorite way to gift small quilts and other small items.

Tools and supplies (affiliate links):
Creative Grids 6.5" x 24.5" Rectangle
Fiskars Rotary Cutter
Fiskars Self Healing Rotary Cutting Mat
BLACK+DECKER Classic Steam Iron
Grabbit Magnetic Pin Cushion
Fiskars 8-inch scissors
Juki TL-2010Q

Monday, May 11, 2020

Paper or Plastic? Neither!

Pulled out the serger this past weekend to make some quick totes. It took me almost as long to set it up for 4-thread overlock as it did to make my totes. I'm not saying it is difficult to change the set-up because it isn't. It just takes a few minutes to find the cheat-sheet and tools to get it set up correctly. Threading is a breeze!
My aunt sent me these fabrics a couple years ago and they've been sitting on a shelf for entirely too long. I went over to the Green Bag Lady's blog to refresh my memory on the free tote pattern and cut out four bags with these remnants. This was my Saturday morning project. So satisfying to use something up and have a finished tote ready for gifting. I'm trying to use more fabric I already own. I'm not sure I'm making any progress but I'm trying.

Then Green Bag Lady regularly gives away totes through random drawings. Follow her blog or the Green Bag Lady Facebook page. Great work keeping paper and plastic bags out of the landfill.

Tools and supplies (affiliate links):
Creative Grids 6.5" x 24.5" Rectangle
Creative Grids 6.5" Square Ruler
Fiskars Rotary Cutter
Fiskars Self Healing Rotary Cutting Mat
BLACK+DECKER Classic Steam Iron
Grabbit Magnetic Pin Cushion
Fiskars 8-inch scissors
Juki TL-2010Q

Friday, December 14, 2018

White Elephant Sewing

At my workplace, we do a white elephant gift exchange every year during the December holiday party. We do a big potluck, eat lots of shared food, exchange gifts, and have a great time outside work. I really enjoy the white elephant gift exchange. It's competitive good fun. We set the limit at $20 but you can really stretch that if you are crafty and use fabric you got for free (see this great video from Professor Pincushion about Aunt Betty to learn how that happens).
Making things often goes quickly if you're making more than one of something. I had this fun Star Wars print I picked up in the remnants bin and it needed to become something that wouldn't hide all that large print. I used the Green Bag Lady pattern, available for free on her blog. There is also a video tutorial if you're a more visual learner. The Green Bag Lady does give-aways almost every week on the blog and on the the Green Bag Lady Facebook page.
Some projects just seem to need all the tools. This quick project was no exception. I used the serger for quickly finishing the seams of the tote.
I used the Juki TL-2010Q to finish the hem at the top of the tote. And a bunch of tools for measuring, marking, cutting, and pinning that are at the bottom of the post. 
I finished the two totes in about an hour from start to finish. 
The Marvel tote is larger so it will fit this knife set. Last year I gifted this knife set with an embroidered apron. You can buy a similar Cuisinart Knife Set on Amazon for less than $20. I have the Cuisinart Printed Knife Set (closer to $25) and love it. I use the small knife almost every day when preparing salads.
Because I wanted to wrap the present as little waste as possible, I used two totes. One from the Green Bag Lady that I won in a give-away, and the fun Marvel print one I made using gifted fabric. 
I used the Green Bag Lady tote to cover one end, then shoved the whole thing into the larger print tote.
I'm ready for the white elephant gift exchange.

Tools and supplies (affiliate links):
Creative Grids 6.5" x 24.5" Rectangle
Creative Grids 6.5" x 6.5" square - to cut the corners of the tote for boxing
Fiskars Rotary Cutter
Fiskars Self Healing Rotary Cutting Mat
BLACK+DECKER Classic Steam Iron
Fiskars 8-inch scissors
Grabbit Magnetic Pin Cushion
Juki TL-2010Q
Pilot Frixion Erasable Markers - perfect for marking in the seam allowance!

Friday, June 22, 2018

Totes!

This tote called the Fat Sack by Atkinson Designs was shared on one of the many groups I'm a member of on Facebook. I decided to give it a try.
I found my stack of decorator canvas and colorful denim while searching for some felt I have around here somewhere. I didn't have enough of one print to make an entire tote, so I did a little mixing and matching. It's a quick and simple pattern and if you're looking for a sizable tote it will serve you well. I do recommend using heavier fabrics. The double bottom is genius for grocery totes!

Sadly, it isn't quite big enough to replace the tote I was hoping to replace so I'll have to do some calculations and make another, or two. I'll be sure to share the outcome. I like making bags with different techniques to learn new things and this one certainly fit the bill.

Wednesday, May 23, 2018

Delicate Elephant

Sometimes I get a crazy idea. This time, it was to use some denim I have had for a couple years, a fun embroidery design from Urban Threads, and my own cross-body bag pattern, to make a fun bag.
I picked the colors based on the coordinating print I wanted to use for the lining and strap. The design is the Elephant from the Delicate Ones set from Urban Threads. This four-color design makes a big impact. The denim is a very pale blue; a color better captured in the next photo.
I should time myself making one of these bags. So I can give others an idea how long it takes. This was once I had the lining, outer pocket, and the strap ready to go together. 
This bag is a great size to carry more than your phone but not big enough to carry the kitchen sink. I think this one will make a great gift.

9" and 12" zippers were purchased as matched set from ZipIt Zippers. Seriously, I don't buy zippers from anyone else unless I cannot wait for the quick shipping provided by ZipIt. Great prices and so many color options.

Wednesday, April 18, 2018

Beauty and the Beast

I've been working on a bag pattern off and on for years.
It uses minimal hardware. The cutting is straightforward. (This means there are no pattern pieces, all the cutting is done with a rotary cutter and ruler.)
Construction is not complicated and easily accomplished in an orderly fashion. The bottom is covered in vinyl to protect those bottom corners. 
It has a zippered pocket on the back of the bag to hold you wallet for quick access. 
It has a top zipper that opens all the way. Inside it has three pockets to help you stay organized. Each of those pockets can hold my mobile phone. 
The strap is adjustable so it can be worn like a should bag or a cross-body bag. In short, it has all the features I like in an everyday bag. It is also a great way to showcase fun prints. You can see another in this post from earlier this month.

How close to a finished pattern is it? Well... right now it is a list of materials and cutting instructions. So, not very close. I will admit that I haven't made any changes to the construction or design in a couple iterations, so I guess the design phase is done.

Monday, April 2, 2018

Geeky Bag

While writing this post, I realized I made my last handbag in July 2016. It was time for a new one.
I've had this computer/electronics themed fabric hanging around for a while. I had intended on making a couple geeky knitting project bags, but decided a new purse would be way better. I grabbed my (somewhat questionable) notes on the last bag I made and got busy.
This is my own pattern, designed around the features I like in a bag and more than a few tricks I've learn along the way. I prefer a cross-body bag, with a zippered top and a zippered back pocket. It also has three interior pockets perfectly sized to hold my cellphone, a pack of tissues, and the coffee cozy I carry because the cardboard ones just aren't that great. The adjustable strap is new in this version.
This one isn't as deep as my last one, which I think is an improvement. The strap is slightly wider, as well. The vinyl bottom really makes a difference in the wear the bag can handle.

This bag is on my list to write a pattern for, but pattern writing is so much more work than bag making. Until I can make it without scribbling a dozen more notes, it isn't ready for prime-time anyway. Maybe I just need to make a few more times.

Monday, August 14, 2017

Big Damn Tote

As some of you may know, I'm a big fan of the television series Firefly. The single season was a great time and I was sad Joss Whedon had only that one season and one movie to tell us a small piece of the story of the 'verse and "them that choose it".
Spoonflower is a great place to find custom print fabrics to create fun projects. This Firefly themed print is one of those fabrics that makes a Browncoat smile. This is the second time I've used this print. The first time I used the Eco Canvas. This is the Heavy Cotton Twill. It is the perfect weight fabric to make sturdy totes.
I used cotton strapping I picked up at a local big box craft store for the strap. It seems a small thing, but it does speed construction. The tote is a roomy 18" by 18" with a square bottom approximately 4" deep. Perfect for toting all sorts of things.
I didn't really want to send this bag off to its new home halfway across the country but it was made as a special request. Because Browncoats have to stick together.

Friday, January 13, 2017

Charlotte City Tote

Swoon Patterns had a sale a few months ago and I couldn't resist. I snapped up a couple patterns including the Charlotte City Tote.
I still had some glitter vinyl from Punkbroidery left over from another bag project so I decided I would test the pattern and my vinyl sewing skills. Swoon has a great tutorial for making your own piping but I had a single package of pre-made piping that worked for this project. I did pick up enough cord to make piping for my next piped project.
The pattern is clearly written and easy to follow. If you decide to try working with vinyl, I highly recommend you get the non-stick foot for your sewing machine. Having some freezer paper on-hand to keep the vinyl from sticking to the machine bed might be a good idea, too. Lengthen the stitch-length and take it slow is the best advice.
I'm pleased with the finished bag. I have learned (yet again) that I am overly picky when it comes to my preferred handbag. I like the bag. It just isn't one I would carry in my day-to-day life.

The nitty gritty details...
Pattern: Charlotte City Tote from Swoon Patterns
Fabric: Classic Sailor Tattoo Fabric (printed on Eco Canvas) by bella-modiste available on Spoonflower
Glitter Vinyl: Gray Silver glitter vinyl roll (12" by 54") from Punkbroidery
Bag hardware: Stainless Steel hardware (square rings, D-ring and swivel snap) from Strapworks.com
All other materials are easily found at the big-box sewing/craft stores.

Friday, June 24, 2016

Poolside Tote Swap

Now that the swap is over, I can share the bag I made and the bag I received for the Poolside Tote Swap.
I will admit that I had so much trouble picking out a pattern and fabric for this project. Ultimately I designed a bag I wanted to make. I did find some inspiration with this fun line of fabrics.
Each piece of the panel was quilted separately in a motif that compliments the fabric. I shared the quilting of each piece in a previous blog post.
The bag has a row of pockets on the inside.
Perfect for holding your cell phone or other small things.
I love these long zips on the top of a tote bag. I'm a accidental bag tipper so this has saved me and my stuff more than once.
There is also a big zippered pocket on the outside for those things you need to be able to grab in a hurry.
Even with the creative block, I think this was a great project. I'm also super happy that my partner loves the bag. This was a great swap!
What did I get in the swap? I'm so glad you asked! I received this super, awesome, amazing bag with a paper-pieced masterpiece on the front. That's right. My very own message in a bottle.
That striped binding is just so awesome, too! This was a great swap and I'm so glad I joined in. What will the next one be?

Have you had any fun swaps? I'd love to hear about them.