Showing posts with label Frolic. Show all posts

Monday, May 22, 2023

Frolic Mystery Quilt Finish!

It's been more than year since I quilted my version of Bonnie Hunter's Mystery Quilt Frolic. I decided it was time to get it bound.
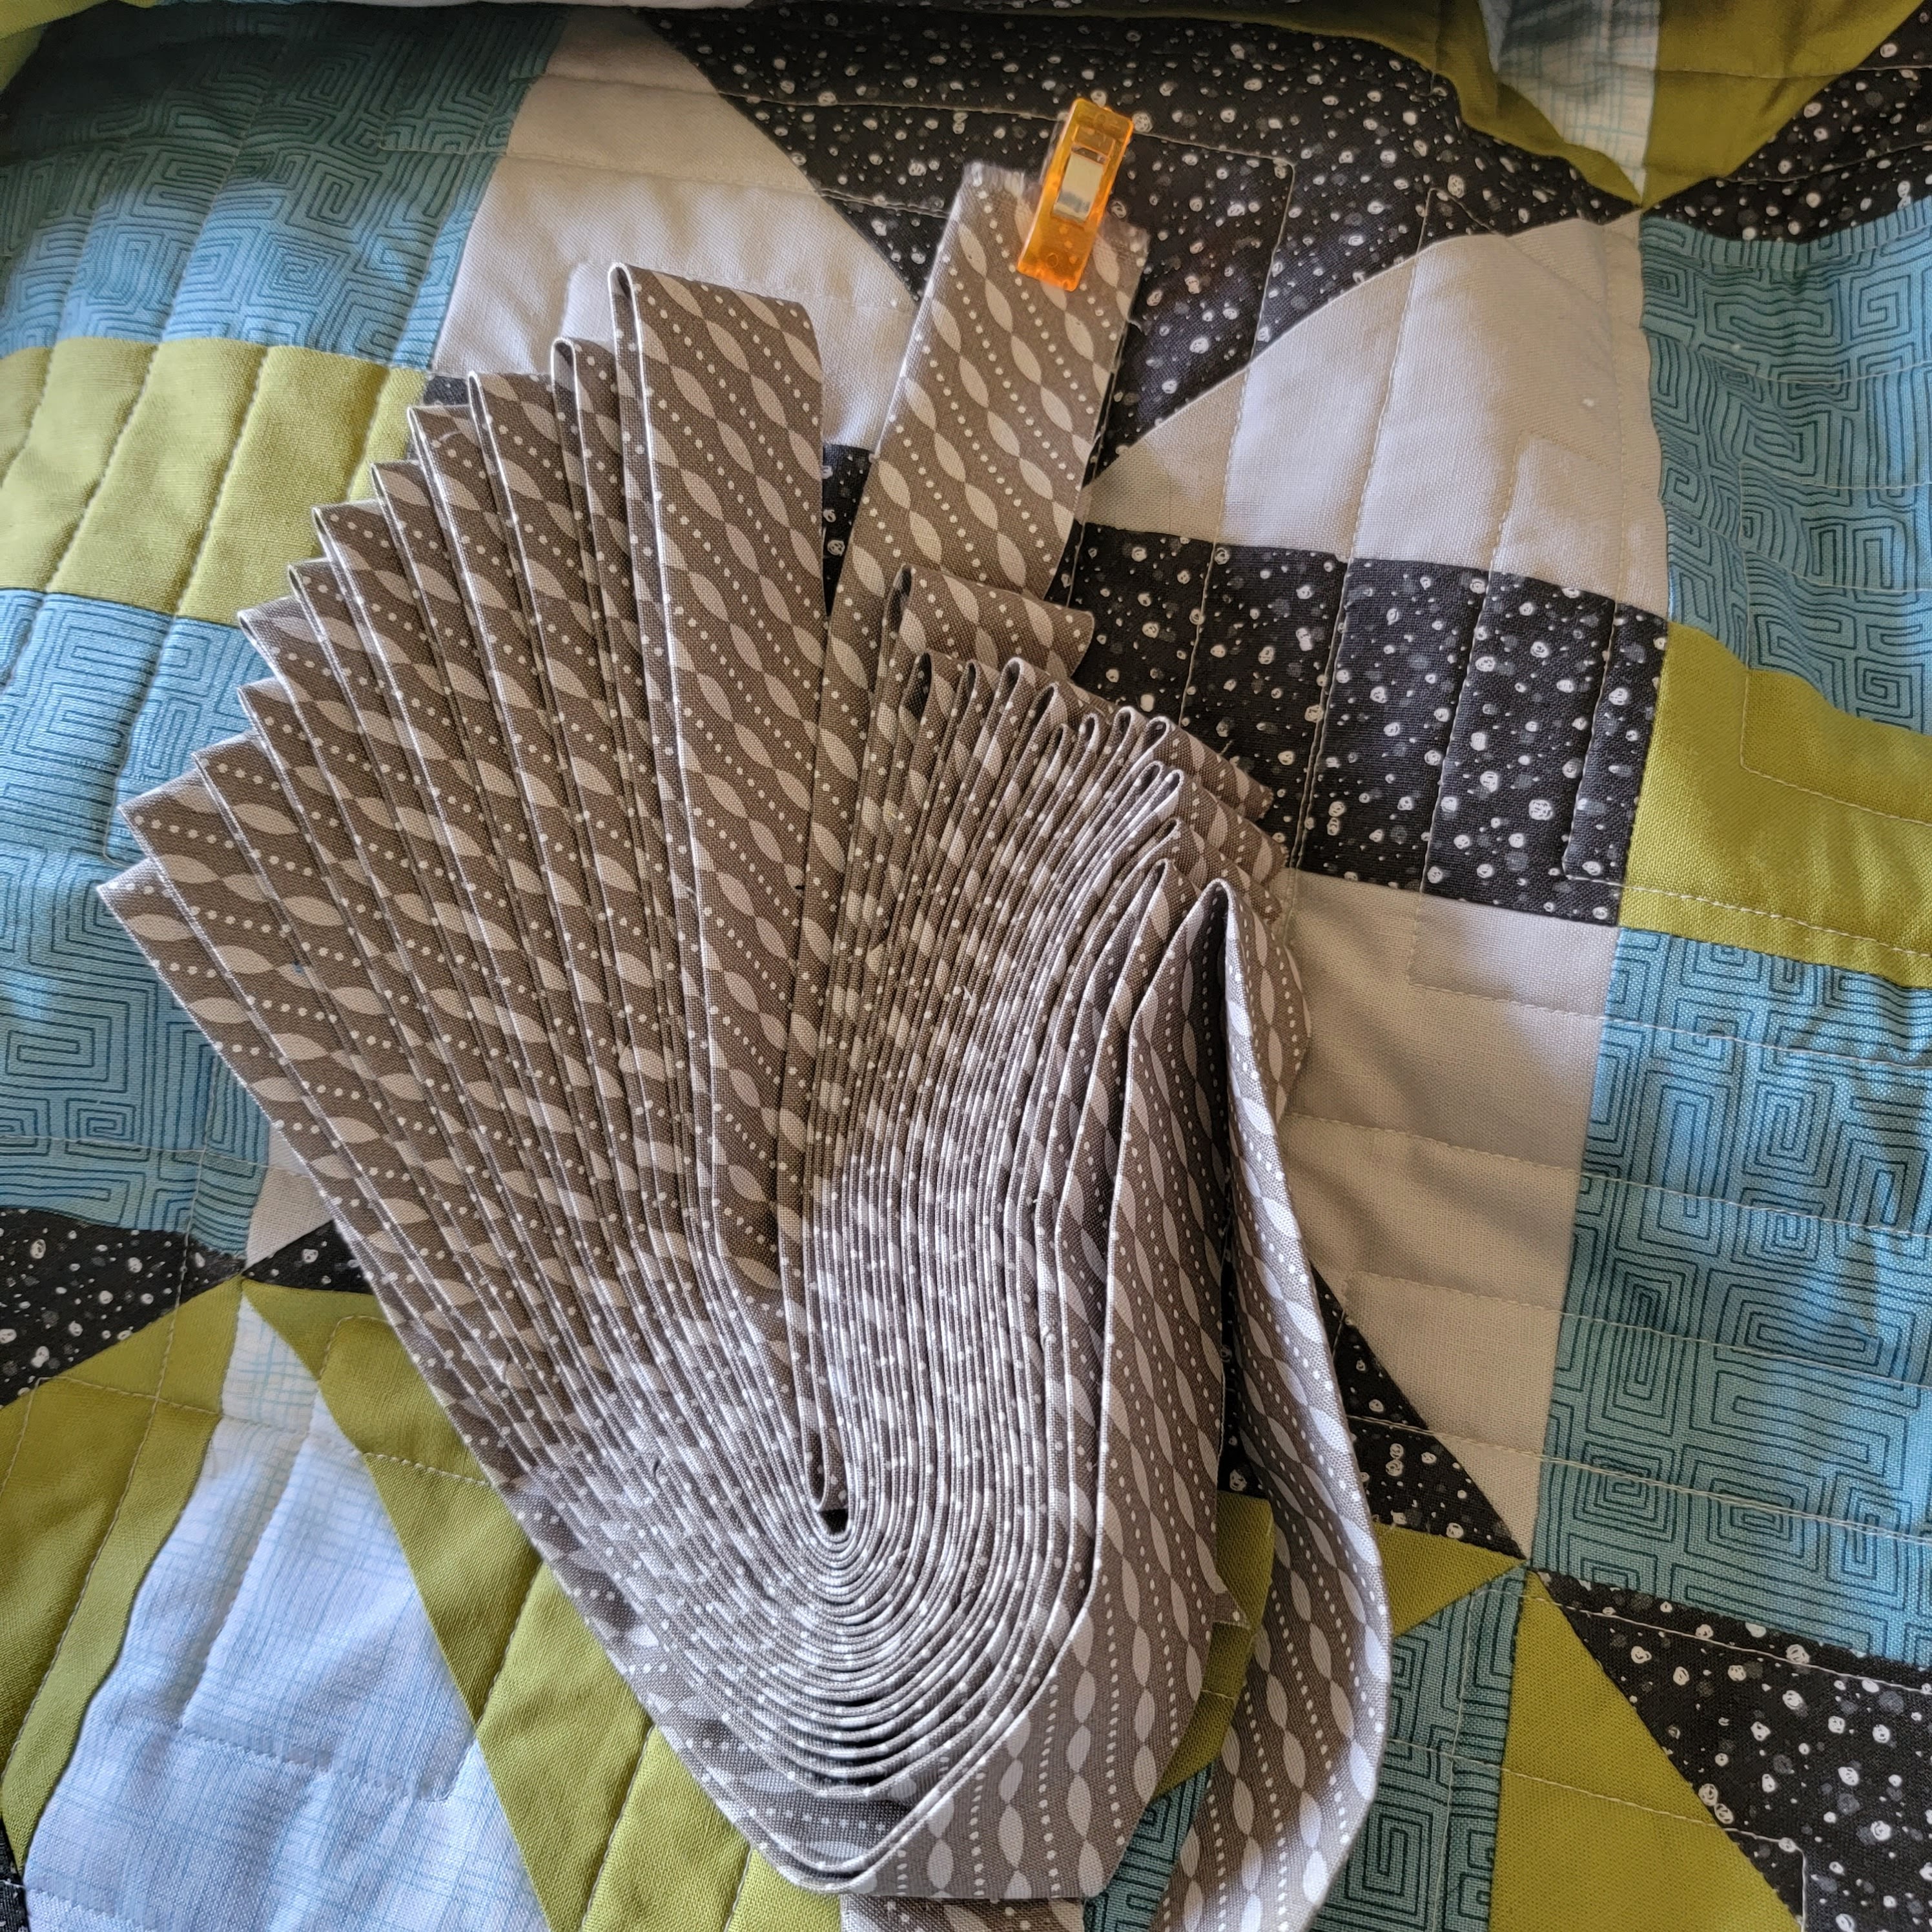
Applying binding to large quilts is a wrestling match. I attach the binding to the back of the quilt so I can machine finish it from the top. 
If you want to learn more about how I mark my binding for joining the ends, or other quilt binding tips, I have a page (linked on the sidebar) where you can find my machine finished binding tips
My way is not the only way, and it necessarily the best way. It is just the way I get consistent results. If you're on the fence about using FriXion pens in your crafting, don't worry, I only mark on the back of the fabric, or where the binding will be hidden once finished. 
Then, once I press the binding away from the quilt, I roll it to the front and finish it by machine. It makes for a sturdy binding. 
Now it is ready for its first wash. 
My version was made using larger pieces than the pattern called for and a completely different color palette from the mystery. I think it came out great! Do you like to change up the colors when making mystery quilts? 

Friday, March 18, 2022

Frolic Mystery Quilt

Part 4: Quilting

It has been ages since I finished my version of Bonnie Hunter's mystery quilt Frolic. This was the Quiltville Winter Mystery for the 2019/2020 season. I played with colors so I could use some fabrics I had on hand. I went with constant fabrics throughout and most of them read as solids. There are solids, but not as many as it seems upon first glance. 
I added my embroidered label directly onto the backing fabric prior to quilting. I really like this as it makes sure that label stays with the quilt.  
I chose the quilting design Quagmire from Urban Elementz to keep with the on-point design. 
I quilted it rather large (approximately 1" between lines of stitching) and I love the finish. I wonder if I cut binding for this one when I finished the top. Now it's trimmed and ready for that binding. 

You can buy a copy of the digital pattern for Frolic directly from Quiltville

Wednesday, February 26, 2020

Frolic Mystery Quilt

Part 3
I'm still working on my Frolic Mystery Quilt by Bonnie Hunter of Quiltville. I shared previous progress in Part 1 and Part 2 blog posts. 
I was concerned I wouldn't have enough of the green for sashing, but after I cut a few strips of the black I discovered I had just enough.
I'm always challenged by blocks set on point. Not only is there the problem with keeping things from shifting because everything is on the bias, particularly along the edges, but it just takes longer to piece than blocks in rows and columns. In this case the effect is totally worth the extra time. Sashing is also something I rarely do because it is like doubling the number of blocks you need for your quilt. Again, the design wouldn't be as good without sashing. 
I had a handful of half-square triangle units leftover, so I used them as border cornerstones. The border is pieced only to get length (I would not have survived all those half-square-triangle units). The one thing you don't get from this photo, or most of those that have gone before is the scale of this quilt is very different from the original design. I have fewer units and they are considerably larger. This finished top measures approximately 80" by 80". A very respectable size. I'm really glad I decided to wait on this mystery quilt. I modified scale and colors quite a bit. I am so happy with the finished top.

I've set the top aside to work on other things until I get to my local quilt shop to buy some backing fabric.   

Tools and supplies (affiliate links):
Creative Grids 6.5" x 24.5" Rectangle
Fiskars Rotary Cutter
Fiskars Self Healing Rotary Cutting Mat
BLACK+DECKER Classic Steam Iron
Grabbit Magnetic Pin Cushion
Fiskars 8-inch scissors
Juki TL-2010Q
6.5" Easy Angle Ruler
4.5" Easy Angle Ruler
Companion Angle Ruler
Wing Clipper
Creative Grids 6.5" Square Ruler
Cheryl Ann's Quilting Design Wall - 72" White
Wednesday, February 5, 2020

Frolic Mystery Quilt

Part 2
A couple weeks ago I shared Part 1 of my Frolic Mystery Quilt by Bonnie Hunter of Quiltville.
I've been making good progress on the many units that make up this quilt. First, I worked through the corner blocks.
Then, the side blocks.
I was finally filling in units and it was starting to look like a quilt.
This past weekend I managed to finish all the blocks. Now, I move on to the sashing. I don't make many quilts with sashing because it always seems like so much work. Great results, though.

Tools and supplies (affiliate links):
Creative Grids 6.5" x 24.5" Rectangle
Fiskars Rotary Cutter
Fiskars Self Healing Rotary Cutting Mat
BLACK+DECKER Classic Steam Iron
Grabbit Magnetic Pin Cushion
Fiskars 8-inch scissors
Juki TL-2010Q
6.5" Easy Angle Ruler
4.5" Easy Angle Ruler
Companion Angle Ruler
Wing Clipper
Creative Grids 6.5" Square Ruler
Cheryl Ann's Quilting Design Wall - 72" White

Wednesday, January 22, 2020

Frolic Mystery Quilt

Part 1
Bonnie Hunter of Quiltville hosts a mystery quilt that begins the day after Thanksgiving in the United States.
Frolic began on Black Friday in 2019. I wasn't excited about the mystery quilt this time. I did buy some fabric, but I didn't have the interest to actually play along with the mystery. This isn't the fault of the designer, just a general feeling of not wanting to make a quilt without knowing where I was going. I waited until after the reveal to settle on my colors.
I picked up the black and the gray during the Black Friday sale at Spring Water Designs in Columbia, Maryland. 
I used more than a couple specialty rulers to cut the pieces for this quilt. I'm not done cutting, yet. I expect this project to take a while. The 4.5" Easy Angle Ruler would be fine for this quilt, but I like the added stability of the 6.5" Easy Angle Ruler to cut the half-square triangles. Paired with the Companion Angle Ruler made quick work of cutting the flying geese units. 
To square up those geese units, I love this Wing Clipper.
I spent some time Monday cutting some of the units for this block. Stacks and stacks of pieces. I didn't cut everything as I'm sure this will keep me busy. You'll notice that I decided not to use the gray diagonal print. Once I looked at my cutting instructions I was pretty sure it wouldn't be the best for those flying geese so I grabbed a gray solid from my collection instead. I'll likely use the print for the binding because a diagonal print is perfect for binding. 
I didn't have all the pieces cut, so this is as far as I got. Just some units on the design wall. I've changed all the colors and this will look nothing like the quilt Bonnie designed, but I love that I will be using fabrics from my collection. I've made some other changes that will become clear as I update the blog with my progress. I'm glad I waited to get started.

Tools and supplies (affiliate links):
Creative Grids 6.5" x 24.5" Rectangle
Fiskars Rotary Cutter
Fiskars Self Healing Rotary Cutting Mat
BLACK+DECKER Classic Steam Iron
Grabbit Magnetic Pin Cushion
Fiskars 8-inch scissors
Juki TL-2010Q
6.5" Easy Angle Ruler
4.5" Easy Angle Ruler
Companion Angle Ruler
Wing Clipper
Creative Grids 6.5" Square Ruler
Cheryl Ann's Quilting Design Wall - 72" White