Showing posts with label zipper. Show all posts

Monday, April 3, 2023

Dayna Pack

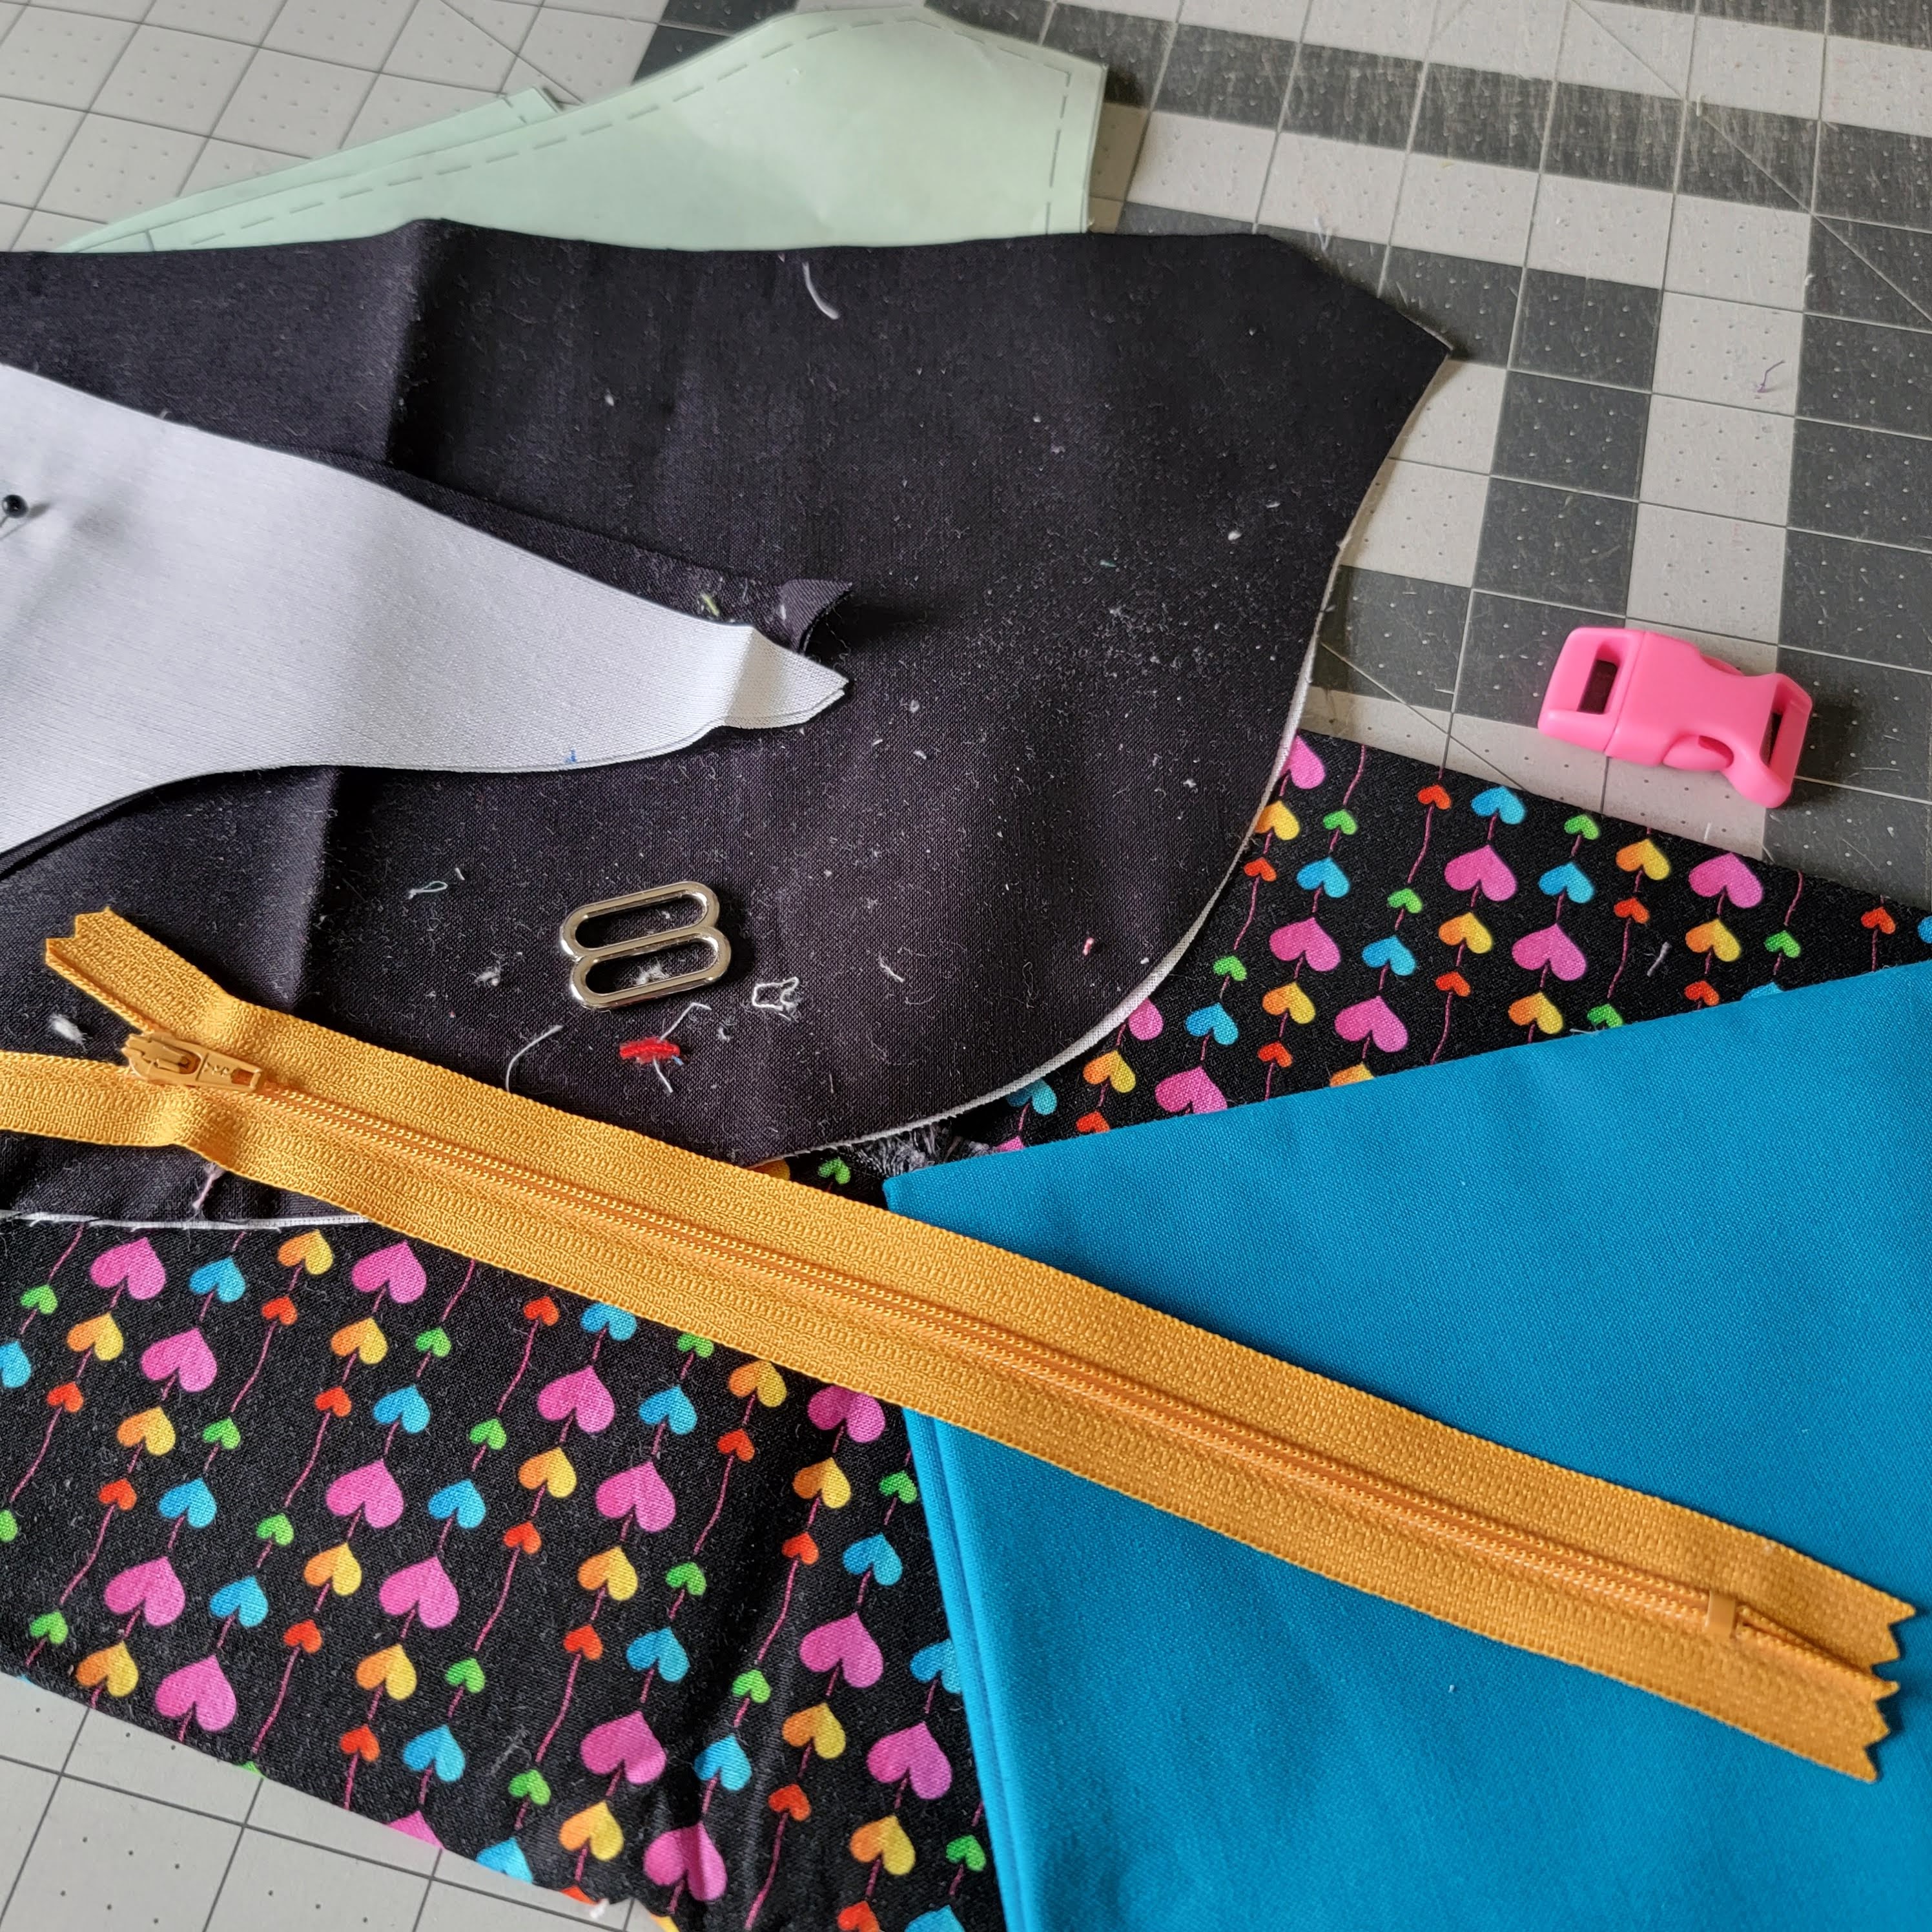
I've had these pieces of a Dayna Pack on my cutting table forever. I was trying to tidy a little and decided to just get sewing. This is the second time I've made this bag. You can see that bag in this post from February 2021.
The Dayna Pack pattern is easy to follow and the resulting bag is perfect for a small wallet, some hand sanitizer, and my regular-sized smart phone. A great project. The pattern also includes instructions on how to downsize this for kids. 

Buy zippers in bulk from ZipIt on Etsy 
I buy my bag hardware from Strapworks.com 

Friday, November 25, 2022

Sock Sack

I wanted a small zippered bag suitable for washing hand knit or machine knit wool socks. I grabbed a fun print and cut two 12.5" squares. 
I chose that size for a couple reasons, the most important was that I have pretty big selection of 12" zippers. If you make bags and are looking for a small business solution to zippers I highly recommend ZipIt Zippers on Etsy. Excellent service and selection. 
Less than an hour later I had my finished sack. There are some things I would change if I make it again but it was a great first try. I constructed it with French seams so it won't fray in the wash. 
While small, it is still big enough to hold three pairs of socks. I wash my wool socks in the machine on a warm wash and then lay flat to dry afterwards. The bag makes it easy to find those socks and lay them out before the rest of the load goes into the dryer. 

Monday, August 24, 2020

Sunshine Crossbody Pouch

A friend mentioned the Sunshine Crossbody Pouch pattern from Bagstock Designs and I decided to give it a go. This is a free pattern with detailed instructions with color photos. You can also find a handful of step-by-step video tutorials on YouTube if you search for "sunshine crossbody pouch". I looked through my collection of vinyl, fat quarters from Spoonflower, and zips to come up with the perfect combination. This fabric Cephalopods world is still available on Spoonflower. 
On Friday I cut out all the pieces. Fabric, interfacing, vinyl, all ready to go. I buy my zippers from Zipit Zippers on Etsy. Great prices and excellent service. I may need to order some more.
I only had a fat quarter of the cephalopod print so I was very careful with my cutting to get just the right images in my center panels. 
Assembly on Saturday was pretty quick since I did all the cutting on Friday. I deviated from the pattern a little with the strap but that's just because I make my cross body bags this way and it works for me. The pattern is perfectly fine the way it is written.
Sewing with vinyl means I get to use my craft clips more than usual. I like them better for keeping some things lined up because they don't distort the fabric like pins can. 
This is a view of that interior zipper pocket and the fact that I failed to leave that zipper open while constructing the bag. There was some sailor language but it was unnecessary as it was really easy to grab that zipper pull and open the zipper from the lining side of the bag. It was super easy to turn the bag through that interior pocket. Maybe I should change my view on this kind of zippered pocket. 
Don't forget to label your work! Seriously, if you spend hours of your time making something put your mark on it. I mean it. 
And my finished bag! This was a fun little bag. I don't know that it would be my everyday bag (not that I carry a bag at all any more) just because it doesn't really have a convenient place for my phone. That outer pocket is big enough to hold your phone (I have the Samsung) but it isn't getting it into or out of that pocket. My ideal handbag includes a slip pocket inside that is big enough for my phone.

My favorite zipper supplier is ZipIt Zippers on Etsy
Free pattern Sunshine Crossbody Pouch from Bagstock
I buy my bag hardware from Strapworks.com

Tools and supplies (affiliate links):
Creative Grids 6.5" x 24.5" Rectangle
Creative Grids 6.5" Square Ruler
Fiskars Rotary Cutter
Fiskars Self Healing Rotary Cutting Mat
BLACK+DECKER Classic Steam Iron
Grabbit Magnetic Pin Cushion
Fiskars 8-inch scissors
Juki TL-2010Q
Pellon Flex Foam
Craft Clips
Heat'n Bond Non-Woven Feather Weight Fusible 20"x 25 Yards-White
SF101 Shape-Flex® (I was unable to find this for a reasonable price on Amazon. I recommend checking your local big box craft/sewing store.)
Pattern storage: Plastic Envelopes, Clear Reusable Poly Envelope Waterproof File Folder with Snap Button, US Letter/A4 Size

Wednesday, June 17, 2020

Odds and Ends

Sometimes I will go through my collection of fabric, pull out a few, and get stitching. Here is a stack of fabric I pulled last week. What did I make? Well, a bunch of things.
I used this fun camper fabric and a zipper from ZipIt on Etsy (they are taking a break right now but they are my favorite zipper vendor) to make a pillow case for my travel pillow.
Definitely going with me when we can travel more freely again.
I used the free pattern from the Green Bag Lady to cut out nine totes. These are quick when assembled on the serger. The top hem gets finished on the Juki TL-2010Q. I say quick but it took me all week cutting and sewing over about a week. I'm sure I could easily finish this many in a weekend.
Aren't these great! Now I'm ready to gift them to friends for all sorts of occasions. Great for leaving fresh-baked bread on your neighbor's porch or holding some pieces of scrap batting for a friend that wants to try quilt-as-you-go. These are my favorite way to gift small quilts and other small items.

Tools and supplies (affiliate links):
Creative Grids 6.5" x 24.5" Rectangle
Fiskars Rotary Cutter
Fiskars Self Healing Rotary Cutting Mat
BLACK+DECKER Classic Steam Iron
Grabbit Magnetic Pin Cushion
Fiskars 8-inch scissors
Juki TL-2010Q

Wednesday, March 25, 2020

Call Me Badge Holder

Last week I shared my first Call Me badge holder. Saturday I grabbed some fabrics to make a couple more. This time, I used this fun tentacle print from Spoonflower. 
Darling Husband wanted something bright and difficult to miss. I think this hit the mark. 
This one is a little wider than the first one I made and I'm super pleased with how it turned out. 
Now he will be ready the next time we get to attend a convention. 
I made myself a slightly larger one, too. I love the happy crab and jellyfish!

Tools and supplies (affiliate links):
Creative Grids 6.5" x 24.5" Rectangle
Fiskars Rotary Cutter
Fiskars Self Healing Rotary Cutting Mat
BLACK+DECKER Classic Steam Iron
Grabbit Magnetic Pin Cushion
Fiskars 8-inch scissors
Juki TL-2010Q
Creative Grids 12.5" Square Quilting Ruler
Pellon Flex Foam
Craft Clips

Monday, November 11, 2019

So Many Socks

After getting the 72 slot cylinder for my circular sock knitting machine I have been working on holiday gifts. The 64 slot is perfect for socks for my small, narrow feet, but I know so many people with human-sized feet. This is the pair of monster socks I knit up. It's nice to use up those little odds and ends leftover from making matching socks. 
There was some coffee along the way, too. 
I even finished up this tiny sock knit on the machine. This sock is worked bck and forth on about 24 stitches and is seamed up the back.
I finished these fun socks made with Uneek Sock from Urth Yarns. 
Lastly, was this pair knit using some very affordable yarn I bought from Erlbacher Gearhart when I ordered the 72 slot cylinder.

You can create your own knit and crochet survival kit using this post.

Tools and supplies (affiliate links):
Size E crochet hook
Paper Mate Ink Joy pens
Clover Locking Stitch Markers
blunt tip scissors
Large eye needles 
Knit Picks Interchangeable knitting needle set
Clover Yarn Threader
clear makeup bag

Monday, February 18, 2019

Embroidered Pouch

I have a few machine embroidery designs from Disorderly Threads. Occasionally, they announce a discount on new designs through their Disorderly Threads Facebook page. The Octopus design was one I couldn't resist.
This design is an in-the-hoop machine embroidery design. These are great for people that want to do machine embroidery and sew small projects but aren't so great at the sewing part. All the steps, including adding the lining is done completely on the embroidery machine. My bag-making skills are fine, but it is nice to use the embroidery machine to work on something while I'm doing something else. The steps for these projects is clearly outlined in with clearly written directions and photos to help you understand what may be new concepts. This is the step tacking down the applique fabric on the top of the bag.
I really like Disorderly Threads designs because the applique is just right, meaning even if your trimming isn't perfect it will still come out great. This is after I used my Fiskars 4-inch Curved Craft Scissors to trim the excess fabric away.
See how the satin stitch covers all the edges of the applique? Perfect!
Sometimes, even with perfect directions, I end up with an oops. This was a pretty simple fix. I just used the seam ripper to remove the stitches on that flap and ran that step again on the machine. I didn't tape down this piece and it got folded when I loaded the frame on the machine.
Overall a great project. I've been thinking about how I could incorporate this into a larger project, perhaps as an outer pocket on a larger bag. I'll have to think about it for a while, though.

Tools and Supplies (affiliate links):
Fiskars Rotary Cutter
Fiskars Self Healing Rotary Cutting Mat
Grabbit Magnetic Pin Cushion
Fiskars 8-inch scissors
Fiskars 4-inch Curved Craft Scissors
Dritz Large Seam Ripper
Juki TL-2010Q

Machine Embroidery Design: Octopus In-The-Hoop Embroidery Design by Disorderly Threads

Wednesday, December 12, 2018

Travel Knitting Kit

When I travel, I usually take along a simple kitting project to keep my hands busy during flights or long drives. This means I may need a few knitting tools. I want to share my kit so you can see what I have and carry regularly. I've never had a problem flying with this kit in my carry-on bag. I only fly domestically in the United States, so your mileage may vary. 
I always have a project bag dedicated to my travel project. It helps me keep the yarn, needles and kit separate from the other things in my carry-on bag. This knitting project bag will easily hold two 100 gram cakes of fingering yarn, the working project, and my knitting toolkit. I made the knitting project bag using Noodle-head's free Open Wide Pouch pattern. I use the medium size but make the bag as tall as it is wide (12" by 12"). The rest of the construction is the same. I usually travel with a circular needle that has wood needles. This is the Knitter's Pride fixed circular, size 6, 32" cable.
Inside the kit are several little bits and bobs one might need.
Inside that little tin are several smaller bits and bobs
All of these things fit inside the clear cosmetics bag I picked up at one of the big-box stores several years ago. This clear makeup bag is about the same size and would work just as well. 

You might need something not in my kit. You might not need everything that's in my kit. Don't be afraid to travel with your knit or crochet project. Even if you don't travel very much, you can still put together a really useful kit for your project so you aren't stuck without a tool to keep working. 

Tools and supplies (affiliate links):
Knitter's Pride fixed circular, size 6, 32" cable
Size E crochet hook
Paper Mate Ink Joy pens
Clover Locking Stitch Markers
blunt tip scissors
Large eye needles 
Knit Picks Interchangeable knitting needle set
Clover Yarn Threader
clear makeup bag

Wednesday, November 7, 2018

MQG Pouch Swap

The DC Modern Quilt Guild and the Baltimore Modern Quilt Guild are doing a bag swap at the next Baltimore MQG meeting.
As one would expect, partner assignments went out weeks ago and I just got around to constructing my swap bag. The recommended pattern was the Open Wide Pouch by Noodlehead. It's a free pattern with a great tutorial. I dug around in my stash for the appropriate colors. At least I hope they are the appropriate colors.
Then I fiddled with Electric Quilt 8 until I had design I liked. The block finishes at 12" by 12" so I can quilt it and then trim it to the right size.
I decided to make a couple stacks of flying geese. The tools I used are listed at the bottom of the post.
I pieced the panels after fussy cutting the background pieces. All that fabric going in the same direction is such a happy thing!
I dug around until I found a leftover piece of batting and got it loaded on the long arm. While this might seem a silly thing to make with the long arm, I have to admit I love the results. I'm just a better long arm quilter than I am a free-motion quilter on my domestic machine.
Aren't those panels fun?
I changed my mind on the zipper color, and I'm really glad I did. This is a much better choice than the blue one I had picked out early in the project. This is one of those projects I would love to keep. That happens way more than I ever thought it would. I hope my partner will be as happy with it as I am.

Tools (affiliate links):
Creative Grids 6.5" x 24.5" Rectangle
Fiskars Rotary Cutter
Fiskars Self Healing Rotary Cutting Mat
BLACK+DECKER Vitessa Advanced Steam Iron
Grabbit Magnetic Pin Cushion
Fiskars 8-inch scissors
Juki TL-2010Q
6.5" Easy Angle Ruler
Companion Angle Ruler
Tucker Wing Clipper Ruler
Creative Grids 6.5" Square Ruler
Electric Quilt 8

Monday, October 22, 2018

Open Wide Pouches

The Open Wide Zippered Pouch tutorial designed by Anna of Noodlehead is my favorite pouch pattern. It is so easy for me to change the basic measurements to fit the fabric and zippers I have on-hand.
I decided it was time to use this fun trick-or-treat fabric to make something. The Open Wide Zippered Pouch was perfect. This is made using the medium size bag with a minor modificaton to make the perfect knitting project bag. Instead of cutting the fabric panels only 9" tall I cut them to 12" by 12". That way I get a deeper bag. I can fit two cakes of yarn and a working project in one. Great for shawl projects.
I had a small amount left over, so I also made this one using a 7" zipper. It's much smaller and I have no idea what I'm going to do with it. Too cute to not share, though.
Since I was using up the Halloween fabrics I went ahead and made a really small Open Wide Zippered Pouch. This one uses 5" charm squares for the panels and a 5" zipper. This one is really small, and not for the feight of heart.
See how small it is? This one is really only big enough for a couple cookies or some sweets.

I buy my zippers from ZipIt Zippers on Etsy. Great selection and service!
Free bag tutorial Open Wide Zippered Pouch

Tools (affiliate links):
Creative Grids 6.5" x 24.5" Rectangle
Fiskars Rotary Cutter
Fiskars Self Healing Rotary Cutting Mat
BLACK+DECKER Vitessa Advanced Steam Iron
Grabbit Magnetic Pin Cushion
Fiskars 8-inch scissors
Juki TL-2010Q
Lobster claw clasps

Monday, October 8, 2018

Like a Monster

I saw a cute monster themed tote while we were in Miami. That gave me the idea to make up one of my own.
This is the first stitch out of a design I made using a couple images from Games-icon.net. The colors are questionable because I was trying to figure out a thing or two about my embroidery machine. I used a woven cotton for this test because I wanted to check the stitch-out and the size. Knowing a design measures x number of inches by y number of inches doesn't help when you're trying to build a three dimensional object. 
After that particular adventure, and some time with the embroidery machine manual, I stitched out this much more suitable monster face. 
Since the design was destined for faux fur, I needed a top cover to hold down all that fur. I used a water soluble wash-away similar to this one on Amazon. It easily tears away from the finished embroidery. I've used it on towels in the past and it washes away nicely. I don't anticipate washing this one.
Here is the stitching before I pulled the basting stitches and the unneeded film. Using the film also makes it easier to cut those jump stitches without endangering the fur.
The face is somewhat Predator-like. That wasn't my goal, but it pleases me anyway.
I used my standard cross-body bag pattern for this bag. It includes a zippered pocket on the back. Only the front is made with fur, the back of the bag is cotton canvas. The main part of the bag also closes with a zipper and has three pockets on the inside.
I'm so glad I switched to making the strap adjustable. 
A face only a mother, or a mad scientist, can love. As an experiment, this one turned out pretty okay.

Did I mention it's Halloween this month?

Tools (affiliate links):
Creative Grids 6.5" x 24.5" Rectangle
Fiskars Rotary Cutter
Fiskars Self Healing Rotary Cutting Mat
BLACK+DECKER Vitessa Advanced Steam Iron
Grabbit Magnetic Pin Cushion
Fiskars 8-inch scissors
Juki TL-2010Q